
Embarking on your jewelry-making journey begins with selecting the right tools and materials. A beginner-friendly bead set serves as your gateway to this creative craft, providing a curated selection of components designed to work together seamlessly. However, walking into a craft store or browsing online marketplaces can quickly become overwhelming due to the sheer volume of options available. To avoid overspending on specialized tools you do not yet need, or buying low-quality materials that break easily, you must know exactly what features make a starter kit practical and cost-effective.
A successful first bead set should strike a balance between variety and utility. It must contain not only visually appealing beads but also the structural hardware, compatible stringing materials, and basic hand tools required to complete a project from start to finish. By focusing on observable quality indicators, matching your kit to your specific design goals, and avoiding common purchasing traps, you can ensure your introduction to bead crafting is both satisfying and successful.
Must-Have Components in a Starter Bead Set
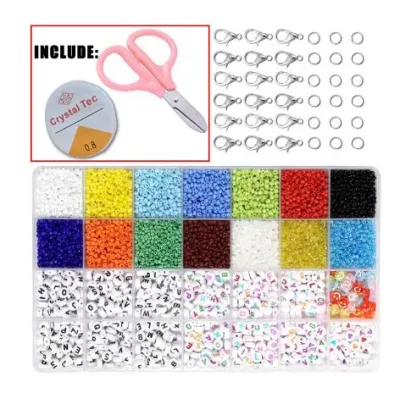
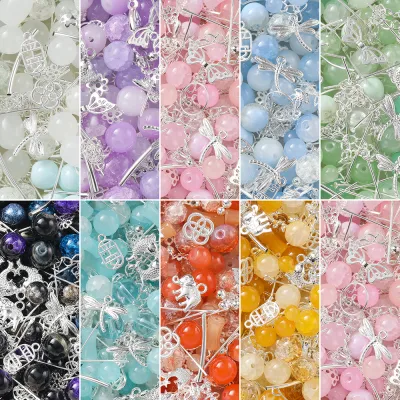
To transition from a pile of loose materials to a finished, wearable piece of jewelry, your starter bead set must include several foundational elements. The first of these is a curated bead variety. For a beginner, a set that offers a manageable color palette of six to twelve coordinating shades is far more useful than a chaotic assortment of single beads. Look for kits that provide a mix of basic shapes, such as round beads, rondelles, and small spacer beads, in sizes ranging from 2mm to 8mm. Having a consistent size and color scheme allows you to practice symmetry and pattern creation without running out of matching pieces halfway through a project.
Products mentioned in this guide
![[Free Gift] 5000 Pcs beads for bracelet making set beads set kit with tools diy bracelet kit set beads accessories kit set with lock beads set kit complete bravelet making set](https://img.lazcdn.com/g/p/924b5012c03ea19460b1c189336c0dd0.jpg_400x400q80.jpg_.webp)
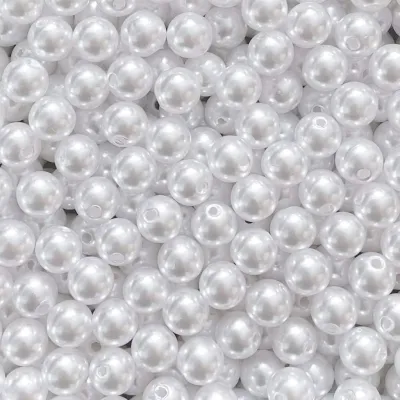
Prices are valid at publication and may change. Please refer to the product page for the latest price.
Beyond the beads themselves, a functional kit must include essential metal findings. Findings are the structural hardware of jewelry making; without them, your beads remain on a string. A comprehensive starter set should feature a generous supply of lobster clasps, jump rings, ear wires, and crimp beads. Jump rings act as connectors, ear wires allow you to create earrings, and clasps secure your necklaces and bracelets. Crimp beads are tiny metal tubes used to secure the ends of beading wire, making them absolutely vital for any non-elastic project.
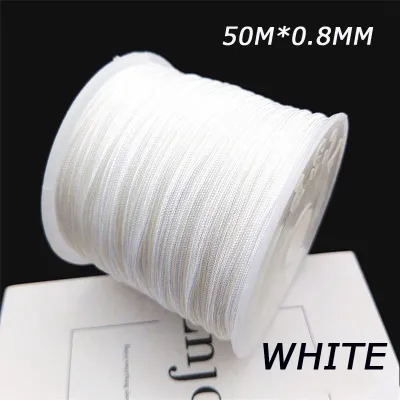
The third essential component is the stringing material, which must be perfectly compatible with the included beads. Common starter kits usually provide elastic cord, nylon thread, or nylon-coated stainless steel wire. The thickness of these materials must match the inner diameter of your bead holes. For instance, if your kit contains beads with 0.5mm holes, a 0.8mm elastic cord will not fit. A well-designed starter set ensures that the provided stringing materials slide smoothly through every bead included in the package.
Finally, a true all-in-one bead set must contain the basic hand tools required to manipulate wire and findings. You will need three primary tools: wire cutters, round-nose pliers, and flat-nose pliers. Wire cutters are used to trim stringing wire and headpins cleanly. Round-nose pliers feature tapered, circular jaws designed specifically for bending smooth loops in wire. Flat-nose pliers have a flat interior surface, making them ideal for gripping small findings, opening and closing jump rings, and flattening crimp beads. Having these three tools included saves you the hassle of purchasing them individually.
Material and Quality Checks for Beginners
Evaluating the quality of a bead set before you begin crafting prevents frustration and ensures your handmade jewelry lasts. Start by identifying the bead materials. Common beginner sets utilize glass, acrylic, polymer clay, or wood. Glass beads offer a pleasing weight and excellent color retention, but you must inspect them for uniform hole sizes. Cheaply manufactured glass beads often have blocked holes or sharp, jagged edges around the openings. These rough edges act like tiny saws, gradually shearing through elastic cords or nylon threads during wear. Run your fingers over a few beads to check for a smooth exterior finish and peer through the holes to ensure they are clear of debris.

Next, examine the quality of the metal tools included in the kit. High-quality jewelry pliers should have aligned jaws that meet perfectly when closed, leaving no visible gaps. If the tips of your round-nose pliers do not align, bending neat, symmetrical wire loops will be incredibly difficult. For wire cutters, verify that the cutting edges make flush contact along their entire length. Dull or misaligned cutters will pinch and deform the wire rather than cutting it cleanly, which can leave sharp edges that scratch the skin or snag on clothing.
Stringing materials also require a quick physical assessment. If your kit includes elastic cord, test its elasticity and recovery. Gently stretch a short length of the cord several times; it should snap back to its original length without fraying, thinning, or losing its shape. In warm, humid tropical climates like the Philippines, low-grade rubber elastic can degrade rapidly, becoming brittle and prone to sudden snapping. Opting for high-quality polyurethane elastic cord ensures your bracelets withstand daily wear and humidity.
Lastly, do not overlook the storage container. A secure, durable organizer box is just as important as the beads inside. Inspect the compartment dividers to ensure they fit flush against the outer lid when closed. If there is even a millimeter of clearance between the top of the dividers and the lid, small seed beads will migrate into adjacent compartments whenever the box is tilted or carried. A sturdy latching mechanism is also essential to prevent accidental spills that can scatter thousands of tiny beads across your workspace.
Matching the Bead Set to Your Jewelry Goals
Not all bead sets are created equal, and choosing one that aligns with your specific creative interests will make your learning process much smoother. If you are drawn to intricate, woven patterns, look for sets optimized for bead weaving or loom work. These kits focus heavily on uniform seed beads, typically in sizes like 11/0 or 8/0. Because bead weaving relies on precise alignment, the beads must be highly uniform in shape and thickness. These sets usually include fine nylon thread, specialized beading needles, and simple instructions for stitches like peyote or brick stitch.
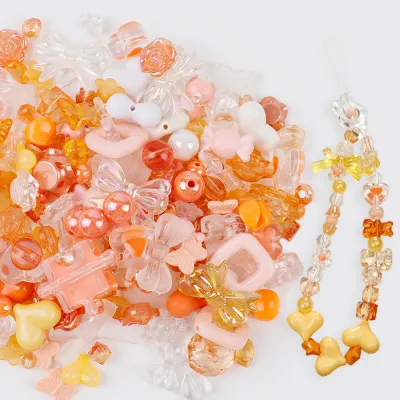
If your goal is to create quick, casual accessories like stretch bracelets or simple necklaces, look for kits designed for basic stringing. These sets feature larger beads made of glass, wood, or polymer clay, which are much easier for beginners to handle. They rely on thicker elastic cords (usually 0.7mm to 1.0mm) and do not require complex wire-wrapping skills. These kits are highly satisfying because you can complete a beautiful, wearable bracelet in under fifteen minutes, making them excellent for building initial confidence.
For those interested in wire wrapping and pendant making, a specialized wire-centric kit is ideal. These sets prioritize varied bead shapes, such as teardrops, briolettes, and irregular gemstone chips, alongside spools of heavier gauge wire (typically 20-gauge to 26-gauge copper or brass). Instead of simple stringing, these kits teach you how to wrap wire around beads to create secure frames and decorative bails. They require sturdy pliers and a bit more patience, but they offer immense creative freedom.
Regardless of the style you choose, always assess the ratio of beads to findings in the set. A common mistake is buying a kit with thousands of beads but only enough clasps and jump rings to make two necklaces. To ensure the set supports multiple practice projects, look for a balanced ratio. A practical starter kit should provide enough findings to complete at least five to ten separate pieces of jewelry, allowing you to practice your finishing techniques repeatedly.
Building Your Shortlist: What to Compare Before Checkout
When you are ready to make a purchase, comparing options systematically will help you get the best value for your money. Start by evaluating the total kit price in Philippine Pesos (₱) against the estimated cost of buying the components individually. A comprehensive starter kit priced between ₱300 and ₱800 often represents excellent value, as purchasing three separate pairs of quality pliers, multiple spools of wire, and individual bead strands can easily cost double that amount. However, if a kit is priced suspiciously low, it may contain brittle plastic beads and tools that bend under light pressure.
Next, dive into the technical specifications listed in the product description. Pay close attention to the exact bead hole diameters and the weight limits of the included stringing materials. For example, if you plan to make heavy glass bead necklaces, a thin 0.4mm nylon thread may stretch or snap under the weight. Ensure the kit specifies that the stringing wire or cord is rated to support the weight of the beads provided.
User feedback on e-commerce platforms is an invaluable resource when narrowing down your shortlist. Look specifically for reviews mentioning the condition of the tools and findings upon arrival. Common complaints to watch out for include rusted metal parts due to humid warehouse storage, dull wire cutters that cannot snip basic headpins, or missing jump rings and clasps. If multiple reviewers note that the elastic cord snaps easily during knotting, it is a strong sign that the kit uses low-grade materials.
Finally, create a simple comparison framework based on estimated project yield. Look at the quantity of clasps, ear wires, and cord length to calculate how many finished items you can realistically produce. A kit that includes 20 ear wires can yield 10 pairs of earrings, while a kit with only 4 ear wires limits you to 2 pairs. Comparing kits based on their potential yield, rather than just the total bead count, ensures you choose a set that keeps you crafting for weeks to come.
Common Purchasing Mistakes to Avoid
One of the most frequent mistakes beginners make is falling into the “rainbow trap.” It is easy to be enticed by a bead set that boasts fifty different vibrant colors. However, when you look closer, you may find that each color compartment contains only ten or fifteen beads. This is insufficient to complete a single symmetrical bracelet or necklace, leaving you with a collection of mismatched leftovers. It is far better to choose a set with fewer colors but a higher quantity of beads per color.
Another common pitfall is overlooking the need for specialized storage. Buying loose bags of beads to save a few pesos often leads to disaster. Without a dedicated, latching compartment box, beads are highly susceptible to spilling, getting lost, or mixing together into an unsortable mess. Investing in a kit that comes housed in a sturdy, secure organizer saves hours of cleanup and frustration.
Beginners also frequently assume that an “all-in-one” label means absolutely no additional purchases are required. In reality, many starter kits omit small but crucial items. For example, you will often need a bottle of jewelry-grade adhesive or clear nail polish to secure the knots on elastic bracelets. Similarly, standard flat-nose pliers can flatten crimp beads, but specialized crimping pliers are required to fold them into neat, rounded beads that do not snag on clothing. Read the kit contents carefully so you can pick up these inexpensive extras beforehand.
Lastly, avoid ignoring the learning curve associated with advanced techniques. Buying a highly complex kit that features tiny 1.5mm seed beads and intricate wire-weaving patterns can be incredibly discouraging for a complete novice. If the projects require advanced dexterity and hours of meticulous work, you may lose patience and abandon the hobby. Start with a kit that matches your current skill level, and gradually work your way up to more complex designs as your hand-eye coordination and confidence improve.
Frequently Asked Questions (FAQ)
Can I use a children's bead set for adult jewelry making?
Children’s bead sets typically feature large, lightweight plastic beads with oversized holes and thick, low-durability elastic cords. The tools included in these kits are often made of plastic or low-grade metal sheet that bends easily and cannot cut or loop wire cleanly. For adult jewelry making, these materials look toy-like and lack the structural integrity required for daily wear. While acceptable for very basic layout practice, they do not provide the proper weight, finish, or durability needed for genuine craft-grade jewelry.
How many beads are enough for a beginner set?
A practical starter set should contain at least 1,000 to 3,000 beads if you are working with small glass seed beads, or 200 to 500 beads if you are using larger accent beads (such as 6mm or 8mm round beads). This quantity provides enough material to complete five to ten projects while leaving ample room for design mistakes, dropped beads, and creative experimentation. Ensure this bead count is supported by a matching number of metal findings, such as clasps and jump rings, so you can actually finish the pieces you start.

Community discussion
Share your experience or ask a question. Comments are reviewed before publication.