
Decorating a sticker album using a combination of washi tape and stickers is an art form that balances color, structure, and depth. To achieve a cohesive and visually satisfying layout, you must treat the washi tape as your structural foundation and the stickers as your narrative focal points. By framing your pages, layering translucent textures, and overlapping elements strategically, you can transform a chaotic collection of adhesive art into a beautifully curated journal.
Success lies in planning your page before peeling off any backings. Because different papers and adhesives react uniquely to environmental factors like humidity, understanding your materials is just as important as the creative arrangement itself. With a few basic tools and a systematic approach, you can design pages that look professionally composed and stand the test of time.
Select Materials and Prepare Your Album Pages
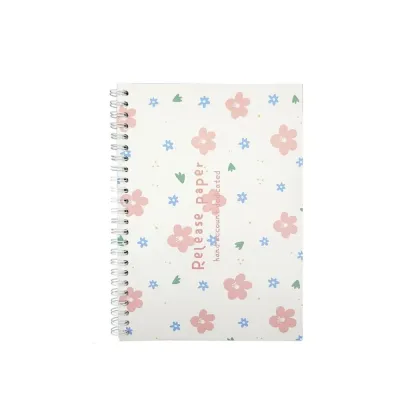
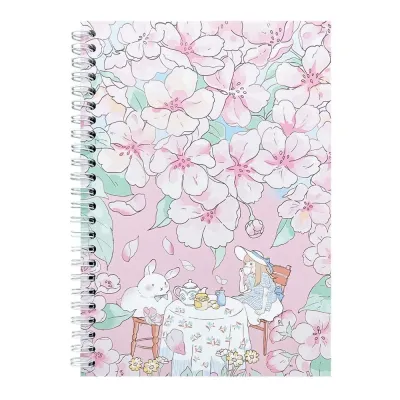
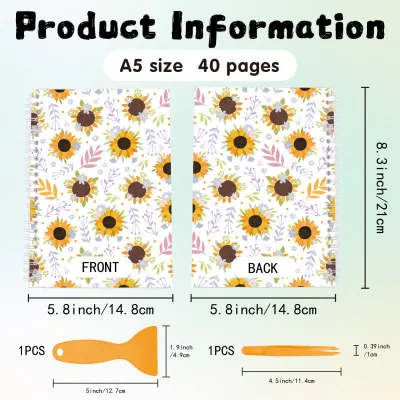
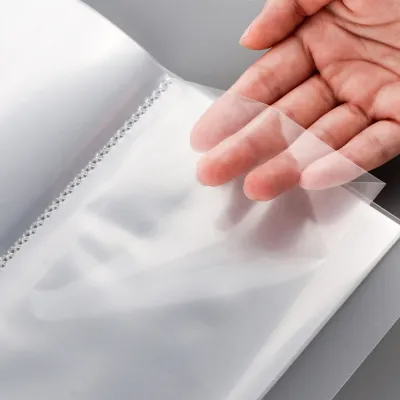
Before diving into the design process, you must evaluate the physical characteristics of your sticker album. Standard paper albums generally feature page weights ranging from 80 GSM to 160 GSM. For heavy layering of washi tape and stickers, a paper weight of at least 120 GSM is ideal to prevent the pages from wrinkling, buckling, or bleeding if you decide to add ink details later. If you are using a release-paper sticker album—designed for temporary storage and easy peeling—keep in mind that standard washi tapes may not adhere permanently to the silicone-coated surfaces, requiring a different layout strategy than permanent paper journals.
Products mentioned in this guide

Prices are valid at publication and may change. Please refer to the product page for the latest price.
Environmental factors play a significant role in how your stationery behaves. In warm, humid tropical climates, paper naturally absorbs moisture from the air, which can weaken the adhesive on budget-friendly tapes and stickers. To combat this, store your blank album in a dry environment and choose acid-free, archival-quality materials that resist yellowing and adhesive degradation over time.
Establishing a clear color palette or theme before you begin prevents your pages from looking cluttered. You might choose a monochromatic scheme, complementary colors, or a seasonal motif. Gather a curated selection of three to five washi tapes of varying widths (such as a 5mm skinny tape, a 15mm standard tape, and a 30mm wide background tape) along with a coordinating sheet of stickers.
Having the right tools on hand makes the application process seamless and precise. A pair of fine-tipped tweezers is indispensable for picking up and placing small stickers without transferring natural oils from your fingers, which can ruin the adhesive. You will also want a pair of non-stick precision scissors to cut clean edges through sticky backings, and a sturdy metal ruler to help you tear washi tape at perfect right angles.
Plan Your Layout and Establish a Focal Point
One of the most common mistakes in album decoration is sticking elements down too quickly. A successful page requires a “dry run” where you arrange your elements loosely on the page to test the composition. This step allows you to experiment with spacing, alignment, and balance without committing to a permanent placement.

Every decorated page needs a clear focal point to draw the eye. This is typically a large, high-impact “hero” sticker or a tightly clustered group of smaller, related stickers. Position your focal point using the rule of thirds—slightly off-center rather than dead in the middle—to create a more dynamic and visually interesting composition. Once your focal point is established, you can build the rest of your design around it.
As you arrange your secondary stickers and tape strips, pay close attention to negative space. Leaving approximately 30% to 40% of the page blank or lightly decorated gives the eyes a place to rest and prevents the design from feeling overwhelming. If every square inch of the page is covered, your beautiful stickers will compete with each other for attention rather than working together as a cohesive unit.
Apply Washi Tape for Structure and Backgrounds
Washi tape serves as the structural skeleton of your page layout. It can be used to establish borders, create background grids, or ground your stickers so they do not appear to be floating aimlessly in space. How you manipulate the tape dramatically alters the aesthetic of the page.
Tearing the tape by hand produces a soft, textured, organic edge that works beautifully for vintage, rustic, or cozy themes. To achieve a clean, modern, or geometric look, cut the tape with precision scissors or press a metal ruler firmly against the tape and pull it upward to create a sharp, straight tear. Both techniques have their place, but consistency within a single layout helps maintain a unified style.
To build a solid background, try using wider washi tapes to create horizontal or vertical anchor strips. A wide tape placed along the bottom margin of a page acts as a “floor” upon which your stickers can sit. Alternatively, you can use thin, solid-colored tapes to construct a grid or a Polaroid-style frame in the center of the page, creating dedicated windows to showcase your favorite stickers.
Because classic paper washi tape is semi-transparent, you can layer different tapes to build custom colors and subtle textures. Overlapping a yellow gingham tape with a blue translucent tape, for example, creates a beautiful green intersection. Always test your layered tapes on a scrap piece of paper first to ensure the combined patterns do not look muddy or visually chaotic.
Place and Layer Stickers to Add Depth
Once your washi tape background is secure, you can begin placing your stickers. To make the tape and stickers look like they belong to the same illustration, you must integrate them rather than keeping them strictly separated. This is achieved through strategic overlapping.
Place your stickers so that they slightly overlap the edges of the washi tape. This simple technique visually anchors the stickers to the background, blending the two mediums into a single cohesive scene. For instance, if you have a floral sticker, placing its stem over a strip of green washi tape makes it look as though the flower is growing directly out of the patterned border.
To introduce physical depth and shadow to your pages, consider using double-sided foam adhesive dots behind a few select stickers. This lifts the stickers off the page, creating a beautiful three-dimensional effect. However, you must verify your album’s binding type before doing this; book-bound or tight-spine albums can quickly become bulky and fail to close properly if too many 3D elements are added. Ring-bound or expandable binder-style albums are much better suited for dimensional layering.
Sometimes, standard stickers come with wide white borders that can look harsh when placed over dark or highly patterned washi tape. In these cases, use your precision scissors to carefully trim away the excess white border—a technique known as fussy-cutting. This allows the sticker design to blend seamlessly into the background tape without any distracting outlines.
Add Final Details and Protect Your Pages
With your main elements in place, it is time to add the finishing touches that tie the entire page together. These small details fill awkward gaps and make the layout feel complete and polished.
Use fine-liner pens, small rubber stamps, or tiny accent stickers (such as stars, dots, or sparkles) to bridge the empty spaces between your larger stickers and tape borders. If you are writing or drawing on your pages, verify the drying speed of your ink on the specific paper or sticker surface you are using. Glossy sticker paper and certain slick washi tapes do not absorb ink quickly, making them highly prone to smudging if touched too soon. A quick smudge test on a scrap piece of material will save you from ruining a completed page.
After finalizing your layout, perform an adhesion check. Run a clean bone folder, a plastic card, or the back of your fingernail gently but firmly over the entire page, paying close attention to the edges of the washi tape and stickers. This pressure-sensitive action activates the adhesive, ensuring a strong, flat bond with the paper. In humid environments, this step is crucial to prevent the edges of your tape from curling upward over time.
Proper storage is the final step in protecting your creative work. Store your completed sticker albums flat or vertically in a cool, dry place away from direct sunlight. Prolonged exposure to sunlight will fade delicate inks and degrade adhesives, causing your tapes to become either brittle and dry or excessively sticky and prone to sliding. Keeping your albums protected ensures that your beautifully decorated pages remain vibrant and intact for years to come.
Frequently Asked Questions (FAQ)
How do I remove washi tape without tearing the album paper?
To remove washi tape safely without damaging your album pages, peel the tape back very slowly at a low, flat angle—almost parallel to the page—rather than pulling it straight up at a 90-degree angle. Pulling the tape flat minimizes the upward tension on the paper fibers beneath it.
If the tape is stubborn or the paper is particularly delicate, you can use a gentle heat source, such as a hairdryer on its lowest setting, held a few inches away from the page for a few seconds. The mild heat temporarily softens the adhesive, allowing the tape to lift away smoothly. Always test your removal technique on a scrap piece of the same paper or in an inconspicuous corner of your album first to verify how the paper fibers react.
Can I use regular stickers on top of washi tape?
Yes, you can apply regular stickers on top of washi tape, but the success of the bond depends on the texture and material of both items. Standard matte paper washi tape provides an excellent, slightly textured surface that accepts most sticker adhesives easily.
However, if you are applying stickers over glossy, foil-stamped, glitter-coated, or plastic-based (PET) washi tapes, the slick surface may prevent standard sticker adhesives from gripping properly. If you notice the edges of a sticker lifting off a slick tape surface, press down firmly to activate the adhesive, or apply a tiny dot of paper-safe glue runner or acid-free liquid adhesive to the back of the sticker to secure it permanently.

Community discussion
Share your experience or ask a question. Comments are reviewed before publication.