
Transforming a plain burlap pouch into an elegant, gift-ready package is a simple way to elevate your gift-giving. Burlap offers a charming, rustic texture that serves as an excellent canvas for personalization. By combining this natural material with contrasting elements like smooth ribbons, custom tags, and crisp paint designs, you can create a memorable presentation that shows your recipient extra care. Whether you are preparing party favors for a tropical wedding or wrapping a small birthday token, a few thoughtful embellishments will turn a basic utility pouch into a beautiful keepsake.
Preparing the Burlap Pouch for Crafting
Before applying any decorative elements, you must prepare the raw burlap surface to ensure your embellishments adhere properly. Start by inspecting the pouch for loose threads or uneven weave patterns. Use sharp fabric scissors to trim away any dangling threads along the seams and drawstrings, which prevents further unraveling.
Burlap pouches often arrive folded or compressed, resulting in deep creases that can distort your designs. To flatten these creases, set your household iron to a low-heat setting and place a clean, protective cotton cloth over the burlap. Ironing directly on the burlap can scorch the natural fibers, so the protective barrier is essential.
Products mentioned in this guide
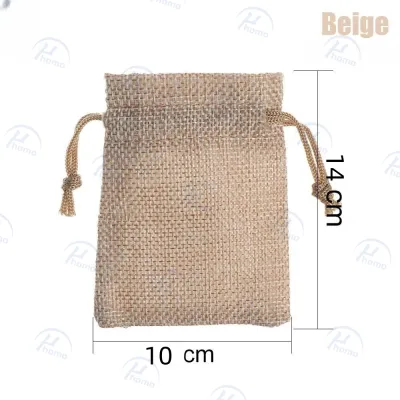
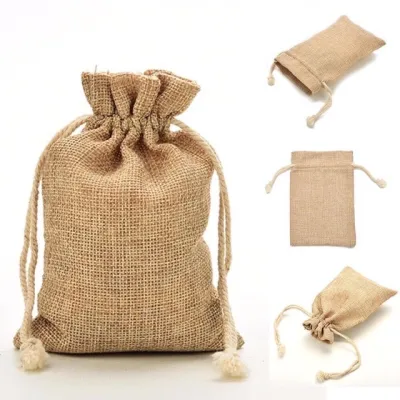
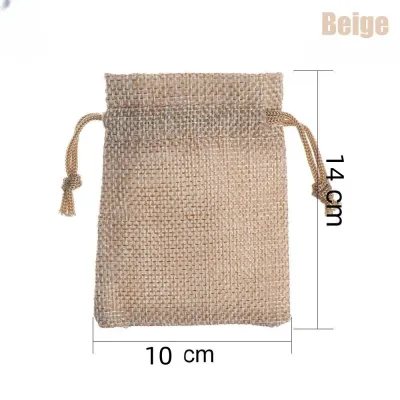
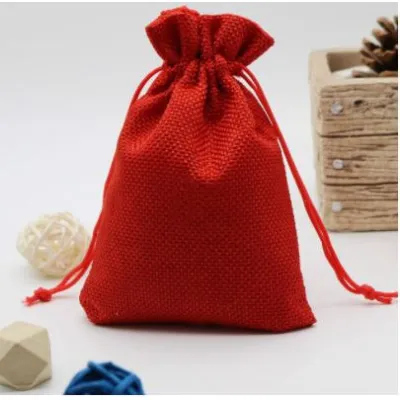
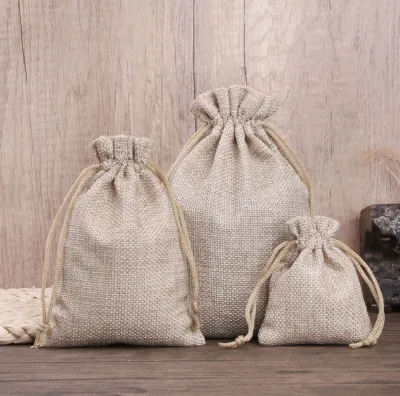
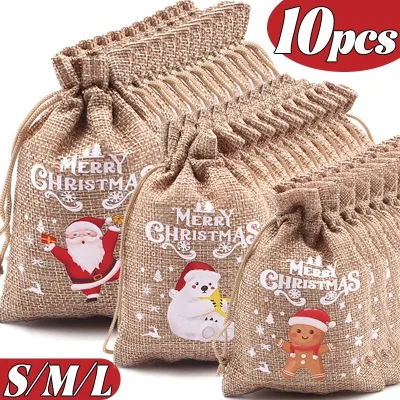
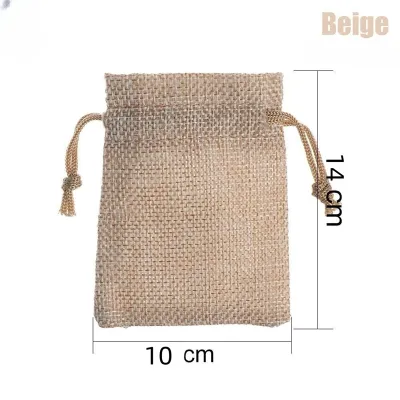
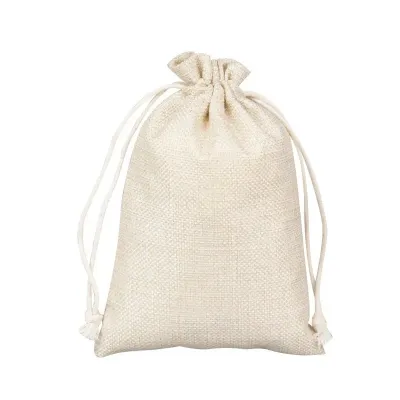
Prices are valid at publication and may change. Please refer to the product page for the latest price.
Because burlap is a highly porous material with a loose weave, liquid adhesives and paints can easily seep through the fibers. Before starting your project, test a small, hidden area—such as the inside seam—with a tiny drop of your chosen glue or paint. This quick check helps you observe how the fabric absorbs the medium before working on the highly visible front panel.
Gathering Essential Tools and Wrapping Supplies
Selecting the right tools and materials is key to ensuring your decorations stay securely attached to the coarse, uneven texture of the burlap. Standard school glues or light adhesive tapes will not hold up against the rough fibers. Instead, opt for heavy-duty options like fabric glue, hot glue, or high-tack double-sided tape, matching the adhesive to the weight of your embellishments. Fabric glue remains flexible when dry, making it ideal for delicate lace, while hot glue provides an instant, rigid bond suitable for heavier wooden accents.

To create a visually appealing design, contrast the rough, earthy texture of the burlap with smooth, refined wrapping supplies. Satin ribbons, delicate lace trims, and polished jute twine offer beautiful textural contrasts that instantly elevate the pouch’s appearance. Choosing colors that complement the natural tan of the burlap—such as deep forest greens, soft pastels, or classic cream—will create a cohesive palette.
Finally, prepare sturdy gift tags and labels that will stand out clearly against the textured background. Heavy cardstock tags in white, cream, or kraft paper provide a smooth surface for writing personalized messages.
Step-by-Step Decoration Techniques
Decorating a burlap pouch allows you to experiment with different styles, from rustic simplicity to modern elegance. By mastering a few basic techniques, you can customize each pouch to suit the specific occasion and the recipient’s taste. The following methods focus on clean execution, ensuring your handmade touches look intentional and polished.
Tying Ribbons, Bows, and Twine
Adding a ribbon or twine closure is one of the quickest ways to transform a plain drawstring pouch. If your pouch has built-in drawstrings, you can thread a colorful satin or grosgrain ribbon through the casing using a safety pin to replace the original utility string. Alternatively, keep the original drawstrings functional and tie a separate, decorative ribbon securely around the neck of the pouch once it is filled.
The style of your knot sets the tone for the entire presentation. A structured, symmetrical bow with neatly angled tails lends a formal, classic look to your gift. For a more rustic or bohemian aesthetic, wrap fine jute twine around the neck of the pouch multiple times and finish with a simple, loose knot or a casual double bow.
Slippery ribbon materials like satin or silk can easily slide down the neck of the pouch or come untied. To prevent this, secure the ribbon in place by applying a tiny dot of fabric glue or a small piece of double-sided tape to the back of the pouch where the ribbon rests. This hidden anchor keeps your bow perfectly positioned.
Attaching Gift Tags and Custom Labels
Gift tags provide a dedicated space for names and warm wishes while adding another layer of visual interest to your packaging. Use a hole punch to create a clean opening at the top of your cardstock tag, then thread it directly onto the pouch’s drawstring or decorative ribbon before tying the final knot. This keeps the tag securely attached and neatly integrated into the closure.
If you prefer a rustic, dimensional look, consider using mini wooden clothespins to clip your tag directly to the collar of the pouch. You can also wrap twine around the center of the pouch several times, tucking the tag underneath the strands to hold it flat against the fabric. These non-adhesive methods are highly forgiving and allow the recipient to reuse the pouch easily.
When using adhesive-backed labels, select flat, tightly woven sections of the burlap to ensure maximum surface contact. Press the label down firmly with your fingers, applying even pressure across the entire surface for at least thirty seconds. If the edges begin to lift due to the coarse texture, reinforce them with a thin swipe of fabric glue.
Applying Stencils, Stamps, and Fabric Paint
Stenciling and stamping allow you to add crisp patterns, monograms, or festive motifs directly onto the burlap fabric. Before applying any paint or ink, slide a thick piece of cardboard or plastic inside the pouch. This barrier prevents the wet medium from bleeding through the porous front panel and staining the back of the pouch, preserving a clean interior.
For the best results on coarse fibers, use thick fabric paints or acrylic paints mixed with a fabric medium, which helps the paint bond to the textured surface without cracking. Standard liquid acrylics or watercolors are too runny and will bleed along the fibers, resulting in blurry edges. If you are using rubber stamps, select a permanent, oil-based archival ink pad that is formulated for fabric use.
When applying paint through a stencil, use a dense sponge or a specialized stencil brush. Dab the paint vertically onto the fabric using a light, tapping motion rather than brushing side-to-side. Brushing pushes the paint under the edges of the stencil, causing smudges, whereas dabbing ensures the paint lands only on the exposed burlap, resulting in sharp, clean lines.
Finishing Touches for a Polished Look
The difference between a craft project and a professional-looking gift presentation lies in the final details. Once your paint and adhesives are completely dry, inspect the pouch closely for any imperfections. Use your sharp scissors to snip away any fine glue strings left behind by hot glue guns, and trim any frayed ribbon ends at a clean, forty-five-degree angle to prevent future unraveling.
If you have attached heavier embellishments, such as wooden cutouts or thick fabric flowers, test their stability by gently tugging on them. If the pouch will be carried by its drawstrings, these decorations will experience movement and tension. Reinforce any loose edges with an extra drop of flexible fabric glue to ensure they remain intact from the moment you hand over the gift to when it is opened.
To showcase your decorations beautifully, the pouch needs structure and volume. Fill the inside of the pouch with complementary materials like colorful tissue paper, shredded kraft paper, or crinkle-cut filler before placing your gift inside. This padding plumps up the pouch, giving it a full, appealing shape that highlights your stenciled designs.
Troubleshooting Common Burlap Crafting Issues
Working with natural fibers like burlap can sometimes present unique challenges, but most issues are easy to resolve. Fraying is the most common problem when cutting or handling burlap. To manage frayed edges along the seams or top collar, apply a very thin line of clear fabric sealant or anti-fraying liquid along the raw edge. If you are working with a synthetic-blend burlap, you can carefully singe the very edge with a lighter under safe, well-ventilated conditions to melt and lock the fibers.
If your decorative elements fail to stick to the pouch, the culprit is usually the uneven texture of the burlap, which limits the contact area for adhesives. When using fabric glue or hot glue, apply slightly more pressure than you would on smooth paper, holding the embellishment firmly in place for a full minute to allow the glue to seep into the crevices of the weave.
Paint smudges or ink bleeds can happen even with careful application, but you do not need to discard the pouch. Instead of trying to wash out the permanent paint, cover the mistake creatively. You can place a large, elegant gift tag directly over the smudge, or glue a decorative lace strip or a fabric flower over the affected area to turn the mistake into an intentional design feature.
Frequently Asked Questions (FAQ)
Can I wash a decorated burlap pouch after gifting?
Whether you can wash a decorated burlap pouch depends entirely on the specific adhesives, paints, and embellishments you used. Plain burlap can be hand-washed, but delicate additions like paper tags, non-waterproof glues, or temporary inks will disintegrate or bleed in water. Always check the care instructions of your crafting supplies before exposing the finished pouch to moisture.
If the pouch only has minor dirt or dust, spot cleaning is the safest method. Use a damp, clean cloth with a tiny drop of mild detergent to gently dab the soiled area, taking care not to rub the painted or glued sections. If a full wash is necessary, hand-wash the pouch gently in cold water, avoid wringing or twisting the fabric, and air dry it flat on a clean towel to maintain its shape and prevent shrinkage.
What is the best way to store leftover burlap pouches and supplies?
Proper storage is essential for keeping your leftover burlap pouches and wrapping supplies in pristine condition for future gifting occasions. Burlap is a natural jute fiber that easily absorbs moisture from the air, making it susceptible to mold, mildew, and musty odors in humid tropical climates like the Philippines. Store your plain pouches in a dry, well-ventilated area, preferably inside a breathable cotton bag or a plastic bin with silica gel packets to absorb excess moisture.
To keep your wrapping accessories organized and ready for use, store ribbons, lace, and twine on their original spools or wrap them around flat cardboard bobbins. This prevents tangling, fraying, and deep creases that are difficult to iron out later. Finally, ensure all fabric paints, inks, and liquid adhesives are sealed tightly and stored in a cool, dark place away from direct sunlight to extend their shelf life and prevent them from drying out.

Community discussion
Share your experience or ask a question. Comments are reviewed before publication.