
Decorating a paper bag with ribbon and a bow is one of the most effective, budget-friendly ways to elevate a simple gift. By selecting the right ribbon texture, reinforcing the paper structure, and mastering a few precise wrapping and tying techniques, you can turn an ordinary utility bag into a beautiful, personalized package. Whether you are preparing for a birthday, a wedding, or a festive holiday gathering, a thoughtfully decorated bag shows the recipient that the presentation is just as meaningful as the gift inside.
To achieve a polished, professional look, you must pay attention to structural stability, material compatibility, and tension control. This guide walks you through selecting your materials, preparing the bag to withstand tension, and executing flawless bow-tying techniques that stay secure and look stunning.
Materials and Tools You Will Need
Before beginning your project, gathering the correct materials and tools ensures a smooth crafting process and a high-quality finish. Matching the weight of your ribbon to the thickness of your paper bag is essential for maintaining the bag’s shape and preventing accidental tears.
Products mentioned in this guide

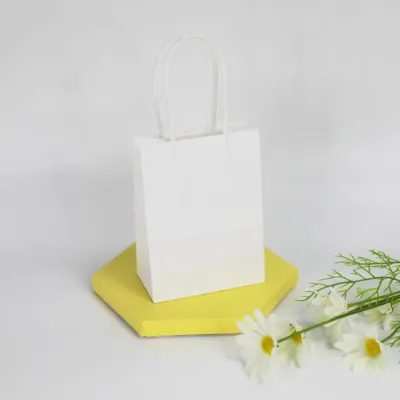
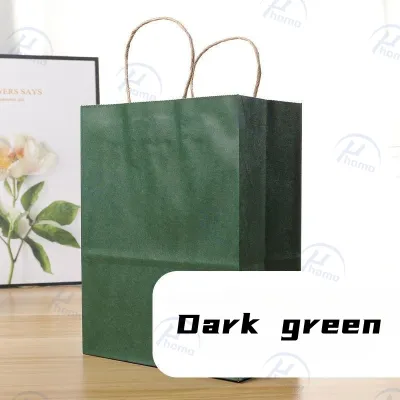
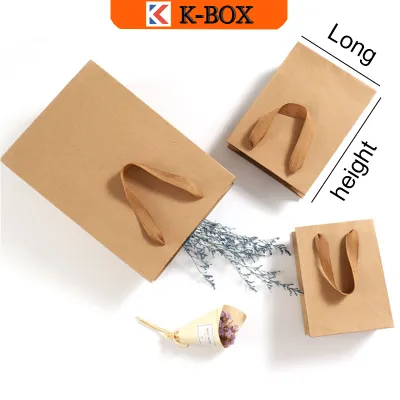
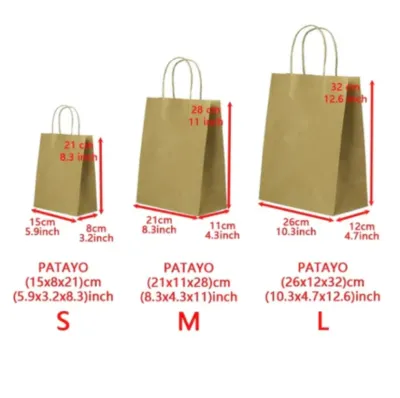
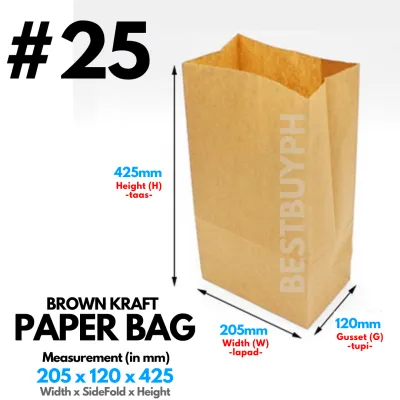
![[CHEAPEST] Brown SOS Paper Bags (Multiple Sizes) | Food-Grade Kraft Bags | Eco-Friendly Takeout & Bakery Bags | Thick & Durable |](https://img.lazcdn.com/g/p/3fb4a60a6fd1708783cab3e0f576def3.png_400x400q80.png_.webp)
Prices are valid at publication and may change. Please refer to the product page for the latest price.
Paper Bags
Paper bags come in various weights, finishes, and colors, each offering a different canvas for decoration:
- Kraft Paper Bags: Typically ranging from 100 to 120 GSM (grams per square meter), natural brown or white kraft bags offer excellent fiber strength and a rustic, versatile aesthetic. They are highly durable and can easily support heavier ribbons and embellishments.
- Colored Paper Bags: These bags provide a vibrant, matte background that is perfect for color-blocking with contrasting ribbons. Ensure the dye is colorfast so it does not bleed if it encounters moisture.
- Glossy Paper Bags: Featuring a laminated, high-sheen surface, these bags look exceptionally premium but have a slick texture. Standard double-sided tape may slide off glossy surfaces, so you will need to verify adhesive compatibility or opt for a hole-punch method that does not rely on tape.
Ribbons
The ribbon you select defines the style of your gift and dictates how easily the bow will hold its shape:
- Satin Ribbon: Known for its high-gloss sheen and elegant, fluid drape. Because satin is slippery, it requires a tight initial knot to prevent the loops from unraveling.
- Grosgrain Ribbon: Featuring a distinct ribbed texture, grosgrain offers excellent friction. It is incredibly easy to tie, holds its shape beautifully, and is ideal for structured, upright bows.
- Organza Ribbon: Sheer, lightweight, and airy, organza adds a delicate, romantic touch. It works best when layered over solid ribbons or used on smaller, lightweight bags.
- Burlap Ribbon and Cotton Twine: Perfect for rustic, organic, or minimalist themes. Burlap provides heavy texture and structure, while cotton twine is excellent for simple, wrapped closures.
Tools
Using the right tools prevents material damage and ensures clean, precise lines:
- Sharp Fabric Scissors: Standard household scissors can chew through ribbon fibers, leaving frayed, messy edges. Dedicated fabric shears ensure a clean, crisp cut.
- Hole Punch: A standard 1/4-inch single-hole punch is ideal for threading ribbons. You can also use decorative punches that create star, heart, or scalloped borders along the top flap.
- Ruler or Measuring Tape: Essential for finding the exact center of the bag, ensuring symmetrical hole placement, and measuring precise ribbon lengths.
Adhesives and Embellishments
To secure your designs and add personal touches, keep these items on hand:
- Double-Sided Tape or Glue Dots: Choose acid-free, clear adhesives. These are perfect for securing ribbon wraps flat against the paper without the messy seepage or warping associated with liquid craft glues.
- Embellishments: Gift tags, dried botanicals (such as lavender sprigs, eucalyptus, or small pinecones), wax seals, and decorative stickers add layers of texture and visual interest.
Preparing the Paper Bag for Decoration
Proper preparation is the secret to a professional-looking gift bag. Taking a few minutes to reinforce the paper and plan your layout prevents the bag from sagging, tearing, or looking misshapen once the gift is placed inside.

Folding the Top Edge
To create a clean, reinforced collar at the top of your bag, fold the top 1 to 2 inches of the paper inward. This simple fold hides the raw, machine-cut edge of the paper and creates a double-thick band. This reinforced collar is crucial because it distributes the tension of the ribbon and the weight of the gift, preventing the paper from tearing when the bag is carried by its ribbon handles.
Reinforcing the Bag
In tropical or humid climates, paper fibers can absorb moisture from the air, making the bag more pliable and prone to sagging under weight. To keep the bag’s structure crisp, cut a piece of thick cardboard or chipboard to the exact dimensions of the bag’s bottom panel and slide it inside. This insert distributes the weight of the gift evenly across the base, keeping the side panels taut and preventing the ribbon layout from distorting.
Planning the Layout
Before cutting your ribbon, decide on the placement pattern that best suits your gift:
- Horizontal Band: A clean, modern look where the ribbon wraps around the center or lower third of the bag.
- Vertical Band: A classic style that elongates the appearance of the bag, wrapping from bottom to top.
- Cross Pattern: A traditional gift-box style where the ribbon wraps both horizontally and vertically, intersecting at the center.
To calculate the required ribbon length, wrap the ribbon around the bag along your chosen path, keeping it flat. Add an extra 12 to 15 inches (approximately 30 to 38 centimeters) to this measurement. This generous allowance ensures you have plenty of length to tie a comfortable, symmetrical bow without straining.
Marking and Punching
If your design involves threading ribbon through the bag, use a clear ruler and a light pencil to mark your punch points. For a standard two-hole closure, find the horizontal center of the bag’s collar and mark two points spaced evenly from the center (typically 2 to 3 inches apart). Ensure these marks are at least 0.75 inches (1.9 centimeters) below the folded top edge. Punching too close to the edge creates a weak point that will easily tear under tension.
Step-by-Step Guide to Tying the Ribbon and Bow
When executing your design, keeping the ribbon completely flat and untwisted as you wrap and tie is critical. A twisted ribbon looks disorganized and disrupts the clean lines of the presentation.
Method 1: The Classic Wrap and Tie
This method is ideal for wrapping ribbon around the exterior of the bag without punching holes, preserving the solid surface of the paper.
- Position the Ribbon: Place the center of your measured ribbon against the front or back of the bag, depending on where you want the final bow to sit.
- Apply Adhesive: Place a small strip of double-sided tape on the bag where the ribbon will rest. Press the ribbon firmly onto the tape to anchor it in place. This prevents the ribbon from sliding up or down during the tying process.
- Wrap and Align: Bring both ends of the ribbon around the bag, keeping the tension firm but gentle. Do not pull so tightly that the paper sides begin to pucker or bow inward.
- Bring to the Front: Bring both loose ends to your designated tying point on the front of the bag, ensuring they are of equal length.
Method 2: The Hole-Punch Tie
This method threads the ribbon through punched holes, serving as both a secure bag closure and a decorative element.
- Thread the Ribbon: For a clean front bow, insert the ends of the ribbon from the inside of the bag outward through the punched holes. This keeps the ribbon tails facing the front.
- Adjust the Slack: Pull the ribbon through until it lies flat against the inside back wall of the bag. If you are using the ribbon as a handle, leave enough slack inside to form a comfortable loop, securing the ribbon with simple knots on the inside of the bag to prevent it from slipping through the holes.
- Check Tension: Ensure the top folded edge of the bag is closed neatly. The ribbon should be snug enough to keep the contents secure, but not so tight that the paper tears around the punched holes.
Tying and Trimming the Bow
Once your ribbon is positioned, follow these steps to tie a flawless, symmetrical bow:
- Tie the Base Knot: Cross the left ribbon end over the right, tuck it under, and pull it through to create a secure, flat base knot.
- Form the First Loop: Fold one side of the ribbon into a neat loop (the "bunny ear"). Keep the shiny side of the ribbon facing outward if using single-sided satin.
- Wrap and Pull: Wrap the other loose ribbon end around the base of the loop, push it through the center opening to create a second loop, and pull gently.
- Adjust for Symmetry: Hold both loops and pull them outward to tighten the knot. Slide your fingers inside the loops to fluff them, and adjust the tail lengths until they are perfectly symmetrical.
- Trim the Tails: To finish, use your sharp fabric scissors to trim the ends. You can make a classic 45-degree angled cut, or a professional dovetail cut by folding the ribbon tail in half vertically and cutting upward at an angle from the fold to the outer edge. To prevent synthetic ribbons from fraying, apply a tiny speck of clear fabric glue to the cut edges, verifying compatibility on a scrap piece of ribbon first.
Creative Variations and Finishing Touches
Once you master the basic tying techniques, you can experiment with creative variations to match the theme of your event or the personality of the recipient.
Layering Ribbons
To add depth, contrast, and a highly professional look, layer two different ribbons. Start by wrapping a wide, textured base ribbon (such as a 1.5-inch natural burlap or heavy linen ribbon) flat against the paper bag. Next, layer a narrower, high-contrast ribbon (such as a 0.5-inch satin or metallic ribbon) directly over the center of the base ribbon. Secure them together with a thin strip of double-sided tape before tying them into a single, unified bow. This combination of textures creates an eye-catching, multi-dimensional design.
Adding Natural Elements
Incorporating organic touches is an excellent way to elevate your gift packaging for weddings, rustic events, or seasonal holidays. Before pulling your final bow knot tight, slide a small sprig of dried lavender, eucalyptus, baby’s breath, or a small pinecone under the knot. Tighten the bow around the stem to secure it in place. This adds a beautiful, tactile element and a subtle, pleasant aroma to your gift.
Incorporating Gift Tags
To personalize your presentation, thread a customized cardstock gift tag onto one of the ribbon tails before tying the final loops. Position the tag so it rests flat against the front of the paper bag, framing your handwritten message beautifully alongside the bow.
Securing the Closure
For an extra layer of detail and security, seal the folded top edge of your paper bag before applying the ribbon. You can use a classic wax seal stamped with a custom monogram, a decorative sticker, or a strip of patterned washi tape. This ensures the bag remains closed and keeps the gift a surprise until the ribbon is untied.
Common Mistakes to Avoid When Decorating Paper Bags
To ensure your gift presentation remains intact and looks pristine, avoid these common wrapping pitfalls:
Using Ribbon That Is Too Heavy
Thick, heavy velvet ribbons or wide, heavily wired ribbons can overwhelm lightweight paper bags. If your bag is made of thin paper (under 100 GSM), a heavy ribbon will cause the bag to sag, buckle, or tear. Always match the weight of your ribbon to the structural integrity of your bag. For lightweight bags, opt for delicate organza, thin satin, or lightweight cotton twine.
Punching Holes Too Close to the Edge
Placing your punched holes too close to the top or side edges of the bag is a recipe for tearing. When the bag is lifted or the ribbon is tied, the tension concentrated on that narrow strip of paper will cause it to rip. Always maintain a safe distance of at least 0.75 inches (1.9 centimeters) from any edge to ensure the paper can handle the tension.
Over-tightening the Bow
While you want your ribbon to be snug, pulling the knot too tight will crush the paper bag, puckering the sides and distorting its clean, rectangular shape. Tie your knots firmly but gently, allowing the paper to maintain its natural structure.
Cutting the Ribbon Too Short
Running out of ribbon mid-tie is a common and frustrating mistake. Tying a beautiful, full bow requires more length than you might expect. Always use the formula of wrapping the bag and adding at least 12 to 15 inches of extra ribbon. It is always better to have slightly longer tails that you can trim down to perfection than to struggle with a ribbon that is too short to loop.

Community discussion
Share your experience or ask a question. Comments are reviewed before publication.