
Decorating bear loot bags with ribbons and bows is an excellent way to transform simple party favors into delightful, eye-catching gifts for a child’s birthday celebration. The key to success lies in selecting the right ribbon materials, choosing humidity-resistant adhesives, and applying them strategically to highlight the adorable bear motif. By taking the time to add these custom touches, you elevate the entire presentation of your birthday giveaways, making each guest feel truly appreciated.
Whether you are working with paper or plastic bags, a well-placed bow or a neatly wrapped ribbon band adds texture, color, and a premium feel. This guide will walk you through the essential materials, step-by-step attachment techniques, design layouts, and storage tips to ensure your decorated bags look flawless on the party table.
Gathering Materials and Tools for Bag Decoration
Before you begin decorating, gathering the correct supplies will make the assembly process smooth and efficient. The choice of ribbon and adhesive depends heavily on the material of your bear loot bags and the climate of your event.
Products mentioned in this guide
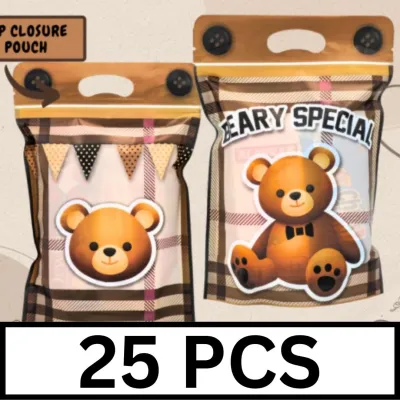
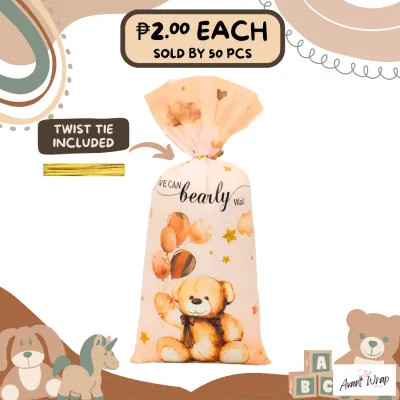
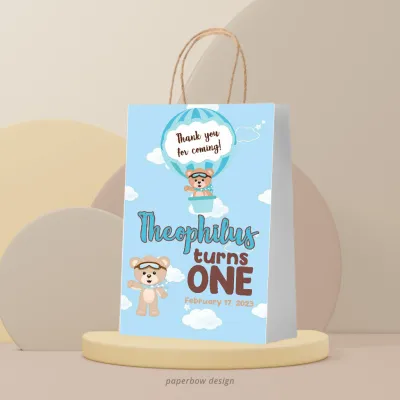
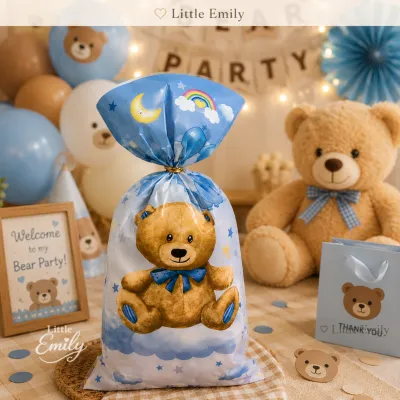
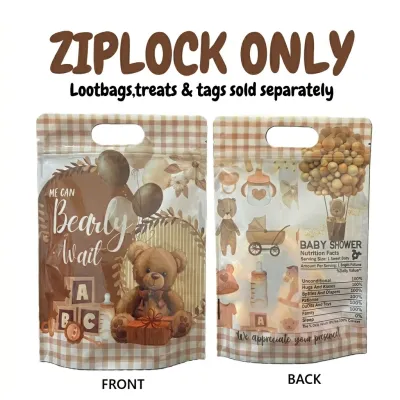
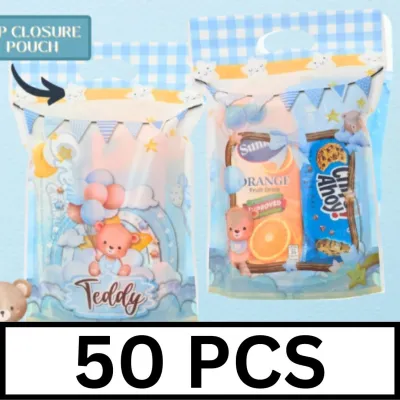
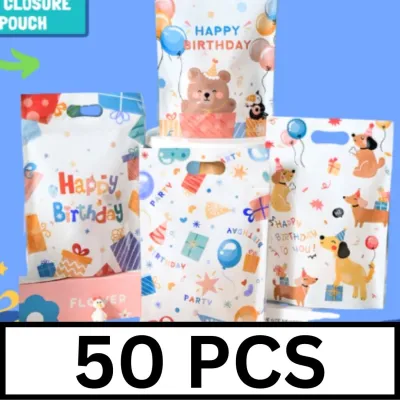
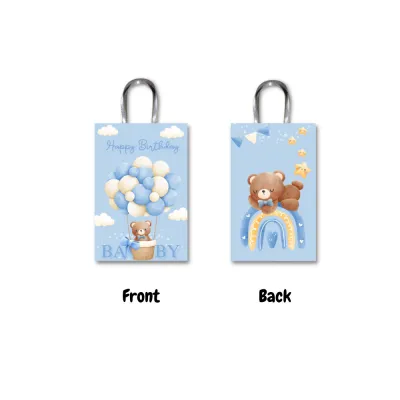
Prices are valid at publication and may change. Please refer to the product page for the latest price.
Selecting Ribbon Types
- Satin Ribbon: This ribbon offers a luxurious, glossy finish that catches the light beautifully. It is ideal for elegant or pastel-themed birthday parties, though the edges can fray easily if not cut cleanly.
- Grosgrain Ribbon: Featuring a distinct ribbed texture, grosgrain is incredibly sturdy and holds its shape exceptionally well, even in warm and humid weather. It is excellent for structured, hand-tied bows.
- Curling Ribbon: Made of lightweight synthetic material, curling ribbon adds a playful, bouncy energy. It is highly budget-friendly and works best when tied to bag handles.
- Pre-made vs. Hand-tied Bows: Pre-made bows save significant time when assembling large batches of 30 or more bags. Hand-tied bows, however, allow you to customize the loop size and tail length to perfectly match the bag's proportions.
Choosing Safe, Non-Damaging Adhesives
- Double-Sided Tape: This is the gold standard for securing flat ribbon bands to paper bags. It applies smoothly, leaves no messy residue, and does not cause paper to wrinkle.
- Glue Dots: These pressure-sensitive adhesive dots provide an instant, dry bond. They are perfect for attaching heavier dimensional bows to both paper and plastic surfaces without any drying time.
- Low-Temperature Hot Glue: Highly effective for securing thick ribbons or heavy embellishments. However, it must be used with caution on thin plastic bags to prevent melting, and it requires careful handling to avoid minor burns.
Essential Cutting and Measuring Tools
- Sharp Fabric Scissors: Dull household scissors will chew through ribbon fibers, causing immediate fraying. Dedicate a sharp pair of scissors solely to cutting your ribbons.
- Clear Plastic Ruler: A ruler ensures that every ribbon band is cut to the exact same length, maintaining consistency across all your giveaways.
- Cutting Mat: A self-healing mat protects your work surface and provides helpful grid lines for quick measurements.
Step-by-Step Guide to Attaching Ribbons and Bows
Once your materials are ready, follow these sequential steps to assemble your decorated bear loot bags. Working in an organized assembly line will help you maintain high quality across all bags.

Step 1: Preparing and Cleaning the Bag Surface Before applying any adhesive, ensure the surface of each bag is completely clean and dry. For plastic bear loot bags, wipe the exterior gently with a dry microfiber cloth to remove any manufacturing dust or oils, which can prevent tape or glue from bonding. For paper bags, lay them completely flat on your workspace and smooth out any accidental creases.
Step 2: Measuring, Cutting, and Securing Flat Ribbon Accents To create a beautiful horizontal band across the bag, measure the width of the bag using your ruler. Cut a length of ribbon that matches this width exactly, or add two centimeters to each side if you prefer to wrap the ribbon edges around the back of the bag for a seamless look. Apply a strip of double-sided tape directly to the back of the ribbon. Carefully align the ribbon on the bag, press down on one end, and smooth it across to the other end to prevent air bubbles or warping.
Step 3: Attaching Dimensional Bows To attach a pre-made or hand-tied bow, apply a single glue dot or a small, pea-sized dab of low-temperature hot glue directly to the back of the bow’s center knot. Press the bow firmly onto your chosen spot on the bag—such as the base of the handle or right under the bear’s chin. Hold it in place for five seconds to allow the adhesive to bond. Be careful to press only the center knot, leaving the loops fluffy and uncrushed.
Step 4: Creating and Attaching Curled Ribbon Accents If your bear loot bags have handles, curling ribbon adds a wonderful festive touch. Cut a 30-centimeter length of curling ribbon and tie it securely around the handle with a double knot. Open your scissors, hold the ribbon flat against the dull outer edge of one blade, and press your thumb gently against the ribbon. Pull the scissors quickly and smoothly along the ribbon length away from the knot. The ribbon will instantly coil into a bouncy spiral. Repeat this process with two or three contrasting colors for a vibrant look.
Planning Design Arrangements and Placement
The placement of your ribbons and bows should complement the existing bear graphics on your loot bags rather than cluttering them. A thoughtful layout ensures the design looks intentional and professional.
Symmetrical vs. Asymmetrical Placements
- Asymmetrical Placement: If your bag features a large, centered illustration of a bear's face, placing a single medium-sized bow on one of the bear's ears adds a whimsical, playful touch. This works incredibly well for cartoon-style designs.
- Symmetrical Placement: For bags with an all-over repeating bear pattern or a simple solid color, a centered bow at the very top of the bag or right at the base of the handles provides a classic, balanced frame.
Framing the Bear Motif and Coordinating Colors Use thin ribbon bands to frame the central bear graphic. For example, running a horizontal ribbon band along the bottom third of the bag acts as a ground line for the bear illustration, anchoring the design. When choosing ribbon colors, coordinate them with the broader birthday party theme. For a classic teddy bear picnic, pair brown kraft paper bags with red-and-white gingham ribbons. For a modern pastel theme, soft pink, lavender, and mint green satin ribbons create a gentle, cohesive aesthetic.
Balancing Proportions Always match the scale of your decorations to the size of the loot bag. A massive bow on a small favor bag costing under ₱20 will make the bag top-heavy, causing it to tip over on your display table. It can also completely obscure the cute bear print. As a general rule, keep the width of your bow within half to two-thirds of the bag’s total width to maintain a balanced silhouette.
Avoiding Common Decorating Mistakes
When assembling multiple giveaways, a few common pitfalls can ruin your hard work or cause the decorations to fall apart before the party even begins.
Preventing Adhesive Bleed-Through and Warping Avoid using standard liquid school glue on paper bear loot bags. The high water content in liquid glue saturates paper fibers, leading to unsightly warping, wrinkling, and ink bleeding. On glossy plastic bags, liquid glue often fails to bond entirely, peeling off easily once dry. Stick to dry adhesives like double-sided tape or glue dots to keep your bags looking pristine.
Preventing Ribbon Fraying Unraveling ribbon ends look messy and unfinished. To prevent this, always cut your ribbons at a sharp 45-degree angle or use a classic V-cut (chevron cut). For synthetic ribbons like polyester satin or grosgrain, you can seal the edges by quickly passing the cut end near a small flame for a fraction of a second. This melts the plastic fibers together, creating a permanent seal. Always perform ribbon sealing in a well-ventilated, draft-free area away from children, and keep a cup of water nearby for safety.
Protecting Dimensional Bows from Crushing When assembling bags days in advance, do not stack them directly on top of each other once the dimensional bows are attached. The weight of the bags will flatten the loops, ruining the 3D effect. Instead, store them upright or side-by-side.
Inspecting and Storing the Finished Bags
Before packing your decorated bear loot bags for the party venue, take a few minutes to inspect each one to ensure they survive transport and handling.
Performing the Tug-Test Gently tug on each ribbon band and bow to confirm the adhesive has fully bonded. If a bow feels loose or wobbly, reinforce it immediately with an extra glue dot or a small dab of low-temperature hot glue. This simple check prevents embarrassing moments where decorations fall off as guests handle their favors.
Checking for Exposed Adhesive Run your finger lightly around the edges of the attached ribbons and bows. If any double-sided tape or hot glue has squeezed out beyond the ribbon, cover it or remove it. Exposed adhesive will cause the bags to stick to each other when packed together, leading to torn paper or ruined designs when you try to separate them at the party.
Proper Storage Techniques Store your finished bear loot bags upright in a single layer inside a shallow plastic container or a sturdy cardboard box. Keep the container in a cool, dry room away from direct sunlight and high humidity. Tropical humidity can soften certain adhesives over time, so keeping them in a dry environment ensures your beautiful ribbons and bows remain perfectly intact until the birthday celebration.
Frequently Asked Questions (FAQ)
Can I use regular liquid glue on paper bear loot bags?
No, regular liquid school glue is not recommended for paper bear loot bags. The high water content in liquid glue causes paper fibers to swell, leading to warping, wrinkling, and potential ink bleeding on the printed bear design. Additionally, liquid glue has a long drying time, which slows down your assembly line. Instead, use dry adhesives such as double-sided tape, glue dots, or high-quality glue sticks for a clean, instant, and wrinkle-free bond.
How do I keep curled ribbons from tangling in the loot bag handles?
To prevent curled ribbons from tangling, keep the finished curl length relatively short—ideally under 15 centimeters. When tying the ribbon to the handle, ensure the base knot is pulled very tight so the curls do not slide around. If you are transporting the bags in tight boxes where tangling is highly likely, consider wrapping the handles directly with flat ribbon instead, or wait to curl the ribbons until you arrive at the party venue.

Community discussion
Share your experience or ask a question. Comments are reviewed before publication.