
Decorating loot bags with ribbons and bows elevates simple party favors into memorable, eye-catching gifts that build anticipation for your guests. Whether you are preparing for a children’s birthday party, a local fiesta, or a milestone family celebration, the presentation of your giveaways sets the tone for the entire event. Even if you are budgeting ₱50 or ₱200 per favor, a beautifully wrapped package shows extra care. By mastering a few basic tying and adhesive techniques, you can transform standard paper, plastic, or non-woven bags into professional-looking packages. The key lies in selecting the right materials, using the correct tools, and applying secure attachment methods that withstand handling and tropical humidity.
Choosing the Right Ribbons and Bows for Your Loot Bags
Selecting the ideal ribbon starts with evaluating the material of your loot bags. Paper bags, especially those made from kraft paper or thick cardstock, offer a sturdy structure that can easily support tied ribbons or glued embellishments. Plastic loot bags, which are often thin and flexible, require lightweight ribbons and gentle adhesives to avoid tearing or warping the material. Non-woven fabric bags, popular for their durability and reusable nature, pair beautifully with woven ribbons that can be threaded directly through their handles or stitched securely.
The width and texture of your ribbon must match the bag’s size and weight capacity to maintain visual balance. A tiny, narrow ribbon on a large loot bag can look lost, while an overly wide, heavy ribbon can cause a small paper bag to sag or tip over. For standard medium-sized bags, ribbons with a width of 1/2 inch to 1 inch generally provide the best proportion. If your giveaways are heavy, choose a robust ribbon material like grosgrain, which has a ribbed texture that resists slipping and adds structural support to the bag’s handles.
Products mentioned in this guide
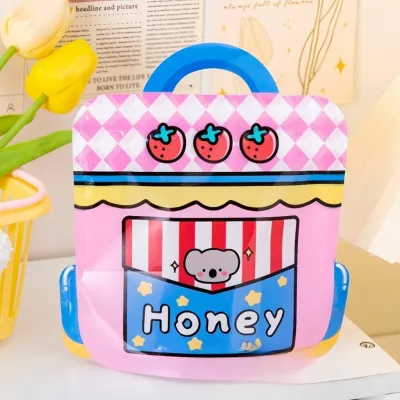
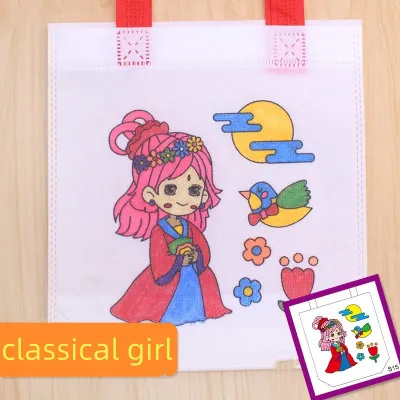
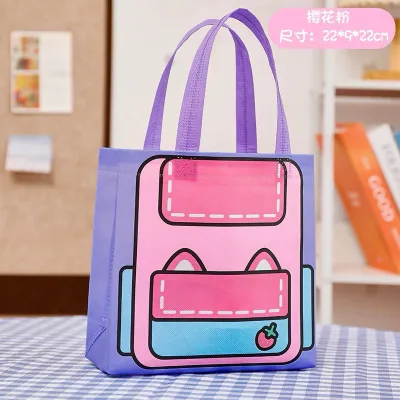
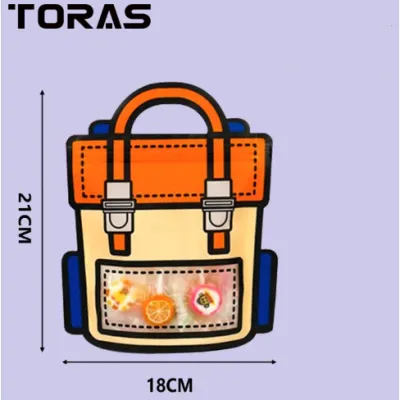
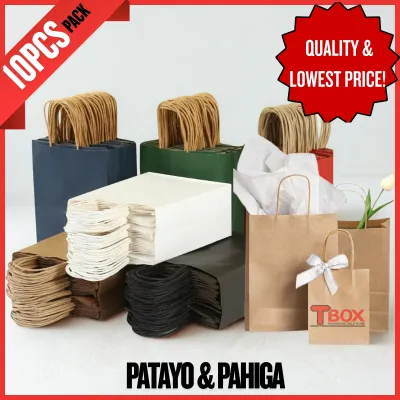
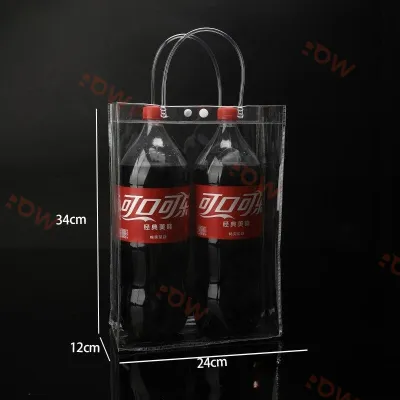
Prices are valid at publication and may change. Please refer to the product page for the latest price.
When planning your assembly process, you must decide between pre-made bows and continuous ribbon spools. Pre-made bows with self-adhesive backings are excellent for saving time, especially when preparing dozens of giveaways for large gatherings. However, continuous ribbon spools offer unlimited customization, allowing you to tie custom knots, adjust tail lengths, and mix different colors or textures. If you choose to tie your own bows, factor in the extra assembly time and practice on a single bag first to establish a consistent style.
In tropical climates where humidity levels are high, checking the colorfastness and durability of your ribbon is essential. Some cheap, dyed satin ribbons can bleed color onto light-colored paper bags when exposed to moisture or damp hands. To prevent ruined giveaways, perform a quick rub test with a damp white cloth on a sample piece of ribbon before purchasing in bulk. Additionally, ensure the ribbon material does not fray easily at the edges, as handled loot bags will undergo significant friction during distribution.
Essential Tools and Materials for Bag Decoration
Having the right tools on hand ensures clean cuts, secure bonds, and a stress-free crafting experience. A pair of dedicated, sharp fabric scissors is the most critical tool in your kit. Dull household scissors will chew through ribbon fibers, leaving messy, frayed edges that detract from a polished look. Keep a reliable ruler or measuring tape nearby to ensure every ribbon segment is cut to the exact same length, maintaining consistency across all your party favors.

The choice of adhesive depends entirely on the surface finish of your loot bags. For matte paper bags, standard double-sided tape or clear-drying craft glue works exceptionally well because the porous fibers absorb the adhesive for a strong bond. Glossy or laminated paper bags, as well as plastic bags, have non-porous surfaces that require stronger, instant-bonding options like glue dots or low-temperature hot glue. If you are working with textured non-woven fabrics, a flexible fabric glue or a carefully applied dab of hot glue will provide the necessary grip.
To achieve structured, voluminous bow shapes that do not sag, consider using wire-edged ribbons. These ribbons contain thin wires along their borders, allowing you to shape and fluff the loops so they remain upright throughout the event. If you are using lightweight curling ribbon, a simple curling tool or the dull edge of a pair of scissors can be used to create tight, playful spirals that add movement to your decorations.
Safety should always be a priority, particularly if family members or children are helping assemble the loot bags. If you choose to use hot glue guns, opt for low-temperature models to minimize the risk of accidental burns. Always set up a designated gluing station on a heat-resistant surface, away from high-traffic areas, and supervise younger helpers closely if they are assisting with non-heat tasks like cutting ribbon or placing pre-made bows.
Step-by-Step Techniques for Attaching Ribbons and Bows
Before applying any decorative elements, you must decide whether to tie the ribbon directly through the bag’s handles or adhere it to the bag’s body. Tying is ideal for bags with pre-punched holes or sturdy handles, as it integrates the decoration into the bag’s functional design. Adhering is better suited for flat-top bags or envelope-style pouches where a clean, front-facing embellishment is desired. Regardless of the method, always ensure the bag’s surface is completely clean, dry, and free of dust or oils that could compromise the adhesive bond.
Tying Classic Bows and Knots Directly on the Bag
To tie a classic bow directly onto a bag’s handle or through punched holes, start by measuring and cutting the ribbon. A good rule of thumb is to cut a length that is roughly four to five times the width of the finished bow to ensure you have enough slack for comfortable tying. For a standard medium bag, a ribbon length of 18 to 24 inches is usually sufficient. Fold the ribbon in half to find the center point, and align this center with the middle of the bag’s handle or the punched holes to ensure equal tail lengths on both sides.
Thread the ribbon through the holes or wrap it around the handle, then tie a secure base knot. If you are using slippery materials like satin or silk, a standard single knot can easily loosen; instead, use a square knot or a double-pass knot to create a firm foundation. Once the base is secure, form two loops with the ribbon ends, cross them over, and pull one loop through the central space to form the bow. Keep your tension even as you pull to prevent the center knot from twisting or distorting.
After forming the bow, adjust the loops and tails until they are symmetrical and proportional to the bag. Hold the center knot firmly with one hand while gently pulling the loops to resize them, then pull the tails to tighten the knot. To finish the look, trim the ribbon ends at a sharp 45-degree angle or fold the ribbon vertically and cut diagonally outward to create a classic V-cut. This not only looks professional but also helps prevent the woven threads from unraveling.
If you find that the ribbon material is exceptionally smooth and the bow tends to slip open during handling, you can reinforce the knot. Apply a tiny, pinpoint dab of clear-drying craft glue or a miniature glue dot directly inside the center knot of the bow. Press the knot firmly for a few seconds to set the adhesive, ensuring the bow remains securely shaped even when guests carry their loot bags home.
Using Adhesives for Pre-Made Bows and Embellishments
When working with pre-made bows or attaching ribbon accents to flat surfaces, testing your adhesive is a critical first step. Apply a small amount of your chosen glue or tape to a hidden area of the bag, such as the inside flap or the bottom fold. Check the test spot after a few minutes to ensure the adhesive does not warp the paper, dissolve glossy coatings, or bleed through to the other side of the bag. If the test area remains flat and undamaged, you can proceed with confidence.
To maintain a clean and professional finish, always apply the adhesive directly to the base of the pre-made bow rather than onto the bag itself. This technique prevents excess glue from squeezing out around the edges of the bow, which can leave unsightly shiny residue on matte paper or plastic. Use a small, controlled amount of glue—a pea-sized drop of hot glue or a single glue dot is usually more than enough to secure a lightweight bow. Press the bow firmly onto the designated spot on the bag and hold it in place for five to ten seconds.
Allowing the adhesive to cure completely is vital before you begin packing or stacking your decorated loot bags. Even fast-acting adhesives like hot glue require a few minutes to cool and harden fully, while liquid craft glues may need several hours to reach maximum bond strength. Lay the decorated bags flat in a single layer on a clean table, ensuring they do not touch or overlap while drying. Stacking them too early can cause the bows to stick to adjacent bags, leading to tears and ruined decorations when you try to separate them.
Be mindful of stop conditions when using heat-based adhesives on sensitive materials. Never use hot glue on thin plastic loot bags, as the high temperature will instantly melt, warp, or burn holes through the plastic. For plastic mediums, rely exclusively on high-tack double-sided tape, glue dots, or specialized cold-pour liquid adhesives. If you notice any smoke, melting, or strong chemical odors during application, stop immediately and switch to a safer, non-heat adhesive alternative.
Pro Tips for a Polished and Secure Presentation
To elevate your party favors from simple to stunning, try layering different ribbon styles to add visual depth and texture. Start with a wide, solid-colored ribbon as your base—such as a 1.5-inch grosgrain ribbon in a neutral tone—and layer a narrower, patterned or metallic ribbon over the top. This multi-textured approach creates a sophisticated, high-end look that makes your giveaways feel incredibly special. You can secure the two ribbons together with a thin strip of double-sided tape before tying them onto the bag.
Before you begin filling your decorated loot bags with heavy items like candies, toys, or small books, perform a gentle tug-test on every attached bow and knot. Give the loops and tails a light pull to ensure they are firmly anchored and will not slip loose under the weight of the contents. If a bow feels loose or slides easily along the handle, reinforce it immediately with an extra dab of adhesive or retie the knot tighter. It is much easier to fix a loose bow during assembly than to repair it once the bags are fully packed and ready for distribution.
Proper storage is crucial for preserving the shape of your ribbons and the strength of your adhesives, especially in warm, humid environments. Store your completed, empty loot bags flat in a cool, dry room away from direct sunlight, which can fade vibrant ribbon colors over time. Avoid storing them in damp areas, as high humidity can soften water-based glues and cause paper bags to lose their crispness. If you must stack the bags, place a sheet of clean parchment paper between each layer to prevent the bows from getting crushed or sticking together.
To complete your party favor presentation, integrate complementary stationery elements that tie the whole theme together. Thread a customized gift tag onto the ribbon before tying the final bow, or place a matching sticker over the ribbon ends on the front of the bag. Using consistent fonts, colors, and motifs across your tags, stickers, and ribbons creates a cohesive look that shows your guests you paid attention to every detail. These small, thoughtful touches make your loot bags feel like a true extension of your celebration.
Frequently Asked Questions (FAQ)
How do I keep ribbon bows from unraveling on loot bags?
To prevent slippery ribbon bows from unraveling, apply a tiny drop of clear-drying craft glue or a small glue dot directly inside the center knot of the bow after tying. Press the knot firmly for a few seconds to secure the bond. Alternatively, you can use wire-edged ribbons, which naturally hold their shape and resist slipping much better than smooth satin or silk options. For ribbon tails, always trim the ends at an angle or seal them with a fray-preventing liquid to keep the woven edges intact.
What is the best ribbon width for standard paper loot bags?
For standard paper loot bags measuring approximately 5 by 8 inches, a ribbon width of 1/2 inch to 1 inch is highly recommended. This size provides a balanced, proportional look without overwhelming the bag’s design. Before purchasing, always measure the pre-punched handle holes on your bags; the ribbon should be narrow enough to pass through easily without tearing the paper, yet wide enough to sit flat and look substantial once tied.
Community discussion
Share your experience or ask a question. Comments are reviewed before publication.