
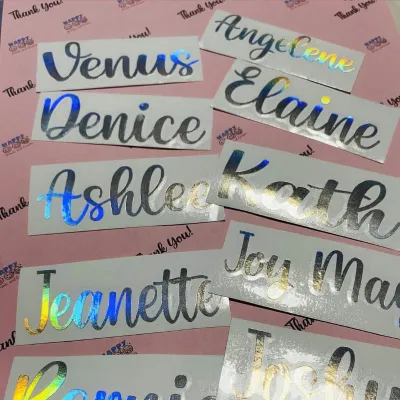
Creating custom name stickers for your journal is an excellent way to personalize your planner layouts, label key sections, and establish a cohesive aesthetic. The process involves designing a digital template with your chosen typography, selecting the correct sticker paper compatible with your home printer, printing the layout, and carefully cutting the finished designs. By making your own stickers, you gain complete control over the size, color palette, and style, ensuring they fit your journal pages perfectly.
Whether you want to label monthly logs, mark personal belongings, or add decorative nameplates to your weekly spreads, custom stickers offer a clean and consistent look that hand lettering cannot always replicate. With a few basic tools and some careful planning, you can produce professional-looking stationery right at your desk.
Planning Your Custom Name Sticker Design
Before diving into design software, you need to establish the visual direction of your name stickers. The design should harmonize with your journal’s overall theme, whether that is a minimalist layout, a vintage sepia aesthetic, or a vibrant, colorful spread.
Products mentioned in this guide
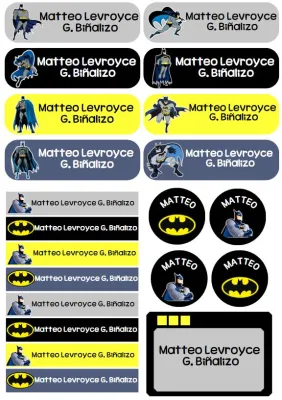
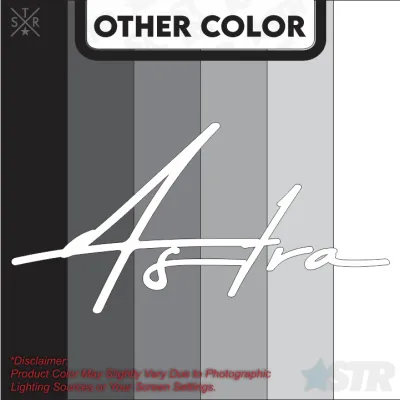
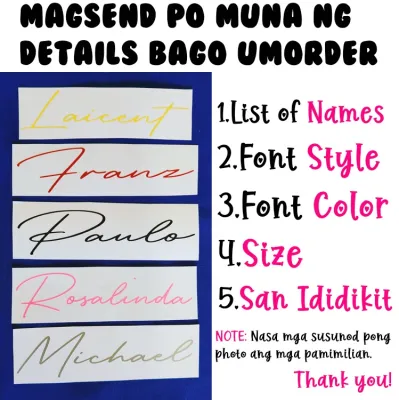
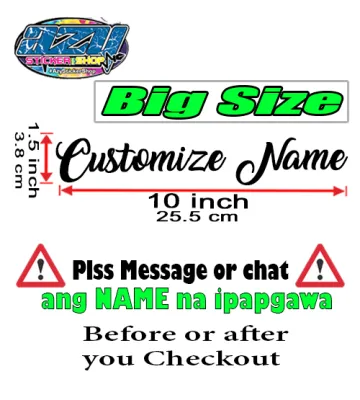



Prices are valid at publication and may change. Please refer to the product page for the latest price.
Selecting Typography and Fonts
Typography is the most critical element of a name sticker. Because these stickers are often printed in small dimensions, font legibility is paramount.
- Script and Cursive Fonts: These add an elegant, personal touch to your journal. However, avoid fonts with excessively thin connecting lines, as they can blur during printing or tear easily if you plan to cut close to the letters.
- Sans-Serif Fonts: Clean, modern sans-serif typefaces offer maximum readability at tiny sizes. They are ideal for functional indexing or minimalist layouts.
- Serif and Display Fonts: These work beautifully for vintage or retro themes, providing a structured yet decorative header for your pages.
Determining Sticker Dimensions
To ensure your stickers fit seamlessly, measure your journal’s grid or line spacing. Most bullet journals use a 5mm dot grid. A name sticker designed to span three grid squares vertically will need to be exactly 15mm (1.5cm) tall. Measure the width of your journal columns as well; a header sticker should ideally not exceed 5cm to 8cm in width, leaving ample room for your daily entries.
Color Palettes and Contrast
When choosing colors, prioritize high contrast between the text and the sticker background. If you use a dark background color, ensure the name text is white or a very light pastel. If you prefer a transparent or white background, use deep, saturated colors for the text. Keep in mind that colors often print slightly darker than they appear on a bright computer screen. If you are designing for a specific journal theme, try pulling color inspiration from your favorite washi tapes or colored gel pens to create a unified look.
Choosing the Right Materials and Tools
Your choice of materials directly impacts the durability, appearance, and usability of your custom stickers. Selecting compatible paper and tools prevents common crafting frustrations like ink smudging or torn edges.

Comparing Sticker Paper Finishes
The finish of your sticker paper determines how the final product looks and how it interacts with other stationery tools.
- Matte Sticker Paper: This finish has a texture similar to standard copy paper. It absorbs ink quickly, making it highly resistant to smudging. It is the best choice if you plan to write over or around your stickers using gel pens, fine liners, or highlighters.
- Glossy Sticker Paper: Glossy paper makes colors appear incredibly vibrant and sharp. However, in humid tropical climates, glossy surfaces can remain tacky and take much longer to dry. Additionally, standard water-based journaling pens will smudge or bead up on glossy surfaces.
- Transparent Sticker Paper: This option allows your journal's grid lines or background colors to show through the sticker, creating a seamless, printed-on-the-page effect. It requires high-contrast designs, as lighter colors can appear washed out on transparent backing.
Verifying Printer Compatibility
Always check the packaging of your sticker paper to verify if it is formulated for inkjet or laser printers. Inkjet printers use liquid ink, which requires absorbent, specially coated paper to dry correctly. Laser printers use heat to fuse dry toner powder onto the sheet; using inkjet-specific glossy paper in a laser printer can cause the coating to melt, potentially damaging your printer’s internal components.
Selecting Cutting Tools
Your cutting method should match the complexity of your sticker shapes. For simple rectangles or square borders, a standard paper trimmer or a pair of craft scissors is sufficient. For intricate, custom-shaped borders (often called die-cut or kiss-cut stickers), a precision craft knife paired with a metal-edged ruler is highly recommended. A metal ruler prevents the blade from jumping and cutting your fingers, offering a level of safety that plastic rulers cannot provide.
Protecting Your Designs
If your journal is handled frequently, carried in a bag, or exposed to humid environments, the printed ink can wear off or bleed over time. To protect your stickers, you can apply a cold-laminating sheet over the printed paper before cutting. Alternatively, a very light, even coat of clear acrylic spray sealant can protect matte paper, though this must always be applied outdoors or in a highly ventilated area to avoid inhaling fumes.
Step-by-Step Guide to Designing and Printing
Once you have planned your design and gathered your materials, you can begin the digital creation and printing process. Following a structured workflow ensures high-quality results and minimizes paper waste.
Step 1: Set Up the Digital Canvas
Open your preferred graphic design software or a free online design platform. Create a new document and set the canvas size to match your physical printer paper. In the Philippines, A4 (210mm x 297mm) is the standard size for most craft paper packs. Set your document resolution to 300 DPI (dots per inch) to ensure your text and borders print sharply without pixelation.
Step 2: Establish Safe Zones and Bleed Areas
When designing, leave a safe zone of at least 3mm to 5mm around the outer edges of your A4 canvas, as most home printers cannot print completely borderless. For each individual name sticker, add a “bleed” or a safe cutting margin of at least 2mm around the text. This ensures that if your blade slips slightly during cutting, you will not accidentally cut into the name itself.
Step 3: Arrange the Print Layout
To maximize your sticker sheet, duplicate your name design to fill the page. Arrange them in neat rows and columns. Leave a gap of at least 5mm between each sticker. This spacing gives your scissors or craft knife enough room to maneuver without damaging adjacent designs. Grouping different color variations of your name on a single sheet is a great way to create a versatile sticker pack for different monthly journal themes.
Step 4: Adjust Printer Settings
Before hitting print, open your printer’s advanced settings dialog box. Change the media type from “Plain Paper” to “Photo Paper,” “Matte Photo Paper,” or “Thick Paper,” depending on your sticker sheet’s specifications. This adjustment tells the printer to slow down the feeding mechanism and apply the correct amount of ink for a dense, high-quality finish. Set the print quality to “High” or “Best.”
Step 5: Run a Test Print
Never print directly onto your expensive sticker paper first. Run a test print on a standard sheet of cheap 70gsm or 80gsm copy paper. Cut out one of the test names and place it in your journal. Check the following criteria:
- Is the font size readable in your actual journal layout?
- Are the colors accurate, or do they look too dark under your desk lamp?
- Is the spacing between the stickers wide enough for comfortable cutting?
Once the test print meets your expectations, load a single sheet of sticker paper into your printer’s manual feed tray and print your final design.
Cutting, Peeling, and Applying Your Stickers
Proper handling of your printed sheet prevents smudging and ensures your stickers look clean and professional when applied to your journal pages.
Step 1: Verify Ink Dryness
In warm, humid climates, ink can take significantly longer to dry completely. Let your printed sticker sheet sit flat in a dry, well-ventilated room for at least 15 to 30 minutes. Before you begin cutting, perform a gentle touch test on a small, unprinted corner of the sheet to ensure there is no residual moisture or tackiness.
Step 2: Execute Clean Cuts
Place your sticker sheet on a dedicated self-healing cutting mat. If you are using a precision craft knife, hold it at a 45-degree angle, much like a pen. Press firmly but smoothly, using your non-dominant hand to hold the metal ruler flat against the paper. Always cut away from your body. For curved borders, rotate the sticker paper slowly with your free hand while keeping the knife blade relatively stationary; this technique yields much smoother curves than trying to twist your wrist.
Step 3: Peel Without Damaging
Peeling thin sticker paper can sometimes cause the edges to curl or the paper layers to separate. To avoid this, bend a corner of the backing paper slightly away from the sticker until the adhesive edge pops up. Use a pair of fine tweezers or the tip of your craft knife to gently lift the sticker from the backing, rather than picking at it with your fingernails.
Step 4: Position and Smooth
Hover the sticker slightly above your journal page to align it with your grid lines. Once positioned, lower one edge of the sticker onto the page first. Use your thumb or a soft plastic scraper to smooth the sticker down gradually from the center outward. This technique pushes out trapped air, preventing unsightly bubbles and creases on your journal page.
Troubleshooting Common Printing and Cutting Issues
Even with careful preparation, you may encounter minor technical difficulties. Most printing and cutting issues can be resolved with quick adjustments to your equipment or settings.
Resolving Ink Smearing and Bleeding
If the ink on your stickers smudges when touched, the printer may be depositing too much ink for the paper to absorb. Try lowering the print quality setting from “High” to “Standard,” or change the paper type setting to a standard matte profile. If you are using glossy paper, ensure you are not using a pigment-based ink, as pigment inks struggle to adhere to glossy coatings; dye-based inks generally perform better on glossy surfaces.
Preventing Paper Jams
Sticker paper is significantly thicker and stiffer than standard copy paper, which can cause it to slip or get stuck in the printer’s internal rollers. To prevent jams, avoid loading a stack of sticker sheets into the main paper tray. Instead, feed your sticker sheets one by one through the printer’s manual feed slot or rear paper bypass tray. This provides a straighter path through the printer, reducing the risk of bending or jamming.
Correcting Misaligned Cuts
If your cuts are consistently off-center, check your print settings to ensure that “Fit to Page” or “Shrink to Fit” is disabled. These settings scale your design down by a small percentage, causing the printed layout to mismatch your digital cutting guides. Always print at “Actual Size” or “100% Scale” to maintain precise alignment between your digital design and your physical cuts.

Community discussion
Share your experience or ask a question. Comments are reviewed before publication.