
Transforming your living space with DIY home decor using specialty paper offers a unique blend of texture, translucency, and artistic expression. Unlike standard printer paper, specialty paper comes in various weights, fibers, and finishes that allow you to craft durable, high-end design elements. From dimensional wall art that plays with light and shadow to custom lampshades that cast a warm, textured glow, paper crafting is an accessible way to personalize your home.
To achieve professional results, you must understand how different paper grades behave under various conditions. In tropical climates like the Philippines, high relative humidity can soften paper fibers, making material selection and proper sealing crucial steps in the crafting process. By mastering a few fundamental cutting, folding, and bonding techniques, you can create stunning, long-lasting accent pieces that elevate your interior design.
Choosing the Right Specialty Paper for Your Project
Matching the physical properties of your paper to the structural demands of your project is the foundation of successful paper crafting. For lighting projects, translucent papers such as Japanese washi or heavy vellum are ideal because they diffuse light beautifully without completely blocking it. Washi, made from long natural fibers like mulberry, offers exceptional tear resistance and a soft, organic texture, while vellum provides a crisp, modern, frosted appearance.
Products mentioned in this guide
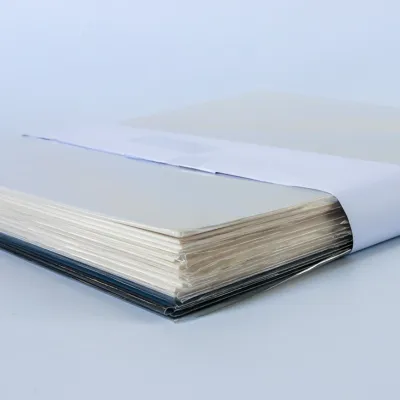
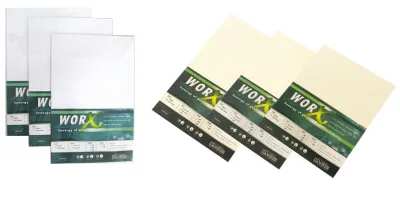
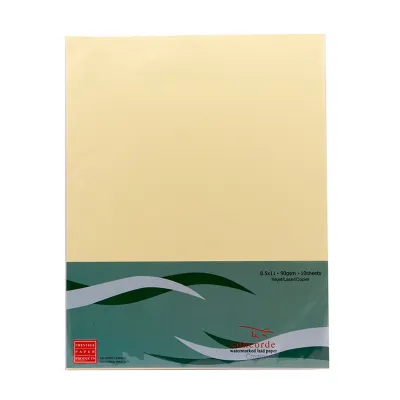
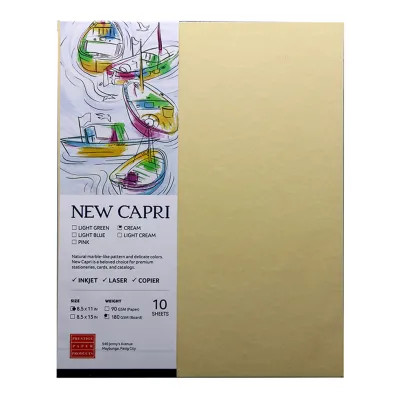
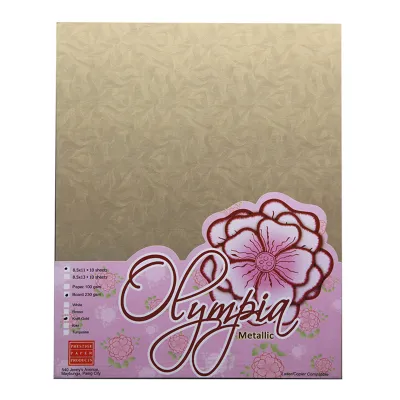
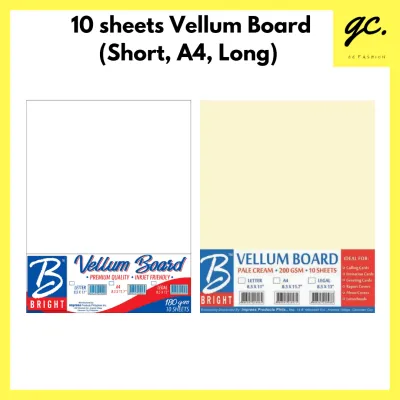
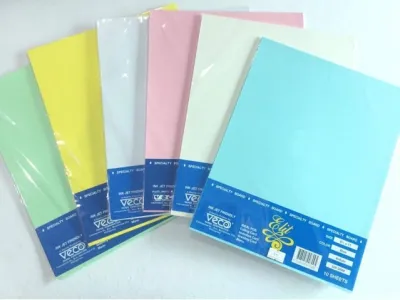
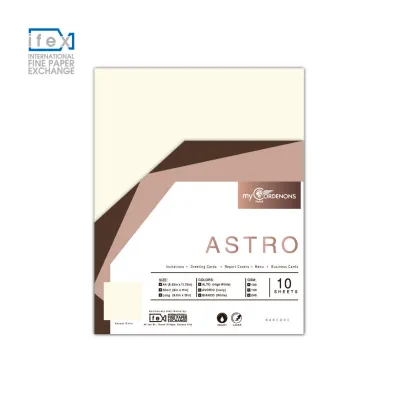
Prices are valid at publication and may change. Please refer to the product page for the latest price.
For structural, three-dimensional projects like geometric vessels or wall sculptures, you need heavy cardstock or corrugated paper with a high weight, typically between 220 and 300 grams per square meter (GSM). This thickness provides the necessary rigidity to hold sharp folds and support its own weight. For flat or layered wall art, textured sheets such as cotton rag, embossed paper, or handmade bark paper add tactile depth that standard papers cannot replicate.
Before purchasing your materials, always verify the paper specifications. Check the GSM rating to ensure it is compatible with your tools; extremely heavy cardstock may require heavy-duty cutting blades rather than standard craft knives. Additionally, consider the environmental suitability of your display area. Untreated paper is highly sensitive to moisture, so avoid placing delicate paper decor in high-humidity zones like bathrooms or unventilated kitchens where mold and warping are common risks.
Essential Tools and Materials for Paper Crafting
Having the right tools ensures clean cuts, precise folds, and secure assemblies that make your DIY projects look professionally made. A sharp craft knife with replaceable snap-off blades is essential for intricate detailing, as dull blades will tear and fray paper fibers. Pair this with a self-healing cutting mat to protect your work surface and preserve your blade’s sharpness, and a heavy metal ruler to guide your straight cuts safely.

For crisp, clean creases, a bone folder is indispensable. This simple tool compresses paper fibers along a fold line, preventing the paper from cracking or splitting, which is especially common with heavy, coated cardstock. When it comes to adhesives, select your glue based on the weight of the paper. Acid-free glue sticks and double-sided tape are excellent for lightweight papers because they contain minimal moisture, preventing the paper from buckling or warping. For larger, layered projects, an acid-free spray adhesive provides even, bubble-free coverage.
To extend the lifespan of your finished decor, plan for surface protection. Applying a light, even coat of a UV-resistant matte acrylic sealant can shield the paper from fading in direct sunlight and offer a basic barrier against ambient humidity. Always test any sealant on a scrap piece of your specialty paper first to ensure it does not alter the color or texture in an undesirable way.
Step-by-Step Guide: Creating Textured Wall Art
Layered paper art relies on physical depth and shadow to create a striking visual impact. Begin by sketching your design on a piece of scrap paper, planning the layering sequence from the background to the foreground. Once your design is finalized, create templates for each individual layer and trace them gently onto the back of your selected specialty papers using a light pencil. This prevents visible pencil marks from ruining the clean front face of your art.
Next, place your paper on the self-healing mat and use your craft knife to execute the cuts. Work slowly, rotating the paper rather than your hand to navigate tight curves and intricate details. To add organic dimension, use your bone folder or the rounded edge of a pen to gently curl the edges of specific cutouts, such as leaf petals or geometric flaps, upward. This simple shaping technique introduces natural shadows that change throughout the day as the room’s lighting shifts.
For assembly, use double-sided foam tape to join the layers. The thickness of the foam tape creates a physical gap between the sheets, enhancing the three-dimensional effect. Secure the completed assembly to a rigid backing board, such as acid-free foam core or heavy chipboard, using a strong double-sided adhesive. Finally, mount your artwork inside a shadow box frame. The glass cover is essential for protecting the delicate, raised paper edges from dust, physical damage, and moisture.
Step-by-Step Guide: Making a Custom Paper Lampshade
A custom paper lampshade can transform the ambiance of a room by filtering light through beautiful textures. To begin, prepare your frame. You can repurpose an old wire lampshade frame by removing the old fabric or paper, cleaning the metal rings with a wire brush, and applying a fresh coat of rust-resistant paint if necessary. Measure the circumference of the top and bottom rings, as well as the vertical height, to calculate the dimensions of your paper panel, adding a 1.5-centimeter allowance for the vertical seam and a 2-centimeter allowance at the top and bottom.
Carefully cut your translucent specialty paper, such as a fibrous washi or a thick vellum, according to your measurements. Lay the paper flat and apply a thin, high-tack double-sided tape along one of the vertical edges. Roll the paper into a cylinder or cone around the frame, aligning the edges precisely before pressing the taped seam together to ensure a clean, seamless joint without visible glue marks.
To secure the paper to the frame, wrap the top and bottom allowances over the wire rings. Apply a thin bead of quick-drying craft glue or specialized lampshade adhesive to the inside of the fold, clamping the paper in place with wooden clothespins until dry. Safety is the most critical step in this project: ensure there is a clearance of at least 5 centimeters between the paper shade and the light bulb. Strictly use low-wattage, low-heat LED bulbs, which generate minimal heat. Never use incandescent or halogen bulbs, as they pose a serious fire hazard when paired with paper shades.
Step-by-Step Guide: Crafting 3D Accent Pieces and Vessels
You can leverage the natural stiffness of high-GSM specialty paper to construct geometric desk accessories, decorative bowls, or sculptural vessels. Start by selecting a geometric folding template or designing an interlocking slot pattern. Transfer the pattern lines onto your heavy cardstock (250 GSM or higher), using solid lines for cuts and dashed lines for folds.
Before folding, use your bone folder and a metal ruler to score every fold line deeply. Scoring is a critical step because it compresses the paper fibers along the line, allowing the paper to bend cleanly without tearing or creating jagged edges. Once scored, carefully fold the paper along the lines, reinforcing each crease with the flat side of the bone folder. If your design uses interlocking slots, slide the tabs into place; for folded designs, apply a thin layer of quick-drying PVA glue to the tabs, holding them firmly with paper clips until the adhesive sets.
To elevate the finished piece, apply edge treatments such as gilding with metallic ink or embossing the flat panels before assembly. Because paper vessels are lightweight, they can easily tip over if bumped. To ensure stability, glue a small, flat weight—such as a metal washer or a smooth, flat stone—to the inside bottom of the vessel. This lowers the center of gravity, making your structural paper art practical for daily display on shelves or side tables.
Maintenance and Care for Paper Home Decor
Preserving the beauty and structural integrity of your paper decor requires a gentle, water-free maintenance routine. Never use wet cloths, liquid sprays, or chemical cleaners on paper items, as moisture will dissolve adhesives, warp the fibers, and cause colors to bleed. To remove dust, gently sweep the surface with a soft-bristled brush, such as a clean makeup brush or a soft feather duster. For intricate, hard-to-reach areas, use a handheld hairdryer set to its coolest and lowest speed setting, holding it at least 30 centimeters away from the object.
Environmental placement plays a major role in the longevity of your creations. Avoid placing paper decor directly in the path of air conditioning vents, which blow cold, dry air that can cause paper to contract and curl. Keep your pieces away from humidifiers and open windows where sudden rain or high humidity can soften the paper. Additionally, position your decor out of direct sunlight to prevent the paper from yellowing, fading, or becoming brittle over time.
Regularly inspect your paper decor for signs of wear. If you notice mold spots, severe structural sagging, or any unusual odors near paper lampshades, immediately discontinue use and inspect the item. Taking these simple precautions ensures your handmade paper accents remain a beautiful, safe, and vibrant part of your home for years to come.
Frequently Asked Questions (FAQ)
Can I use regular printer paper instead of specialty paper for these projects?
Standard printer paper, which typically ranges from 70 to 80 GSM, lacks the structural integrity and aesthetic depth required for durable home decor. It easily warps when exposed to adhesives or humidity and lacks the rich textures of specialty sheets. However, you can use standard printer paper as a temporary, low-cost option for practicing complex folds, testing templates, or prototyping layouts before cutting into your premium specialty paper.
How do I prevent specialty paper from warping when applying glue?
Warping occurs when paper fibers absorb moisture from liquid glues, causing them to expand unevenly. To prevent this, use low-moisture adhesives such as acid-free glue sticks, high-tack double-sided tape, or dry spray adhesives. When using liquid craft glue, apply it sparingly with a brush in a thin, even layer rather than squeezing it directly from the bottle, and place a flat weight over the bonded area while it dries.
Is it safe to use paper lampshades in a child's room?
Yes, paper lampshades can be safe for a child’s room provided you follow strict safety protocols. You must use low-heat, low-wattage LED bulbs to eliminate the risk of heat buildup, and ensure the paper shade has adequate physical clearance from the bulb. Additionally, mount the light fixture securely on a wall or ceiling out of reach of children to prevent them from pulling, tearing, or tipping the lamp over during play.

Community discussion
Share your experience or ask a question. Comments are reviewed before publication.