
Creating a birthday surprise explosion box is an exceptional way to turn a simple gift-giving moment into an interactive, memorable experience. At first glance, the recipient sees a beautifully wrapped gift box adorned with elegant ribbons and bows. However, once they lift the lid, the sides of the box instantly cascade outward in a dramatic “explosion” of nested layers, revealing personalized photos, heartfelt messages, and a central gift compartment. This clever papercraft project combines structural engineering with creative gift wrapping, making it a favorite for milestone birthdays.
In tropical climates like the Philippines, high humidity can soften paper fibers and delay adhesive drying times. Choosing the right materials and construction techniques ensures your box remains structurally sound, stands upright without sagging, and pops open flawlessly when the lid is lifted. By selecting sturdy cardstock, using humidity-resistant adhesives, and mastering ribbon-wrapping techniques, you can craft a professional-quality explosion box that doubles as a cherished keepsake.
Materials and Tools Needed for Your Explosion Box
Before beginning your build, gathering the correct materials is essential for ensuring structural stability. The foundation of any successful explosion box is heavy cardstock. For the main structural layers and the lid, look for cardstock with a weight between 220 gsm and 300 gsm. This thickness provides the necessary rigidity to support attached photos and decorative elements without bowing. For the inner decorative panels, pockets, and decorative layers, a lighter cardstock or patterned paper of 120 gsm to 160 gsm is ideal, as it adds color without bulk.
Products mentioned in this guide
![[Fast Deliver] Surprise Explosion Box Valentines Day Love Memory DIY Photo Album For Anniversary Birthday Gift](https://img.lazcdn.com/g/ff/kf/Sd7809f723973434cbf54339e88079ce4L.png_400x400q80.png_.webp)
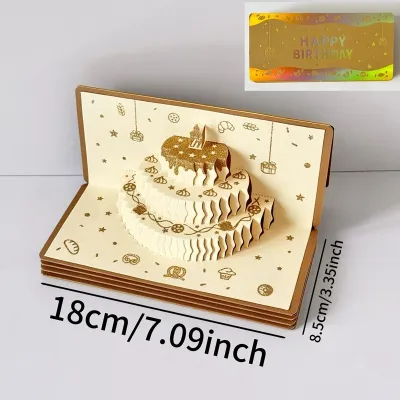
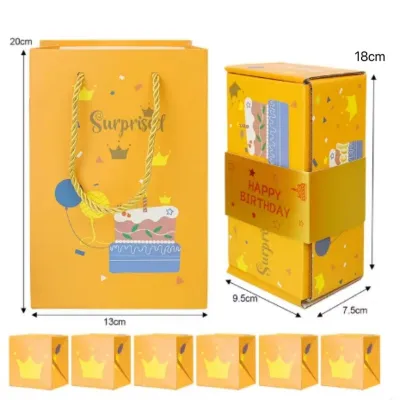
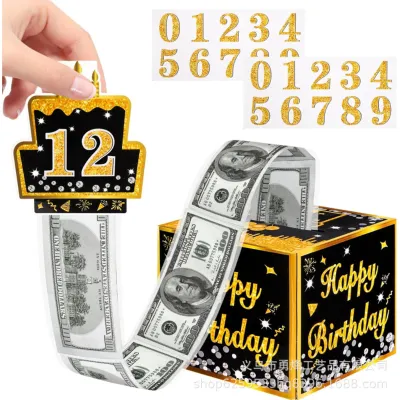
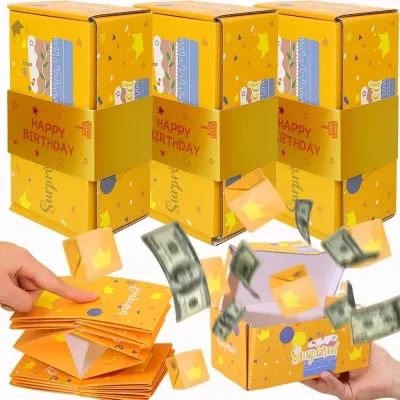
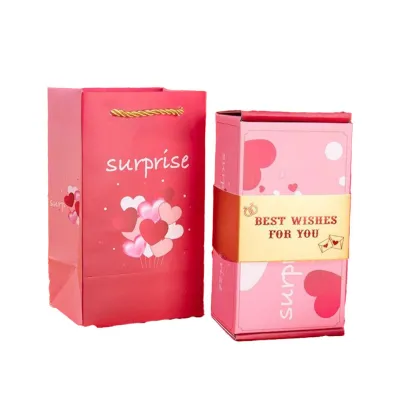
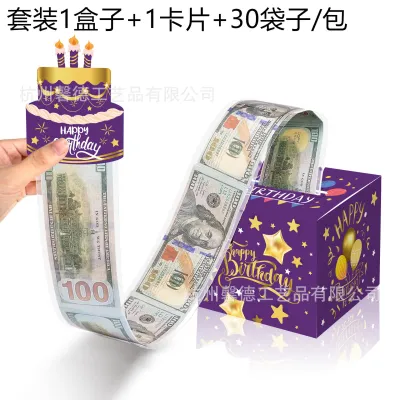
Prices are valid at publication and may change. Please refer to the product page for the latest price.
Adhesive selection is critical, especially when working in warm, humid environments. Standard liquid school glues contain high water content, which easily warps cardstock and causes unsightly ripples. Instead, opt for high-tack double-sided tape or adhesive rollers for paper-to-paper bonding, as they provide an instant, moisture-free hold. For securing fabric ribbons to paper, a specialized fabric glue or a low-temperature hot glue gun is recommended. Always conduct a quick test on scrap materials to ensure your adhesive does not bleed through the ribbon or discolor the paper.
Ribbons and bows add texture, movement, and elegance to the final reveal. Satin ribbons offer a luxurious, glossy finish that catches the light beautifully, while grosgrain ribbons provide a ribbed texture that holds knots and structured bows exceptionally well. A ribbon width of 1 inch (25mm) is perfect for wrapping the outer lid and creating a prominent focal bow, while a narrower 0.5-inch (12mm) ribbon works best for internal accents and pull-tabs. You can hand-tie your own bows for a custom look or use high-quality pre-made bows to save time.
Having the right precision tools will make the measuring and cutting process seamless. You will need a self-healing cutting mat, a heavy metal ruler to guide your cuts, a sharp utility knife or precision craft knife, and a scoring tool or bone folder. A scoring tool is indispensable for creating clean, crisp creases in heavy cardstock, preventing the paper fibers from cracking when folded.
Step-by-Step Guide to Constructing the Base Box
To create the signature cascading effect, you will construct three nested layers that fit precisely inside one another. The outer layer serves as the main chassis, while the middle and inner layers add depth and complexity to the reveal.

Start by constructing the outer layer. Cut a sheet of heavy cardstock to exactly 12 x 12 inches. Using your metal ruler and scoring tool, score lines at 4 inches and 8 inches along one side. Rotate the cardstock 90 degrees and repeat the scoring process. This creates a grid of nine 4 x 4-inch squares. Using your utility knife, carefully cut away the four corner squares completely, leaving a clean cross shape with a 4 x 4-inch center square and four matching side flaps.
Next, prepare the middle layer. Cut a second sheet of cardstock to 10.5 x 10.5 inches. Score this sheet at 3.5 inches and 7 inches on both sides, creating a grid of nine 3.5 x 3.5-inch squares. Cut away the four corner squares to form your second cross shape. By reducing the dimensions slightly, you ensure that this layer nests comfortably inside the outer box without bending the edges.
For the innermost layer, cut a sheet of cardstock to 9 x 9 inches. Score at 3 inches and 6 inches on both sides to create a grid of nine 3 x 3-inch squares. Cut away the four corner squares to form the final, smallest cross. Once all three crosses are cut, use your bone folder to crease every score line. Fold the flaps inward and outward several times to break the paper fibers slightly; this ensures the flaps will fall flat instantly when the box is opened.
To construct the lid, you must calculate dimensions that accommodate the thickness of the folded layers. Since the outer folded box is 4 x 4 inches, the lid’s center square must be slightly larger to slide on and off easily. Cut a piece of cardstock to 6.25 x 6.25 inches. Score at 1 inch from all four outer edges, leaving a center square of 4.25 x 4.25 inches. Cut a single slit on each of the four corner flaps, fold the flaps inward, and secure them to the adjacent sides using double-sided tape to form a sturdy, shallow lid.
Before gluing the layers together, assemble them dry to check the clearances. Stack the three crosses with the largest on the bottom and the smallest on top, aligning their center squares perfectly. Fold the flaps upward and place the lid on top. If the flaps catch on each other or push the lid upward, trim a tiny fraction of an inch off the edges of the inner flaps. Once you are satisfied with the fit, apply strong double-sided tape to the underside of the middle layer’s center square and press it firmly onto the center of the outer layer. Repeat this step to secure the inner layer to the middle layer.
Designing and Attaching Ribbon and Bow Decorations
Integrating ribbons and bows into your explosion box elevates it from a simple paper craft to a luxurious gift. The key to successful ribbon integration is securing the fabric to the cardstock without causing the paper to warp or buckle. Apply a thin strip of high-tack double-sided tape along the back of the ribbon, press it firmly onto the cardstock flap, and smooth it out from the center to the edges to prevent air bubbles.
To create a captivating visual reveal, consider designing cascading ribbon effects. Run a length of satin ribbon vertically down the center of an outer flap, wrapping it over the top edge and securing it on the reverse side. You can leave a loose tail of ribbon at the bottom of the flap, which the recipient can pull to reveal a hidden message underneath. Alternatively, create a center pillar wrap by wrapping the vertical walls of your innermost layer with a continuous band of ribbon, securing it with a small bow in the center.
Bows should be positioned strategically at major focal points to guide the recipient’s eye. The most prominent bow belongs on the exterior of the lid. A classic, multi-loop bow made from 1-inch satin ribbon adds volume and drama. Inside the box, place smaller, delicate bows on the corners of the flaps or use them to embellish the pull-tabs of interactive pockets. If you are placing a small gift box in the very center of the explosion box, wrap it with a matching ribbon and top it with a miniature handmade bow to tie the entire theme together.
When choosing your ribbons, balance their colors and textures with your overall birthday theme. For an elegant, sophisticated look, pair deep jewel-toned cardstock with metallic gold or silver ribbons. For a playful, vibrant birthday surprise explosion, combine bright pastel cardstock with textured grosgrain ribbons in contrasting hues. Mixing textures, such as pairing a smooth satin ribbon with a sheer organza ribbon, adds sophisticated depth to your design.
Adding Personal Touches and the Center Surprise
With the structural base and ribbon decorations in place, you can begin personalizing the interior flaps. The flat surfaces of the nested flaps are perfect for displaying photos, handwritten notes, and interactive elements. Print your photos slightly smaller than the flap dimensions—such as 3.5 x 3.5 inches for the outer layer and 3 x 3 inches for the middle layer—to leave a clean cardstock border that frames each image beautifully.
To make the box more engaging, incorporate interactive elements like pockets, envelopes, and pull-tabs. Create a simple corner pocket by cutting a small triangle of cardstock, applying a thin line of adhesive along the two outer edges, and adhering it to a flap. You can then slide in a custom message card decorated with a small ribbon loop at the top. Another popular element is the waterfall photo sleeve, where pulling a ribbon tab at the bottom flips through a series of small photos in rapid succession.
At the very center of your innermost layer sits the focal point of the entire project: the center surprise. Construct a small, sturdy 3D box or pedestal (such as 2.5 x 2.5 inches with a height of 2 inches) and glue its base securely to the center square. This compartment can hold a physical gift, such as jewelry, a small bottle of perfume, or rolled-up gift certificates. Wrap this central compartment with a delicate ribbon band to make it look like a miniature gift box waiting to be opened.
As you add these personal touches, constantly check that the decorations do not interfere with the box’s ability to close. Thick 3D embellishments, bulky foam tape, or oversized internal bows can prevent the flaps from folding flat, putting strain on the lid. Keep your flap decorations relatively low-profile, reserving high-volume elements for the central platform and the exterior lid. Plan the visual flow so that the outer layers contain general birthday greetings, the middle layers feature shared memories, and the inner layers reveal intimate messages leading directly to the central gift.
Assembling and Testing the Final Reveal
Before presenting your creation, conducting a final assembly check is crucial to guarantee a smooth, dramatic opening experience. Ensure that all adhesives are completely dry. In humid environments, giving liquid glues several hours to cure fully prevents the paper layers from sticking together when compressed inside the closed box.
To test the lid fit, fold all the nested flaps upward, holding them together gently with one hand. Slide the lid over the folded flaps. The lid should slide on smoothly, holding the flaps upright without forcing them. If the lid feels too tight, it may cause the sides of the box to bow outward; if it is too loose, the box may pop open prematurely. If necessary, adjust the tension by slightly widening the lid’s side folds or trimming a fraction of a millimeter off the outer edges of the cardstock flaps.
To secure the box for transport and add an extra layer of anticipation, wrap a wide satin ribbon around the entire closed box to create a decorative belly band. Run the ribbon under the base of the box, bring it up the sides, and tie it into a beautiful, secure bow on top of the lid. This band keeps the box firmly closed and ensures the surprise remains hidden until the recipient is ready to open it.
When presenting the birthday surprise explosion box, place it on a flat, stable surface like a table. Instruct the recipient to untie the outer ribbon belly band and lift the lid straight upward in one continuous motion. Without the support of the lid, the weighted, pre-creased flaps will instantly fall outward in all four directions, delivering a stunning, multi-layered visual explosion of photos, ribbons, and the central birthday gift.
Frequently Asked Questions (FAQ)
What type of paper is best for an explosion box?
For the structural base and the lid of your explosion box, heavy cardstock weighing between 220 gsm and 300 gsm is highly recommended. This weight provides the necessary stiffness to stand upright and support the weight of attached photos, pockets, and ribbons without sagging. Standard printer paper (70 gsm to 80 gsm) is too flimsy and will fold or tear under the weight of decorations. For the inner decorative panels, layering pieces, and photo mats, a lighter cardstock or patterned paper of 120 gsm to 160 gsm works perfectly, as it adds color and design without creating excess bulk that would prevent the box from closing flat.
How do I keep the ribbons from fraying?
To keep your ribbon edges looking clean and professional, you must seal the cut ends. For synthetic ribbons, such as polyester satin or grosgrain, the most effective method is heat sealing. Carefully pass the freshly cut edge of the ribbon near a small flame, such as a lighter or match, for a fraction of a second; the heat will melt the synthetic fibers slightly, fusing them into a smooth, fray-resistant border. For natural fiber ribbons or delicate blends that cannot withstand heat, apply a very thin dab of clear fabric sealant or clear nail polish along the cut edge. Alternatively, cutting your ribbon ends at a sharp 45-degree angle or in a classic V-shape (chevron cut) naturally minimizes fraying while adding a polished, decorative finish.

Community discussion
Share your experience or ask a question. Comments are reviewed before publication.