
Creating a full, elegant bow with 4cm satin ribbon requires a balance of tension, folding precision, and structural support. Because 4cm ribbon is relatively wide, it has a natural tendency to either collapse under its own weight or bunch up awkwardly at the center if not handled correctly. By mastering the art of the pinch, managing loop proportions, and securing the core with the right materials, you can transform a simple strip of polyester or silk satin into a luxurious, professional-grade embellishment. Whether you are preparing gifts for a special occasion in the Philippines, designing hair accessories, or decorating festive arrangements, understanding how this specific width behaves is the key to achieving a crisp, symmetrical finish every time.
Materials and Tools for Crafting 4cm Satin Bows
Before cutting into your ribbon, gathering the correct tools ensures a clean workflow and prevents the material from fraying or slipping. The foundation of any great bow is, of course, the ribbon itself. A double-sided satin ribbon is highly recommended for beginners because both sides feature the same lustrous sheen, meaning you do not have to constantly twist the fabric to keep the shiny side facing outward. If you are using single-sided satin, you will need to pay closer attention to your folding angles to ensure the matte underside remains hidden within the loops. A high-quality roll of 4cm satin ribbon typically costs around ₱50 to ₱150 at local craft stores or online marketplaces, making it an affordable way to elevate any project.
To achieve clean, professional edges, a pair of dedicated, ultra-sharp fabric scissors is indispensable. Standard household scissors often chew through satin fibers rather than slicing them, leaving behind unsightly threads that quickly unravel. Keep a pair of shears reserved solely for textiles to maintain their razor-sharp edge.
Products mentioned in this guide
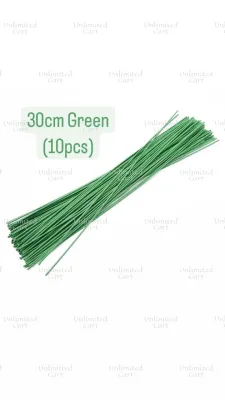
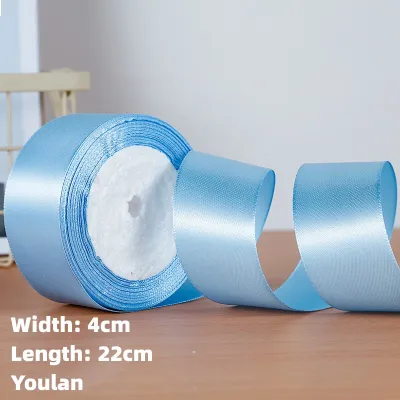
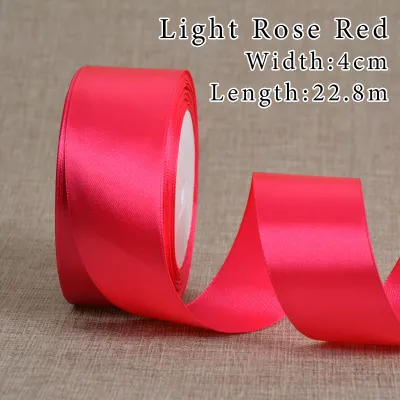
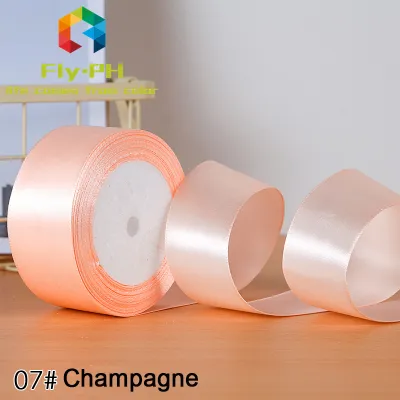
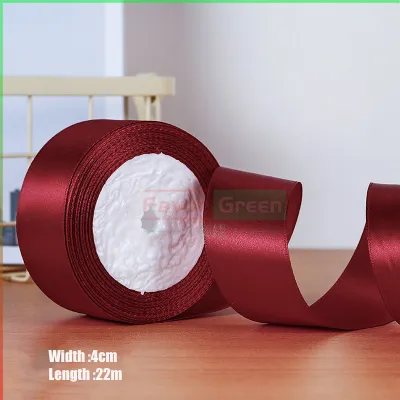
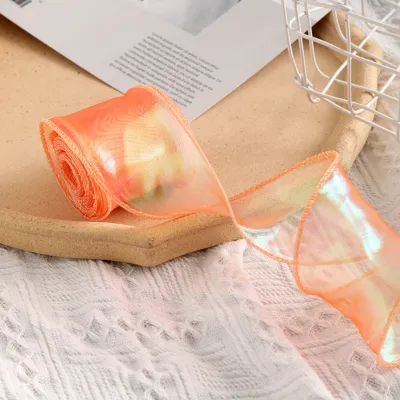
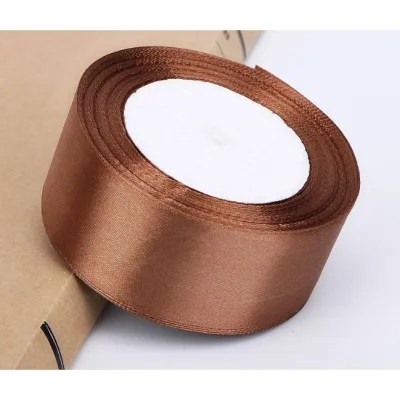
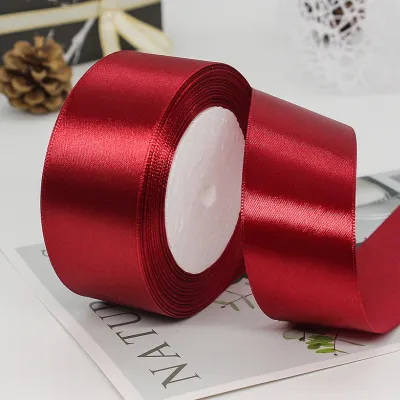
Prices are valid at publication and may change. Please refer to the product page for the latest price.
You will also need a reliable securing mechanism to hold the center of the bow together. While tying the ribbon to itself is possible, it often results in a bulky, distorted knot that ruins the elegant drape. Instead, opt for thin floral wire (around 26-gauge), clear polyester thread, or small cable ties to pinch the center tightly. For attaching the finished bow to hair clips, gift boxes, or headbands, keep a low-temperature hot glue gun or high-tack double-sided fabric tape on hand. If you are working in a humid tropical climate, choosing moisture-resistant adhesives ensures your creations remain intact over time.
Step-by-Step Guide to Tying a Classic Full Bow
To begin crafting your classic bow, start by measuring and cutting a length of ribbon—typically around 60 to 80 centimeters for a standard gift-sized bow. Lay the ribbon flat on a clean, dry surface with the shiny side facing up. Before forming any loops, decide on the desired length of your tails. Measure out approximately 15 to 20 centimeters from one end; this portion will serve as your first tail and should remain untouched during the initial folding steps.

Next, form the first loop by folding the ribbon over itself to the right, creating a simple loop that stands upright. The loop should be roughly 6 to 7 centimeters wide to maintain a pleasing proportion with the 4cm ribbon width. Hold the base of this loop firmly between your thumb and forefinger. Take the remaining long tail of the ribbon and sweep it across to the left, folding it back to create a second, symmetrical loop on the opposite side. At this stage, you should have two equal-sized loops pointing outward, with the long working end of the ribbon draping downward.
The critical step in achieving a professional look is the center pinch. Instead of simply twisting the ribbon, which distorts the fabric and creates bulk, use an accordion fold. Gently press the center section where the two loops meet, folding it back and forth into three neat pleats. This technique compresses the 4cm width into a tight, dense core while forcing the loops to flare outward with maximum volume.
While holding this pleated center tightly with one hand, wrap a piece of thin floral wire or thread around the middle. Pull the wire tight and twist it securely at the back of the bow. Cut any excess wire with wire cutters, leaving a small twist that can be flattened against the back. This wire core acts as an invisible skeleton, locking the pleats in place and ensuring your loops remain perfectly symmetrical without slipping.
How to Prevent Bulky or Limp Bows
One of the most common challenges when working with 4cm satin ribbon is preventing the loops from drooping or looking deflated. Because satin is a soft, woven fabric, larger loops lack the structural integrity to stand upright on their own. To prevent a limp appearance, keep your loop length proportional to the ribbon’s width; for a 4cm ribbon, loops should rarely exceed 8 centimeters in length. If you require a larger bow, consider using a stiffer polyester satin or applying a light mist of fabric stiffener to the back of the ribbon before folding.
Another issue is the bulky center knot. When you tie a traditional knot using 4cm ribbon, the thickness of the folded fabric creates a massive lump that detracts from the bow’s elegance. To solve this, always use the wire-pinching method described above, and then conceal the wire with a separate, smaller band of ribbon. You can create this band by cutting a 5-centimeter strip of the 4cm ribbon, folding it lengthwise into thirds to create a neat, narrow strip, and wrapping it tightly over the wire. Secure this band at the back with a small dab of hot glue or fabric glue.
Fraying is another major concern that can quickly ruin a beautiful bow. Because satin is prone to unraveling, you must seal the cut ends of your tails. The most effective method is heat sealing. Carefully pass the cut edge of the ribbon near—but not directly into—the flame of a lighter or candle. The heat will melt the synthetic polyester fibers, creating a tiny, smooth bead that locks the weave. Always perform this step in a well-ventilated area, away from flammable materials, and test on a scrap piece of ribbon first to avoid scorching or blackening the fabric. If you are working with natural silk satin, which does not melt under heat, use a liquid fray-check sealant instead.
Creating Variations: Multi-Loop and Tailed Bows
Once you have mastered the classic bow, you can expand your repertoire by creating multi-loop variations that offer a more dramatic, luxurious look. A double-loop bow is an excellent starting point. To create this, follow the same folding process as the classic bow, but instead of stopping after two loops, fold the ribbon back and forth to create a second set of loops directly behind the first. Ensure the second set is slightly larger or smaller than the front set to create depth and dimension.
When stacking multiple loops, the order of assembly is crucial. You can create individual pairs of loops, wire them separately, and then stack them on top of each other before securing them together with a final wrap of wire. This modular approach gives you complete control over the shape and prevents the center from becoming unmanageable. Once secured, gently fan the loops outward, pulling the front loops slightly upward and the back loops downward to create a full, spherical appearance.
The tails of your bow are just as important as the loops when it comes to visual balance. Leaving the ends cut straight can look unfinished. Instead, opt for an elegant angled cut or a classic dovetail. To make a perfect dovetail (or V-cut), fold the end of the ribbon tail in half lengthwise. Cut upward at a 45-degree angle from the folded edge to the outer open edge. When you unfold the ribbon, you will have a perfectly symmetrical, crisp V-shape. For a simple angled cut, hold the ribbon flat and slice across at a sharp 45-degree angle. Always seal these newly cut edges immediately to preserve your work.
Attaching and Finishing Your Satin Bow
The final step in your crafting process is mounting the bow to its destination. If you are decorating a gift box, you can run a flat band of ribbon around the box and secure it with double-sided tape, then glue the finished bow directly on top of the band’s seam. This creates a seamless, professional presentation. For hair accessories like alligator clips or barrettes, wrap the metal clip in a thin strip of matching ribbon first; this provides a fabric-to-fabric surface that bonds much more securely with hot glue than bare metal.
If your ribbon has become creased or wrinkled during the folding process, you can easily restore its luxurious, glossy sheen. A garment steamer is the safest tool for this task, as the gentle steam relaxes the fibers without direct contact. If you do not have a steamer, a household iron set to a low, delicate silk setting will work. Always place a clean, thin cotton pressing cloth between the iron and the satin ribbon to prevent scorching or leaving shiny iron marks on the fabric.
Once the bow is attached and smoothed, take a moment to fluff the loops. Insert your fingers into each loop and gently pull outward to restore their round, voluminous shape. If the bow will be handled frequently or exposed to humid conditions, a light spray of aerosol hairspray or fabric protector can help lock the shape in place without altering the soft texture of the satin.
Frequently Asked Questions (FAQ)
How much 4cm satin ribbon do I need for one standard bow?
For a standard classic bow with two loops (each about 7 centimeters long) and two tails (each about 15 centimeters long), you will need approximately 70 to 80 centimeters of ribbon. If you plan to wrap the ribbon entirely around a gift box before attaching the bow, you must add the perimeter of the box to this measurement. A good rule of thumb is to multiply your desired loop length by four, add the total length of both tails, and add an extra 10 centimeters for the center wrap and adjustments. For multi-loop bows, expect to use between 1.2 to 1.5 meters of ribbon.
Why does my satin ribbon bow lose its shape over time?
Satin ribbon is woven from fine synthetic or natural fibers, which are highly susceptible to environmental factors like gravity and humidity. In warm, humid climates, moisture in the air softens the fibers, causing the loops to sag under their own weight. Additionally, frequent handling transfers oils from your hands to the fabric, weighing it down. To maintain your bow’s shape, store finished items in a cool, dry place inside a sturdy box where they will not be crushed. If a bow begins to sag, you can revive it by gently steaming the loops and stuffing them with small rolls of tissue paper until they dry completely.

Community discussion
Share your experience or ask a question. Comments are reviewed before publication.