
Creating a beautiful, professional-looking ribbon bow for gift wrapping is significantly easier when you use a metallic twist tie wire as your secret structural tool. Unlike traditional thread or glue, which can slip, fail in high humidity, or require long drying times, a flexible wire core provides instant grip and structural support. This method allows you to gather, pinch, and lock multiple loops of ribbon in place with a simple twist, ensuring your decorative bows remain perfectly shaped and securely attached to your gifts.
In tropical climates like the Philippines, where high humidity can weaken standard adhesives and double-sided tapes, mechanical fasteners like wire ties offer a highly reliable alternative. By mastering the art of wire-bound bows, you can elevate your gift presentation for birthdays, weddings, and holiday celebrations, ensuring your hard work survives transport and handling intact.
Gather the Right Materials and Tools
Before starting, select the appropriate ribbon and wire combination. Wired ribbons, featuring thin wires along their edges, are exceptionally easy to shape and hold volume well. Unwired fabric ribbons, such as satin, grosgrain, or velvet, offer a softer drape but require a firm central bind to keep loops from collapsing. Synthetic ribbons, like polypropylene or lightweight organza, are highly moisture-resistant but can be slippery, making a secure central wire tie critical.
Products mentioned in this guide
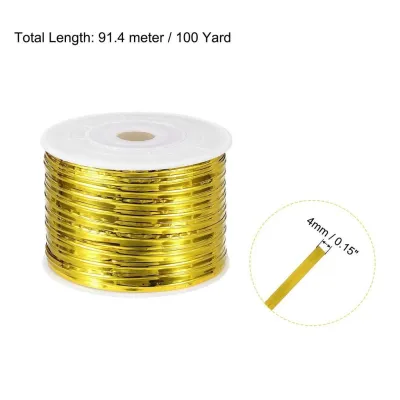
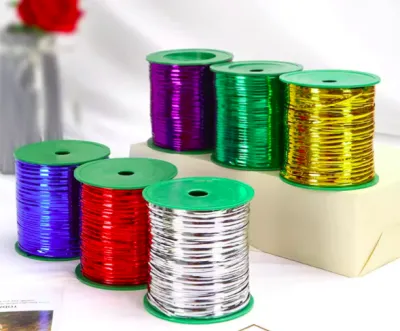
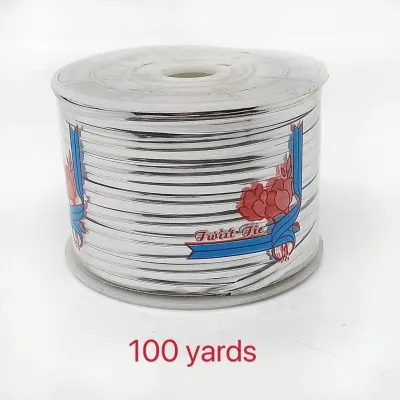
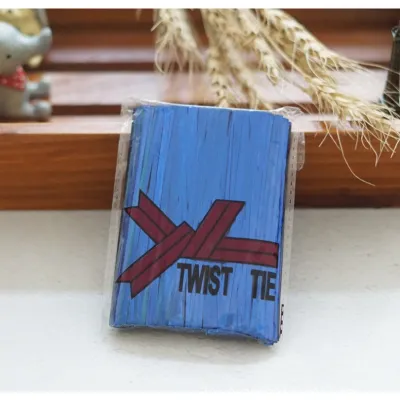
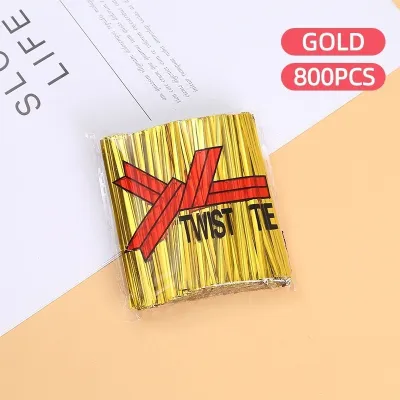
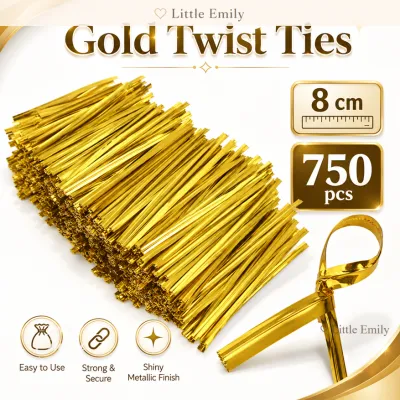
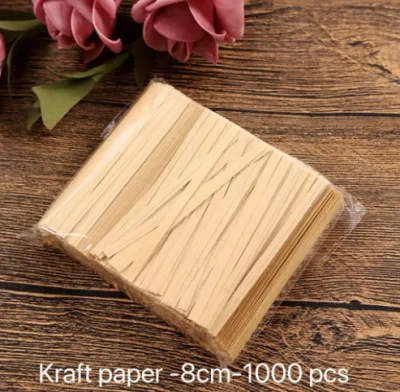
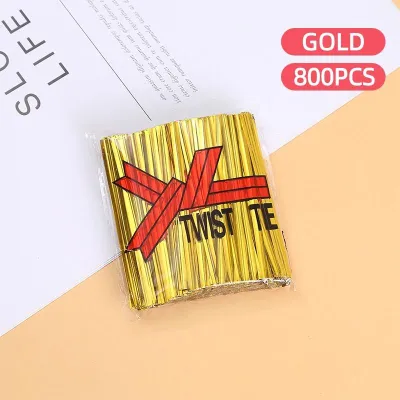
Prices are valid at publication and may change. Please refer to the product page for the latest price.
Next, inspect your metallic twist tie wire to ensure it is suitable for the task. The wire should have a flexible steel or iron core wrapped in a shiny metallic plastic or paper coating. Check that the metallic coating is fully intact and not peeling, which could expose sharp metal edges that might snag delicate fabrics. Test the flexibility by bending a small section; it should bend smoothly without snapping or feeling overly rigid.
Finally, prepare your workspace with a pair of sharp crafting scissors dedicated to cutting ribbon, as dull blades can cause fabric edges to fray. You will also need your fully wrapped gift box or package ready, as the final step involves anchoring the completed bow directly to the existing packaging structure.
Form the Ribbon Bow Using Twist Tie Wire
To begin, determine the correct ribbon length. A standard multi-loop bow requires a ribbon length roughly five to six times the desired width of the finished bow, plus extra length for the tails. For a 15-centimeter bow, cut at least 90 to 100 centimeters of ribbon. Adjust this length upward for fuller bows with more loops, or downward for simpler designs.

Once cut, shape the loops using the pinch or accordion fold method. Make a small loop at one end, leaving a tail hanging down. Pinch the ribbon tightly between your thumb and forefinger at the base of this loop. Fold the ribbon back in the opposite direction to create a second loop of equal size, pinching it at the same central point. Repeat this process, alternating sides, until you have accumulated the desired number of loops.
While holding the gathered center of the ribbon firmly with one hand, use your other hand to position the metallic twist tie wire. Center the wire directly over the pinched point of the ribbon, ensuring that equal lengths of wire extend from both sides of the gather. The wire should sit snugly in the natural crease of the folded fabric, acting as a structural belt that will hold all the loops together.
To lock the shape, bring the two ends of the wire together at the back of the bow and twist them tightly. Pull the wire ends firmly away from the ribbon as you make the first twist to ensure the bind is as tight as possible. Make three to four complete twists to secure the gather, applying steady pressure. Be careful not to over-tighten or jerk the wire, as excessive force can snap the internal metal core or tear through delicate ribbon fibers. Leave the remaining long ends of the wire intact, as you will use them to attach the bow to your gift.
Secure the Bow Firmly to the Gift Wrap
With your bow securely bound, the next step is attaching it to your wrapped package. The remaining long ends of the metallic twist tie wire serve as the perfect anchoring mechanism. If your gift box already has a decorative ribbon band wrapped around it, you can easily slide the wire ends underneath this band. Bring the wire ends together, pull them taut to eliminate any slack, and twist them tightly around the band to lock the bow in place.
If your package lacks a ribbon band, anchor the bow using the structural edges or corners of the wrapping paper. For lightweight gifts, thread the wire ends through small, discreet punctures in the paper folds, twisting them on the inside of the flap before sealing. Alternatively, wrap a secondary piece of wire or thin string around the entire box, then twist the bow’s wire ends directly onto this support.
Once the bow is anchored, it is crucial to tuck and hide the twisted wire ends to ensure a professional presentation. Exposed wire ends can look untidy and, more importantly, can snag on clothing, scratch table surfaces, or tear neighboring gift wraps during transport. Use your fingers or a pair of small pliers to fold the twisted wire ends flat against the underside of the bow or beneath the ribbon band, keeping them completely out of sight.
Finish the securing process by performing a quick stability check. Gently lift the gift box and give it a light shake to see if the bow shifts, slides, or sags. If the bow moves easily, untwist the wire, pull it tighter to eliminate any remaining slack, and twist it shut again. A properly secured bow should feel firmly integrated with the packaging, remaining upright and centered even when the gift is handled or tilted.
Adjust and Finish the Bow for a Polished Look
Now that the bow is attached, focus on the aesthetic details. Start by fluffing and separating the ribbon loops. Because the metallic twist tie wire compresses the center tightly, the loops naturally lay flat. Gently insert your fingers into each loop and pull them outward and upward, arranging them in a circular pattern around the central wire bind. This fluffing action adds volume and effectively conceals the metallic wire.
Next, turn your attention to the ribbon tails. Unfinished, straight-cut ribbon ends can look incomplete and are highly prone to fraying over time. To prevent this, trim the ends of the tails at a sharp 45-degree angle using your sharp crafting scissors. Alternatively, you can create a classic swallowtail or V-shape by folding the ribbon tail in half lengthwise and cutting diagonally from the folded edge upward to the outer corner.
If your ribbon material supports styling, you can add a final touch of elegance by shaping or curling the tails. For synthetic or paper-based ribbons, gently pulling the ribbon tail over the dull edge of a pair of scissors can create a beautiful, bouncy curl. For fabric ribbons, you can wrap the tails around a wooden dowel or pencil and hold them in place for a few seconds to encourage a soft, flowing wave. Always test a small, hidden scrap of ribbon first to ensure the material does not crease or tear under tension.
Troubleshoot Common Bow-Making Issues
Even with careful preparation, you may encounter a few common challenges when working with metallic twist tie wire. One frequent issue is the wire snapping or losing its grip during the twisting process. This usually happens when the wire is twisted too many times in the same spot, causing metal fatigue, or when the wire core is too thin for the thickness of the ribbon. If this occurs, simply remove the broken wire, select a slightly thicker or fresh piece of wire, and re-tie the center pinch point, ensuring you apply firm but controlled tension.
Another common problem is ending up with asymmetrical loops, twisted ribbon sections, or a flattened bow. This typically happens if the ribbon shifts out of the central pinch point before the wire is fully tightened. To correct this, loosen the wire slightly, slide the ribbon loops until they are balanced on both sides, and then re-tighten. If the ribbon fabric itself is twisted, use your fingers to smooth out the creases and ensure the decorative side faces outward.
Finally, you might find that the sharp, cut ends of the metallic wire poke through the ribbon loops or scratch the surface of your gift wrap. This is especially common when working with delicate wrapping papers or high-gloss gift boxes. To resolve this, ensure that you always cut the wire ends cleanly with wire cutters rather than tearing them. When tucking the ends away, bend them into a smooth “U” shape so that the sharp, exposed tip points inward toward the center of the bow rather than outward toward the paper or fabric.
Frequently Asked Questions (FAQ)
Can I use metallic twist tie wire on delicate or sheer ribbons?
Yes, you can use metallic twist tie wire on delicate or sheer ribbons, but you must take extra precautions to prevent damage. Fragile fabrics like organza, chiffon, or sheer mesh can easily snag, tear, or distort if the wire is twisted too tightly or if the metal core is exposed. To protect these delicate materials, place a small barrier, such as a tiny strip of felt, a piece of clear tape, or a scrap of thicker satin ribbon, around the pinched center before applying the wire. This barrier helps distribute the pressure of the wire twist evenly, preventing the metal from cutting into or pulling the delicate fibers of your sheer ribbon.
How long should the metallic twist tie wire be for a standard gift bow?
For a standard gift bow, the metallic twist tie wire should typically be between 10 and 15 centimeters long. This length provides ample wire to wrap around the pinched center of the ribbon, complete several secure twists, and leave enough excess on both ends to anchor the bow to your gift wrap. If you are creating a very large, multi-layered bow with thick ribbon, you may need a longer piece of wire—up to 20 centimeters—to accommodate the bulk of the gathered fabric. Always err on the side of caution and cut a slightly longer piece of wire, as it is much easier to trim away excess wire than to work with a piece that is too short to twist securely.
Is metallic twist tie wire reusable for future gift wrapping?
While metallic twist tie wire can often be reused once or twice, its reusability is limited by a physical phenomenon known as metal fatigue. Every time you bend, twist, and untwist the wire, the internal steel or iron core undergoes stress, making it increasingly brittle. To determine if a used wire is safe to reuse, perform a quick visual and tactile check. Run your fingers along the wire to feel for sharp kinks, cracks in the metallic coating, or areas where the wire feels unusually soft or weak. If the wire bends too easily or shows signs of cracking, it is best to discard it and use a fresh piece to ensure your bow remains securely held together.

Community discussion
Share your experience or ask a question. Comments are reviewed before publication.