
Replacing or making a drawstring for your shorts is a straightforward DIY project that restores functionality to your favorite loungewear, athletic gear, or casual wear. In the tropical climate of the Philippines, where lightweight and breathable clothing is essential, drawstrings frequently wear out, snap, or get lost in the wash due to constant use and high humidity. By sourcing local fabrics—such as cotton twill, canvas scraps, or jersey knits from nearby textile markets—or repurposing old household textiles, you can easily craft a durable, custom replacement. This guide walks you through assessing your shorts, selecting the best local materials, sewing a sturdy drawstring, and threading it securely so your garments remain comfortable and reliable for daily wear.
Assessing Your Shorts and Choosing the Right Fabric
Before purchasing fabric or cutting up old garments, you must evaluate the specific design of your shorts. Start by measuring the width of the waistband casing, which is the hollow fabric channel where the drawstring sits. The maximum thickness of your finished drawstring, including any folds and seams, must be significantly narrower than this channel to allow smooth movement and easy adjustment. A good rule of thumb is to ensure the finished drawstring width is at least 5 millimeters narrower than the casing opening to prevent bunching.
Next, consider the physical characteristics of the fabric you plan to use. In warm, humid conditions, fabrics behave differently under tension and moisture. Look for materials that offer a balance of friction and flexibility; overly slippery fabrics like cheap polyester satin will constantly come untied, while extremely rigid fabrics like heavy denim will be difficult to knot and may cause discomfort against your waist. The fabric must also withstand frequent washing, as tropical heat demands regular laundering.
Products mentioned in this guide
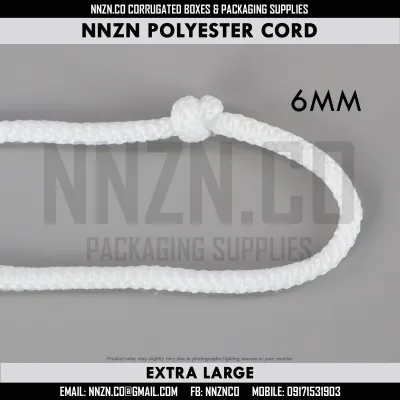
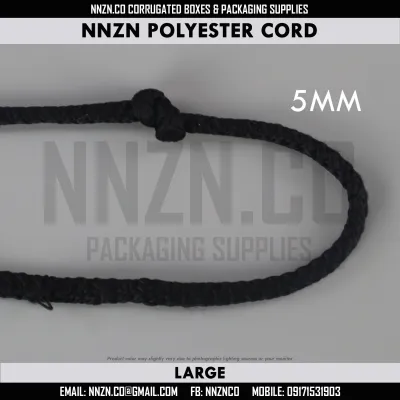
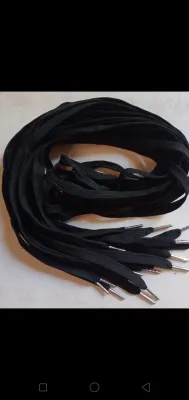
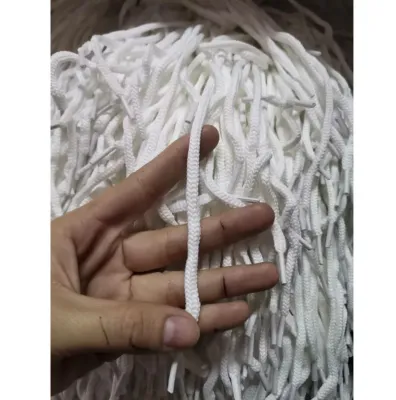
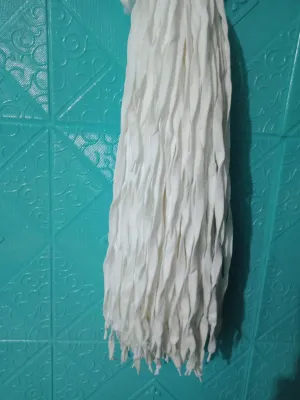
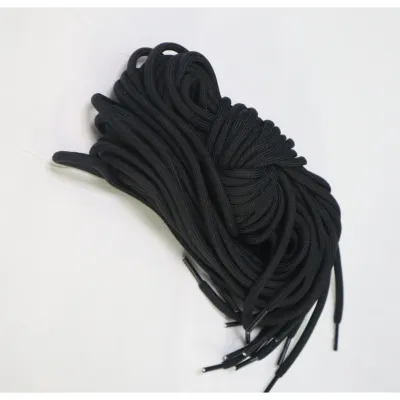
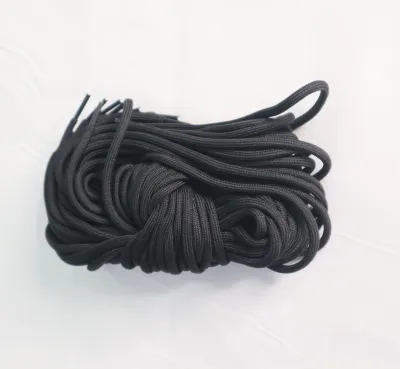
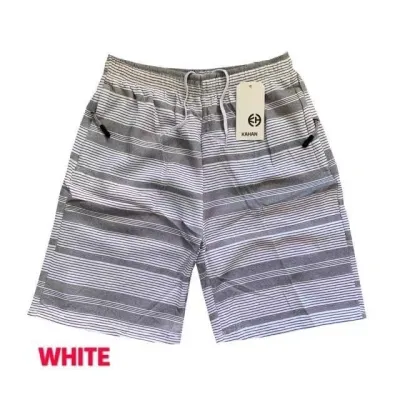
Prices are valid at publication and may change. Please refer to the product page for the latest price.
Finally, inspect the waistband channel itself for any structural issues. Check the entry and exit eyelets or buttonholes for fraying, and run your fingers along the casing to locate any internal barriers, tight spots, or broken elastic bands. Repairing any interior tears or reinforcing weak eyelets with a simple hand stitch now will prevent your new drawstring from getting stuck or damaging the shorts during insertion.
Tools and Materials Needed
Gathering the correct tools before you begin ensures a smooth crafting process and a professional finish. For basic assembly, you will need a pair of sharp fabric scissors to make clean cuts without fraying, a flexible measuring tape to determine dimensions, and a set of sewing pins to hold your fabric folds in place. A blunt safety pin, a bodkin, or a specialized loop turner is essential for threading the finished cord through the waistband casing.

When selecting fabrics from local textile shops or public markets, prioritize breathable, durable options. Cotton twill, lightweight canvas scraps, and sturdy jersey knits are excellent choices that are widely available in local fabric stalls. If you prefer a ready-made alternative that still allows for customization, look for cotton twill tape, which requires no folding or sewing along the edges.
While you can complete this project using a basic hand-sewing needle and strong polyester thread, a sewing machine will significantly speed up the process and provide more durable, even stitches. An iron is also highly recommended; pressing your fabric folds flat before sewing ensures precise alignment and prevents the fabric from shifting under the needle.
Step-by-Step Guide to Making a New Drawstring
To begin making your custom drawstring, you must first calculate the required dimensions. Measure your waist circumference while wearing the shorts, then add approximately 30 to 40 centimeters to this measurement. This extra length ensures you have enough fabric extending from the eyelets to tie a comfortable knot without the ends slipping back into the casing when the waistband expands. For the width, multiply your desired finished drawstring width by four, and add a small seam allowance of about 6 millimeters. For example, if you want a finished 1-centimeter-wide drawstring, cut a fabric strip that is 4 centimeters wide.
Once your fabric strip is cut to the correct length and width, lay it flat on your ironing board with the wrong side facing up. Fold the strip in half lengthwise, aligning the raw edges, and press the fold with your iron to create a sharp center crease. Unfold the strip, then fold both raw outer edges inward so they meet precisely at the center crease you just created. Press these folds flat. Finally, fold the entire strip in half once more along the original center crease, enclosing the raw edges completely inside. This four-fold method, similar to making bias tape, ensures that no raw edges are exposed to fraying.
Take the folded strip to your sewing machine or prepare your hand-sewing needle. Stitch along the open, folded edge, keeping your seam as close to the edge as possible—ideally about 2 millimeters. For added durability and a symmetrical, professional look, sew a matching line of topstitching along the opposite folded edge.
If you prefer to sew a traditional fabric tube and turn it right side out, fold your cut fabric strip in half lengthwise with the right sides facing together. Sew along the long raw edge using a 6-millimeter seam allowance. Attach a safety pin securely to one end of the tube, push the pin inward through the center of the tube, and gradually feed it through to the opposite end, pulling the fabric right side out behind it. Once turned, press the tube flat with your iron and topstitch both long edges to keep the drawstring flat and prevent twisting during wear.
How to Thread and Secure the Drawstring
With your custom drawstring sewn and pressed, the next step is to insert it into the waistband casing of your shorts. Attach a sturdy safety pin or a bodkin to one end of the drawstring, ensuring it is locked securely so it does not open mid-way through the channel. Insert the pinned end into one of the front eyelets or buttonholes of the shorts.
Using your fingers, gently bunch the waistband fabric over the safety pin, then hold the pin through the fabric and pull the slack fabric backward. Repeat this “scrunch and pull” motion to guide the pin steadily through the entire circumference of the waistband. Take care not to twist the drawstring as it moves through the channel, as twists can cause uncomfortable pressure points against your skin.
Once the safety pin emerges from the opposite eyelet, pull the drawstring through until both ends are of equal length. To prevent the ends from fraying or slipping back into the casing, you must secure them. For woven fabrics like cotton twill or canvas, fold the raw end over twice and sew a quick straight stitch across it, or tie a tight overhand knot near the tip. If you are using a synthetic fabric blend, you can carefully singe the very edge with a lighter to melt and seal the fibers, though testing a scrap piece first is highly recommended to avoid scorching. Alternatively, slide on small fabric caps or cord locks for a clean, modern finish. Test the tension by pulling the drawstring tight and tying a standard bow to ensure it holds comfortably during movement.
Repurposing Textiles for Eco-Friendly Drawstrings
Upcycling household textiles is an excellent, sustainable way to source materials for a replacement drawstring without spending extra money. Look through your closets for old garments or linens that are no longer wearable but still have sections of strong, intact fabric. Excellent candidates include the legs of worn-out denim jeans, old cotton bedsheets, linen curtains, or thick cotton t-shirts.
Before cutting, thoroughly inspect the repurposed material. Avoid areas with visible thinning, stains, or broken fibers, as these weak spots can easily snap under the tension of a tied drawstring. If you are using a stretchy knit fabric, like an old t-shirt, you can create “t-shirt yarn” by cutting continuous strips across the grain; when pulled taut, the edges of these knit strips naturally curl inward, creating a soft, stretchy, and comfortable cord that requires no sewing at all.
For woven upcycled fabrics like denim or linen, adjust your sewing technique to accommodate the material’s behavior. Heavy denim may require a slightly wider casing and a stronger denim needle on your sewing machine, while lightweight bedsheet cotton might benefit from a layer of lightweight fusible interfacing ironed inside the folds to add structure and prevent the drawstring from collapsing or twisting over time.
Troubleshooting Common Drawstring Issues
Even with careful preparation, you may occasionally encounter issues during the installation or daily wear of your drawstring. If your safety pin becomes unclasped or stuck inside the casing during threading, do not panic. Gently work the pin backward toward the entry point, or use a seam ripper to carefully open a small, discreet seam on the inside of the waistband to retrieve the pin, then stitch the opening closed by hand once the drawstring is secured.
If your finished drawstring is too slippery and constantly comes untied during daily activities, you can increase its grip. Try applying a few small dots of fabric-safe silicone grip paint along the tying section of the cord, or switch to a more secure knot style, such as a double slipknot. Adding a plastic or wooden toggle closure is another highly effective way to keep the waistband secure without relying solely on fabric friction.
To prevent the drawstring from twisting inside the casing during washing, pull the cord so the ends are perfectly even, then sew a short vertical line of stitching through the center back of the waistband, securing the drawstring directly to the shorts. This simple anchor point keeps the drawstring perfectly centered and prevents it from ever being pulled out completely.
Frequently Asked Questions (FAQ)
Can I use ribbon or shoelaces instead of sewing a fabric drawstring?
Yes, ready-made items like cotton shoelaces, paracord, or heavy-duty ribbons can serve as quick, functional replacements. However, you must evaluate their friction and thickness relative to your waistband casing. Satin or polyester ribbons are often too slippery to hold a knot securely under tension and may fray rapidly at the cut ends. If you choose to use ribbon, select a sturdy grosgrain ribbon, which has ribbed texture for better grip, and ensure you seal or hem the cut ends. Cotton shoelaces are highly recommended as they offer excellent friction, pre-finished tips, and high durability.
How do I wash shorts with a custom fabric drawstring without ruining it?
To maintain the integrity of your homemade drawstring, always tie the ends together in a loose bow before placing the shorts in the washing machine. This prevents the cord from being pulled out of the casing by the agitation of the wash cycle. For delicate fabrics or hand-sewn drawstrings, placing the shorts inside a mesh laundry bag provides an extra layer of protection. Additionally, because local hand-dyed fabrics may bleed, perform a quick colorfastness test by soaking a scrap piece of the fabric in water before washing it with other garments to prevent color transfer.

Community discussion
Share your experience or ask a question. Comments are reviewed before publication.