
Creating a beautifully structured bow that maintains its volume and shape requires more than just a standard spool of fabric. The secret to professional-looking, gravity-defying loops lies in using wired ribbon, which features thin, flexible wires embedded along its outer edges. This simple addition allows you to sculpt, twist, and puff the fabric into three-dimensional shapes that hold their form indefinitely. Whether you are preparing gifts for a special occasion, decorating a festive wreath, or styling a home display, mastering the art of the structured bow will instantly elevate your presentation.
In tropical climates like the Philippines, high humidity can cause standard fabric ribbons to limp and sag over time. Wired ribbon solves this issue by providing a rigid internal skeleton that resists moisture-induced drooping. By learning the proper techniques for folding, securing, and shaping these materials, you can create durable decorations that look pristine throughout any celebration.
Choosing the Right Wired Ribbon for Your Bow
Selecting the appropriate ribbon is the first step toward achieving a professional finish. Wired ribbons generally fall into three categories: single-wire, double-wire, and woven-edge. Single-wire ribbons contain wire on only one side, which makes symmetrical shaping difficult and is best avoided for classic bows. Double-wire ribbons feature thin wires running along both parallel edges, offering maximum control. Woven-edge ribbons are the gold standard, as the wire is integrated directly into the fabric weave, preventing it from slipping out or tearing through the sides during manipulation.
Products mentioned in this guide
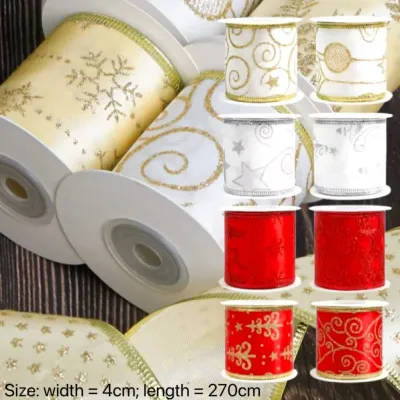
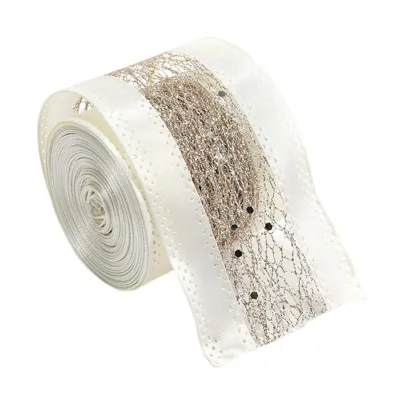
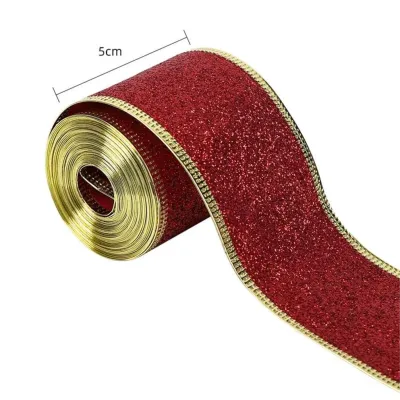
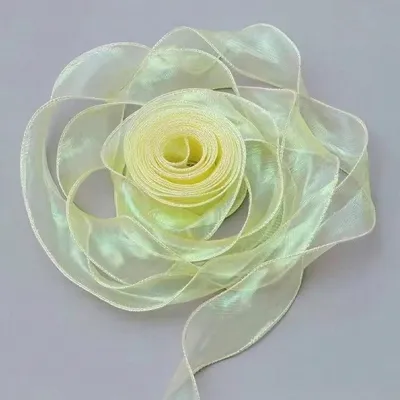
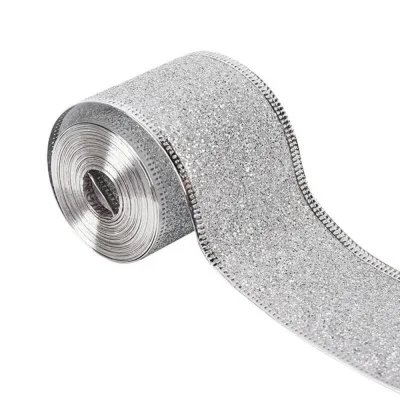
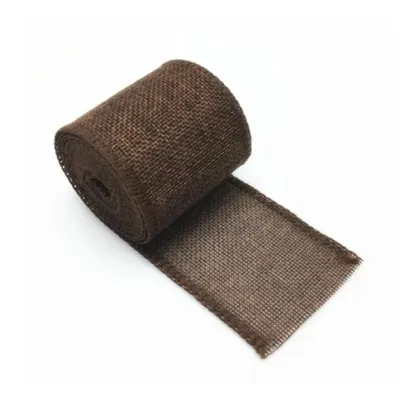
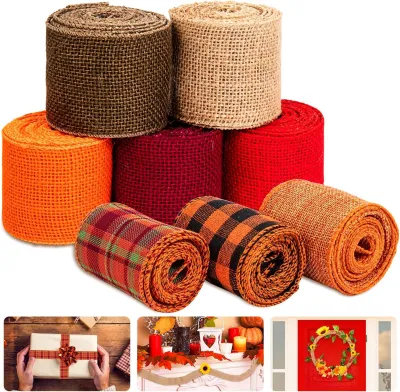
Prices are valid at publication and may change. Please refer to the product page for the latest price.
The width of the ribbon and the stiffness of the wire must match your project goals. For large, dramatic bows on wreaths or large gift boxes, a width of 2.5 inches (about 6.3 centimeters) is ideal because it provides enough surface area to showcase the fabric pattern. For smaller gift boxes or delicate stationery accents, a 1.5-inch (about 3.8 centimeters) ribbon works beautifully. Ensure the wire stiffness matches the fabric weight; heavy velvet, canvas, or burlap requires a thicker, stiffer wire gauge, while lightweight sheer organza or satin needs only a fine, flexible wire to stay upright.
Before starting your project, always perform a quick visual and tactile check of your ribbon. Run your fingers along the entire length you plan to use, feeling for any sharp wire tips poking through the fabric. Look closely at the edges for loose threads or fraying, as these structural flaws can quickly worsen when you begin twisting and pulling the loops into shape.
Essential Tools and Materials for Bow Making
Having the right tools on hand prevents damage to your ribbon and ensures a secure, long-lasting hold. To bind the center of your bow, you will need a reliable fastening material. Floral wire (ideally 22 to 26 gauge) is highly recommended because it is thin, strong, and easy to conceal under a center wrap. Alternatively, pipe cleaners (chenille stems) are excellent for beginners because they are soft on the hands and grip the ribbon fabric well. For large, heavy-duty bows, small plastic zip ties provide an incredibly tight, permanent lock that will not slip over time.

Cutting tools must be chosen carefully to protect your equipment. Never use high-quality fabric scissors to cut the wire edges of the ribbon, as the metal wire will instantly dull or nick the blades. Instead, keep a pair of dedicated wire cutters or heavy-duty utility shears nearby specifically for cutting the wire. Use your sharp fabric scissors exclusively for making clean, fray-free cuts through the ribbon fabric itself.
If you plan to use adhesives to secure embellishments like faux berries or gift tags, select a low-temperature glue gun to avoid melting synthetic ribbon fibers. Always work in a well-ventilated space when using hot glue or liquid craft adhesives, and keep fingers clear of the hot nozzle to prevent burns.
Step-by-Step Instructions for a Classic Structured Bow
To create a classic multi-loop bow, start by measuring your ribbon. A standard eight-loop bow with tails typically requires about two to three meters of ribbon. It is best to work directly from the spool rather than cutting the ribbon beforehand, as this prevents you from running out of material if you decide to add extra loops. Begin by measuring out a tail of approximately 30 centimeters; this will be your starting point.
Pinch the ribbon tightly at the 30-centimeter mark using your thumb and forefinger. To create the central “button” loop of the bow, fold the ribbon over to make a small loop about 5 centimeters tall, bringing the ribbon back to your pinch point. Hold this gather securely. Before making the next loop, twist the ribbon a full 180 degrees at the pinch point. This twist is essential because it ensures that the patterned or “right” side of the fabric always faces outward on every subsequent loop.
Now, create your first main loop on the right side of your hand. Pull the ribbon out to your desired loop length—usually about 10 to 12 centimeters—and fold it back to the central pinch point. Squeeze the fabric tightly into your fingers. Twist the ribbon 180 degrees once more at the center. Repeat this process on the left side, making a loop of identical size, and twist again at the center. You now have one complete pair of side loops.
Continue this alternating loop-and-twist pattern until you have three or four loops on each side of the center, maintaining a firm grip on the central pinch point. To create a fuller, more dimensional look, you can make each outer layer of loops slightly larger than the inner layer. Once you have completed the desired number of loops, fold a final length of ribbon downward to form the second tail, matching the length of your starting tail.
While holding the gathered center as tightly as possible, slide a 20-centimeter piece of floral wire or a pipe cleaner through the very center of the bow, wrapping it around the pinched middle. Pull the wire ends tightly to the back of the bow and twist them together firmly using pliers or your fingers. The tighter you cinch this center point, the more the loops will flare outward naturally.
To conceal the wire, cut a small 10-centimeter scrap of ribbon. Fold it lengthwise into thirds to hide the raw edges, creating a neat, narrow band. Wrap this band over the exposed wire at the center of the bow, securing it at the back with a dab of low-temperature hot glue or by tying it off with the remaining wire ends.
Shaping the Loops and Tails for a 3D Finish
When you first secure the center wire, your bow will look flat and compressed. The magic of wired ribbon happens during the shaping phase. Insert your fingers inside each loop, starting from the innermost loops and working outward. Gently pull the loops away from the center, twisting them slightly to position them in a circular, radiating pattern. Use your thumbs to curve and round the wire edges, puffing the loops out into full, hollow domes.
Next, address the tails to give the bow a polished, professional look. Avoid leaving raw, straight-cut ends, which look unfinished and are highly prone to fraying. Instead, fold each tail in half lengthwise. Use your fabric scissors to cut upward at a 45-degree angle from the folded edge to the outer wired edge. When you unfold the ribbon, you will have a classic, clean V-cut (also known as a swallowtail). Alternatively, you can make a single sharp diagonal cut across the width of the tail for a modern, asymmetrical look.
Step back and evaluate the bow from a distance to check its overall balance. If one loop appears slightly larger than its counterpart, gently slide the fabric through the central wire bind to adjust the size. Once the loops are perfectly symmetrical, run your fingers down the length of the tails, bending the wire edges slightly to create soft, elegant waves that drape beautifully.
Troubleshooting Drooping Loops and Frayed Edges
If your loops begin to sag or droop shortly after shaping, the most common cause is a loose central bind. If the wire or zip tie at the center is not cinched tight enough, the ribbon has room to slide and collapse. To fix this without starting over, wrap a second, tighter wire directly over the first one, pulling it with pliers to compress the fabric gather as much as possible.
In humid tropical environments, moisture in the air can soften the sizing or starch in fabric ribbons like cotton or linen, causing them to lose stiffness. If this occurs, verify that you are using a synthetic polyester or nylon-based ribbon, which resists humidity better. You can also lightly mist the back of the loops with a clear fabric stiffener or hairspray, testing a small scrap first to ensure it does not discolor the fabric.
Frayed edges can ruin the clean lines of your bow. If the fabric begins to unravel at the cut tails, apply a tiny bead of clear liquid fabric sealant or clear craft glue along the raw edge. If a wire tip pokes out from the side of the ribbon, use small needle-nose pliers to bend the sharp tip backward into the hem of the ribbon, tucking it safely out of sight to prevent scratches or snags.
Correcting asymmetrical loops does not require dismantling the entire structure. Because the wire holds its shape, you can often “cheat” the symmetry by slightly flattening a larger loop or pulling the inner curve of a smaller loop outward. If the fabric is truly uneven, loosen the back twist of the floral wire slightly, slide the necessary amount of ribbon through the center to balance the loops, and immediately re-tighten the wire.
Frequently Asked Questions (FAQ)
Can I use wired ribbon for outdoor decorations?
Yes, but you must select the correct material. Check the manufacturer’s label for outdoor-rated, waterproof, or UV-resistant specifications. Standard acetate or velvet ribbons will quickly degrade, bleed color, or wilt when exposed to rain and sun. Look for synthetic polypropylene or heavy-duty polyester ribbons with rust-resistant coated wires to prevent unsightly brown stains on your door or gate.
How do I store wired bows without crushing the loops?
To preserve your hard work for future seasons, store the bows in rigid plastic containers or sturdy cardboard boxes rather than soft bags. Do not stack heavy items on top of them. You can gently stuff the loops with crumpled tissue paper or clean plastic grocery bags to help them retain their round shape. When retrieving them next year, simply pull out the stuffing and run your fingers along the wire edges to reshape the loops.

Community discussion
Share your experience or ask a question. Comments are reviewed before publication.