
Selecting the perfect big hole beads for your jewelry or craft project requires matching the inner diameter of the bead to the maximum thickness of your stringing material. If the bead hole is too small, the cord will fray, snag, or refuse to pass through entirely. Conversely, a hole that is too large causes the bead to wobble, slide unevenly, or swallow your carefully tied knots and finishing hardware.
To achieve a professional finish, the inner diameter of your bead should ideally be 0.1 mm to 0.5 mm larger than the thickest part of your cord or wire. This small margin of clearance allows the bead to glide smoothly along the stringing material without excessive play. By understanding how to measure these components and adjusting for your specific project type, you can ensure your handmade designs are both durable and visually balanced.
Understanding Bead Hole Sizes and Stringing Materials
When sourcing materials for your projects, it is easy to confuse the overall size of a bead with its hole size. A large 12 mm ceramic bead might only have a tiny 1 mm hole, while a smaller 8 mm European-style bead might feature a generous 5 mm opening. Always verify the inner diameter of the bead hole rather than relying on the outer dimensions of the bead itself.
Products mentioned in this guide
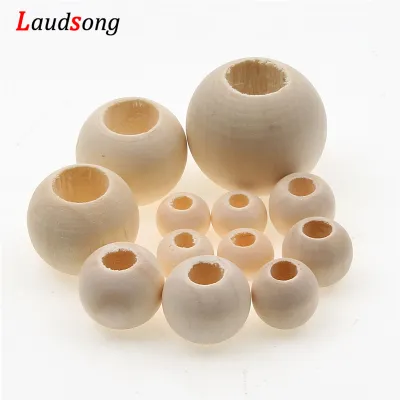
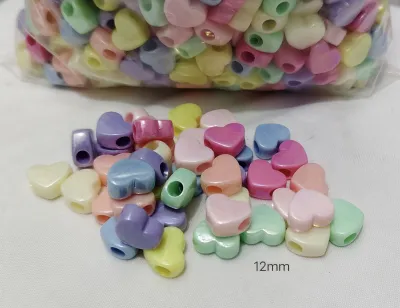
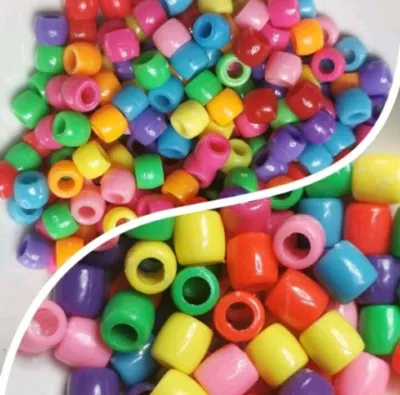
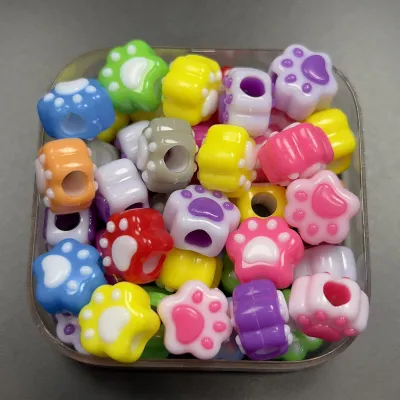
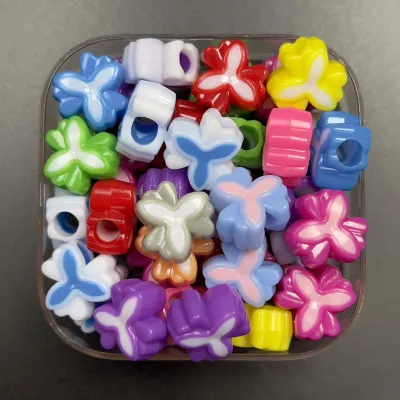
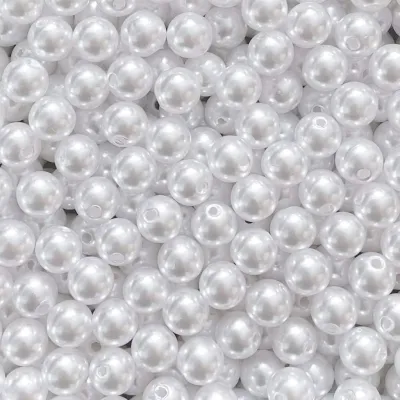
Prices are valid at publication and may change. Please refer to the product page for the latest price.
Stringing materials are measured using different standards depending on their composition. Leather cords, waxed polyester threads, and cotton cords are typically specified in millimeters. Metal wires, on the other hand, are often classified by gauge, where a higher gauge number indicates a thinner wire. For example, a 24-gauge wire is much thinner than an 18-gauge wire, making it crucial to consult a conversion chart to find the exact millimeter equivalent before purchasing your beads.
In addition to the base thickness of your cord, you must account for the physical space required by your design elements. If your pattern involves tying knots between each bead, or if you plan to loop the cord back through the bead to secure the ends, the hole must accommodate multiple strands. Neglecting this extra thickness can stall your assembly process and force you to rethink your entire design mid-project.
In tropical climates like the Philippines, environmental factors also play a role in material selection. High humidity can cause natural fibers like cotton or hemp to swell slightly, while leather cords may stretch or soften over time. Choosing synthetic alternatives like waxed polyester or nylon thread can offer better resistance to moisture, but you must still measure these materials in their relaxed, dry state to ensure a reliable fit.
Step-by-Step Guide to Matching Beads to Your Stringing Material
Achieving a flawless fit does not have to be a guessing game. By following a systematic approach to measuring and selecting your components, you can eliminate the frustration of mismatched materials.

Step 1: Determine the Maximum Thickness of Your Material
Begin by identifying the thickest point of your stringing material. This is not always the nominal thickness listed on the spool. You must measure the cord where it is folded, braided, or knotted if those sections need to pass through the bead.
If you are using a needle to thread your beads, remember that the needle itself and the doubled-over portion of the thread where it passes through the needle’s eye will add significant bulk. Measure this combined thickness using a reliable tool to establish your baseline requirement.
Step 2: Select a Bead with Adequate Clearance
Once you have your maximum material thickness, select a bead with an inner hole diameter that offers a comfortable clearance. For rigid wires, a clearance of 0.1 mm to 0.2 mm is often sufficient to prevent shifting while allowing the bead to slide.
For flexible cords, particularly textured materials like leather or braided nylon, aim for a clearance of 0.3 mm to 0.5 mm. This extra space reduces friction, making the threading process much easier and preventing the inner walls of the bead from scraping and fraying the cord fibers.
Step 3: Verify Finishing Hardware Compatibility
Before finalizing your bead selection, consider how you will secure the ends of your piece. If your design requires crimp beads, knot covers, or clasps to sit partially inside the end beads, the hole must be large enough to accommodate these components.
Test the fit of your finishing hardware with a sample bead before cutting your main cord. If the hardware cannot pass through or sit neatly inside the bead as intended, you may need to select a bead with a larger hole or choose alternative finishing techniques.
Adjusting for Different Jewelry and Craft Projects
The ideal clearance between your bead hole and stringing material often depends on the specific technique and style of your project. Different crafts place unique demands on how beads behave on their cord or wire.
Macramé and Knotting Projects
In macramé and decorative knotting, cords frequently double back or cross over within a single bead. If you are creating a sliding knot closure or a complex pattern where two strands of 1.5 mm cord must pass through the same bead, the bead hole must be at least 3.2 mm to 3.5 mm wide.
Using waxed polyester cord is highly popular in local crafting due to its durability and water resistance in warm weather. However, the wax coating can make the cord sticky, increasing friction inside the bead. Opting for a slightly larger hole size will prevent the wax from scraping off and clogging the bead opening.
Wire Wrapping and Rigid Wire Designs
When working with rigid metal wires for structured jewelry, a snug fit is essential. If the bead hole is significantly larger than the wire, the bead will wobble, tilt, or slide unevenly, which can cause the wire to bend or kink over time.
To maintain the structural integrity of wire-wrapped designs, choose beads with a hole size that closely matches your wire gauge. If you must use a big hole bead on a thin wire, secure the bead in place by wrapping decorative wire coils on either side, or insert smaller spacer beads to fill the gap.
Elastic Cord Projects
Elastic cord is a favorite for quick, clasp-free bracelets, but it presents unique sizing challenges. When elastic is stretched, its diameter decreases temporarily, but it returns to its original thickness once relaxed.
Your bead holes must be large enough to accommodate the relaxed thickness of the elastic, as well as the knot used to tie the bracelet together. A common technique is to hide the finishing knot inside the hole of a big hole bead, which requires a hole diameter of at least 1.5 mm to 2.0 mm depending on the thickness of your elastic.
Troubleshooting Common Sizing Issues
Even with careful planning, you may occasionally encounter compatibility issues during assembly. Knowing how to address these problems safely can save your materials and keep your project on track.
Handling Cords That Are Too Thick
If your cord is only slightly too thick to pass through the bead, you can use several simple techniques to ease the process. Applying a small amount of fast-drying craft glue or clear nail polish to the tip of the cord can stiffen it, acting like a built-in needle that is easier to push through.
For synthetic cords, carefully melting the tip with a thread burner or a lighter creates a hard, tapered point. Be sure to trim any flared edges while the material is still warm, taking care to avoid burns. If these methods fail, switching to a collapsible eye needle can help compress the cord as it passes through the bead.
Securing Beads That Are Too Loose
When a bead hole is too large for your wire or cord, the bead will slide around and ruin the symmetry of your design. You can resolve this by placing smaller spacer beads or decorative bead caps on either side of the loose bead to hold it in place.
Another effective solution is to use silicone bead stoppers or small rubber rings inside the big hole bead. These inserts grip the wire or cord tightly, centering the larger bead and preventing it from sliding without altering the external appearance of your jewelry.
Knowing When to Replace Materials
If you find yourself forcing a cord through a bead with excessive pressure, stop immediately. Forcing a tight fit can crack delicate glass or ceramic beads, and it will almost certainly fray or weaken your stringing material over time.
If the cord begins to shred or the bead shows signs of stress, it is time to replace one of the components. Opt for a thinner cord or select beads with a larger inner diameter to ensure the safety and longevity of your finished piece.
Tools and Supplies for Measuring and Testing
Investing in a few basic measuring tools can eliminate guesswork and save you from purchasing incompatible supplies. These tools are inexpensive and essential for any serious crafter’s toolkit.
Digital Calipers and Bead Sizers
A digital caliper is the most accurate tool for measuring both the outer dimensions of your beads and the inner diameter of their holes. By inserting the small upper jaws of the caliper inside the bead hole, you can get an instant, precise reading in millimeters.
Physical bead sizers, which consist of a metal or plastic card with pre-drilled holes of various standard sizes, are also highly useful. You can slide your wire or cord through the holes to quickly identify its thickness, or insert the tapered pins of a bead gauge into your beads to determine their hole size.
Creating a Test Swatch
Before cutting your expensive cords or committing to a complex design, always create a physical test swatch. Use a small scrap piece of your chosen stringing material and thread a few sample beads to observe how they slide and sit.
This simple test allows you to verify the drape, weight, and movement of the beads. It also helps you confirm that your planned knots and finishing hardware work seamlessly with the bead holes under real-world conditions.
Organizing Your Storage
To streamline your future crafting sessions, organize your bead collection by hole size rather than just color or shape. Grouping your big hole beads into clearly labeled containers—such as 2 mm, 3 mm, and 5 mm categories—makes it easy to find the perfect match for your cord instantly.
This organizational habit prevents you from accidentally mixing beads with slightly different hole sizes in the same project, ensuring a consistent and professional result every time you sit down to create.
Frequently Asked Questions (FAQ)
Can I enlarge the hole of a big hole bead if my cord is slightly too thick?
Whether you can enlarge a bead hole depends entirely on the bead’s material. Wooden, acrylic, and soft metal beads can often be carefully enlarged using a hand tool called a bead reamer or a small round file. However, attempting to ream glass, ceramic, or gemstone beads carries a high risk of shattering the bead or creating sharp, jagged edges that will cut your cord. If you are working with these delicate materials, it is much safer to switch to a thinner cord rather than attempting to modify the bead.
How do I hide a large gap if the bead hole is much bigger than my wire?
To center a big hole bead on a thin wire and hide the unsightly gap, you can use bead aligners or small spacer beads that fit snugly on the wire. Slide the spacer bead or the narrow end of the bead aligner into the opening of the larger bead to hold it securely in center. Alternatively, you can wrap a thicker wire or a decorative coil of wire around the core wire to build up its thickness at the point where the big hole bead will sit, creating a custom fit that enhances your overall design.

Community discussion
Share your experience or ask a question. Comments are reviewed before publication.