
Calculating the exact amount of zipper per yard for your sewing projects requires a systematic approach to measuring openings, accounting for seam allowances, and planning for assembly waste. Instead of buying individual pre-cut zippers that limit your design flexibility, purchasing continuous zipper tape allows you to customize every closure to its exact required length. To find your total yardage, you must measure each opening, add a standard extension of at least two inches per zipper for slider installation and seam integration, sum these measurements, and convert the total from inches or centimeters into yards. This method ensures you never run short mid-project while minimizing expensive fabric and notion waste. Whether you are crafting custom cushions for a tropical veranda, assembling travel bags, or sewing garments, mastering this calculation streamlines your workflow and keeps your sewing budget highly efficient.
Understanding Continuous Zipper Tape and Sizing Requirements
Continuous zipper tape, often sold as zipper chain, is a long, uninterrupted roll of zipper teeth woven onto fabric tape without pre-installed stops or sliders. Unlike pre-cut zippers with fixed lengths and pre-attached stops, continuous tape lets you cut exactly what you need. This is highly economical for long closures like duvet covers, patio cushions, or duffel bags. However, using continuous tape requires you to purchase and install the sliders and stops separately, which demands a basic understanding of zipper anatomy.
Zipper sizes are designated by numbers, such as #3, #5, or #10, representing the width of the teeth in millimeters when closed. Matching the zipper size to the weight of your fabric is crucial for functional durability. For instance, a delicate #3 nylon coil zipper is ideal for lightweight garments, pillowcases, and inner pockets, as it flexes easily without distorting the fabric. Conversely, a heavier #5 zipper is the standard choice for canvas bags, backpacks, and home decor, while a robust #10 zipper is reserved for heavy upholstery, tents, or marine applications.
Products mentioned in this guide
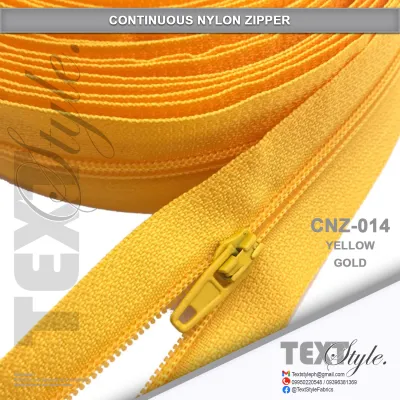
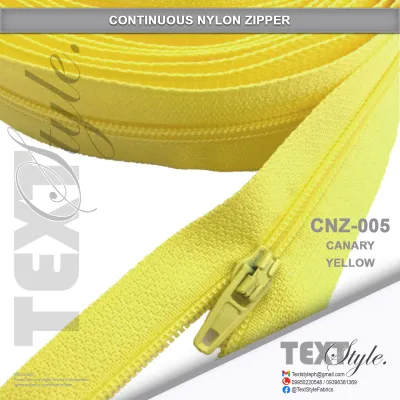
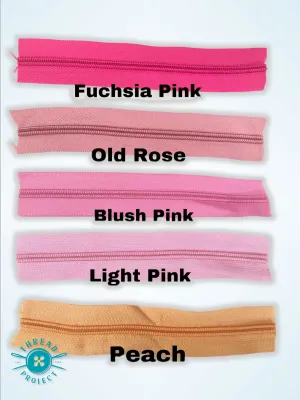
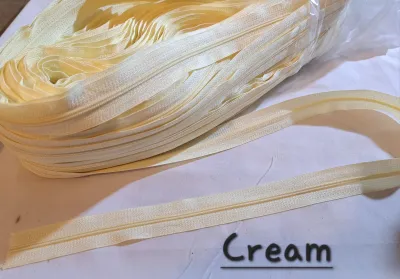
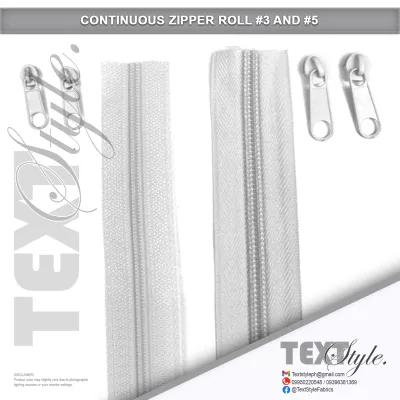
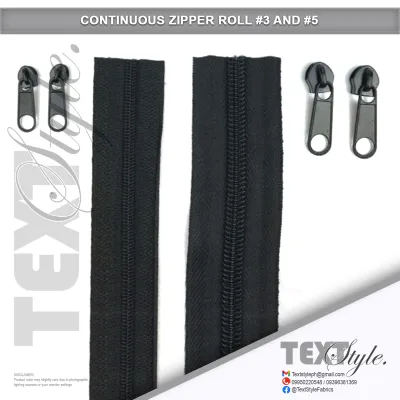
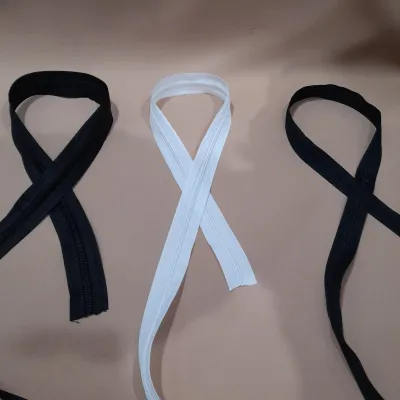
Prices are valid at publication and may change. Please refer to the product page for the latest price.
Before purchasing bulk yardage, verify the compatibility of your sliders and the material of the zipper teeth. Sliders are engineered to fit specific teeth profiles; a slider designed for a #5 metal zipper will not function on a #5 nylon coil or plastic molded zipper. Nylon coil is highly favored for its flexibility, ease of cutting, and resistance to salty air or high humidity, making it a popular choice for tropical climates. Plastic molded zippers offer a chunkier, sporty look, while metal zippers provide classic durability but require heavy-duty tools to cut and finish safely.
Essential Tools for Measuring and Planning
Accurate planning prevents costly cutting mistakes and ensures you purchase the correct amount of zipper per yard. To begin, you will need a flexible measuring tape or a clear acrylic quilting ruler. A flexible tape is indispensable when measuring curved openings, such as those on rounded bags or contoured cushions, as it hugs the fabric edges precisely. A clear quilting ruler is excellent for flat, straight seams, allowing you to align your measurements perfectly with the fabric grain.

Marking your zipper tape accurately is the next critical step, requiring tools that leave clear lines without damaging the delicate fibers. Tailor’s chalk, water-soluble fabric markers, or simple masking tape work beautifully for this purpose. Avoid using permanent ink pens that can bleed through the zipper tape and ruin your finished project. Masking tape is particularly useful because you can write measurements directly on it and peel it off once the zipper is cut and installed.
Finally, keep a calculator and a dedicated planning sheet or notebook nearby to track your measurements. When managing multiple closures across a large project, trying to calculate cumulative lengths in your head often leads to errors. Writing down each opening measurement, its required allowances, and the final calculated length ensures you have a reliable reference sheet when ordering your materials from local suppliers or online marketplaces.
Step-by-Step Guide to Measuring a Single Zipper Length
To determine the exact length of zipper tape needed for a single closure, measure the actual physical opening of your project rather than relying solely on the paper pattern’s listed dimensions. Fabric can stretch, shrink, or shift during cutting and sewing, especially in humid environments where fibers react to moisture. Lay your assembled fabric pieces flat on a clean work surface and measure the precise distance from the starting edge of the opening to the finishing edge.
Once you have the base measurement of the opening, add extra length to accommodate top and bottom stops, seam allowances, and the slider installation process. As a general rule, add at least 1.5 to 2 inches (approximately 4 to 5 centimeters) of extra tape to each end of your measurement. This extra length provides a crucial “tail” that makes sliding the zipper pull onto the raw teeth much easier. It also ensures that the metal or plastic slider sits safely away from your sewing machine needle when you secure the zipper ends into the project’s seams.
After calculating the total length—which is the opening measurement plus the extra allowances on both ends—use your fabric marker to mark the cut lines on your continuous tape. Double-check your measurements against your planning sheet before making any cuts with your shears. It is always safer to cut a zipper slightly too long than too short, as you can easily trim away excess tape after the slider is installed and the zipper is securely sewn into place.
Calculating Total Yardage for Multiple Closures
When your sewing project involves multiple zippered compartments, cushions, or garments, creating a comprehensive cut list is the most effective way to plan your purchase. Write down every single zipper length required for the entire project, including the necessary installation allowances for each. For example, if you are sewing a set of four outdoor chair cushions, you might need four separate zipper lengths of 24 inches each, with each length requiring an additional 4 inches of allowance.
To minimize waste and get the most value out of your zipper per yard purchase, group similar lengths together on your planning sheet. This layout strategy allows you to see how the cuts will fit along a continuous roll of tape. By planning your cuts sequentially, you can avoid leaving short, unusable offcuts of zipper tape that end up in the scrap bin. If you have leftover pieces that are too short for main closures, save them for smaller projects like coin purses, internal pocket dividers, or pencil cases.
Once your cut list is finalized, sum all the individual lengths to find the total cumulative inches or centimeters required. To convert this total into yards, divide the sum in inches by 36, since one yard equals exactly 36 inches (or approximately 91.4 centimeters). For example, if your total required length is 180 inches, dividing by 36 yields exactly 5 yards of zipper tape. If your calculation results in a fraction, always round up to the nearest whole yard or half-yard increment to ensure you have a comfortable buffer.
Factoring in Waste, Allowances, and Testing
Even with meticulous planning, factor in a standard waste allowance to cover unexpected mistakes, tension testing, and practice runs. If you are new to using continuous zipper tape, installing the slider onto the raw teeth can take a few attempts to master. Cutting a small 6-inch practice strip from your roll allows you to practice threading the slider without sacrificing the tape needed for your actual project. Adding an extra 10% to 15% to your total calculated yardage is a safe industry standard that protects your project from minor cutting errors.
Additionally, consider whether your project requires extra tape for custom pull tabs, decorative accents, or future repairs. In tropical climates like the Philippines, high humidity and salt air can cause metal sliders to corrode or wear out faster than the durable nylon tape itself. Purchasing a few extra yards of tape and a handful of spare sliders ensures you have matching replacement materials on hand to repair your items years down the road without having to hunt for matching colors again.
Before finalizing your purchase, check your supplier’s minimum order requirements or standard packaging increments. Some local fabric shops and online craft distributors sell zipper tape strictly in pre-packaged 3-yard, 5-yard, or 10-yard rolls, while others allow you to buy custom lengths by the single yard. If your calculated requirement is 4.2 yards, purchasing a standard 5-yard roll is often more cost-effective and convenient than trying to source exact fractional measurements, leaving you with a helpful stash for future sewing endeavors.
Smart Purchasing and Storage Tips for Zipper Yardage
When sourcing zipper per yard, comparing the pricing structures of different purchasing options can save you a significant amount of money. Buying continuous tape in bulk rolls of 10, 20, or 50 yards dramatically lowers the cost per yard compared to buying individual single-yard cuts. If you frequently sew bags, home decor, or garments in a signature color palette, investing in a bulk roll of neutral zipper tape—such as black, white, or beige—is highly economical for your long-term crafting budget.
Proper storage is essential for maintaining the quality and smooth operation of your continuous zipper tape over time. Avoid folding or creasing the tape, as bent teeth can cause the slider to catch, skip, or split open during use. Instead, wind your zipper tape gently onto cardboard spools or store it in loose, circular coils inside clear storage bins. In warm, humid environments, keeping your zippers in airtight containers with small silica gel packets prevents moisture from degrading the fabric tape or tarnishing metal components.
To keep your sewing workspace efficient, store your matching sliders, top stops, and bottom stops in small, labeled organizer compartments directly alongside your zipper rolls. Trying to fit a size #5 slider onto a size #3 tape mid-project is incredibly frustrating, so keeping your notions sorted by size and color saves valuable time. Labeling each container with the zipper size and teeth material ensures a smooth, stress-free sewing experience from the first cut to the final stitch.
Frequently Asked Questions (FAQ)
Can I use any slider with continuous zipper tape?
No, sliders are not universally interchangeable and must precisely match the size number and teeth material of your continuous zipper tape. A slider designed for a #5 nylon coil zipper will not function on a #5 metal or plastic molded zipper, as the teeth shapes and depths are entirely different. Always check the manufacturer’s specifications before purchasing, and test a single slider on a small scrap of your tape to verify smooth gliding before cutting your main project pieces.
How do I finish the ends of a zipper cut from a continuous roll?
You can finish the ends of a custom-cut zipper by applying metal or plastic top and bottom stops using jewelry pliers or specialized zipper crimping tools. Alternatively, you can create secure fabric stops by wrapping small squares of matching fabric over the raw ends and sewing them in place. For zippers that will be completely enclosed in a seam, sewing a dense bar tack stitch across the teeth near the cut edge is a quick and highly effective way to prevent the slider from running off the track.
Is it cheaper to buy zipper by the yard than pre-cut zippers?
Yes, purchasing zipper by the yard is generally much more cost-effective, especially for large-scale projects, multiple items, or custom lengths that are not standard in retail stores. While you must purchase the sliders and stops separately, the overall cost per closure is significantly lower when buying in bulk. This approach also eliminates the waste of cutting down expensive pre-cut zippers to fit custom openings, making it both an economical and sustainable choice for avid sewists.

Community discussion
Share your experience or ask a question. Comments are reviewed before publication.