
Creating eye-catching, durable DIY hairclips relies on balancing structural integrity with visual contrast. By layering stiff base ribbons with soft, textured accents and coordinating colors strategically, you can craft unique hair accessories that hold their shape even in warm, humid tropical climates. Whether you are designing for daily wear or special occasions, understanding how different materials interact ensures your handmade creations look professional and last for a long time.
Choosing the Right Ribbon Widths and Textures for Layering
Selecting the right ribbon widths is the first step in building a balanced, multi-layered hairclip. A successful design typically uses a wide, sturdy ribbon for the bottom layer to establish the overall shape and support the weight of the accessory. Common base widths range from 25mm to 40mm, which provide a substantial canvas for adding smaller, decorative elements on top.
For the base layer, grosgrain ribbon is highly recommended due to its ribbed texture and inherent stiffness. This structural integrity is crucial, especially in humid environments where softer fabrics might lose their crispness and sag. Grosgrain holds its shape exceptionally well when folded into loops or structured bows, serving as a reliable foundation.
Products mentioned in this guide
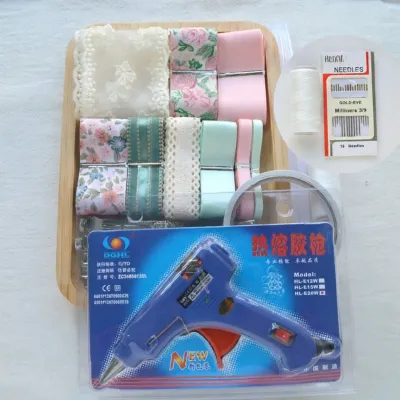
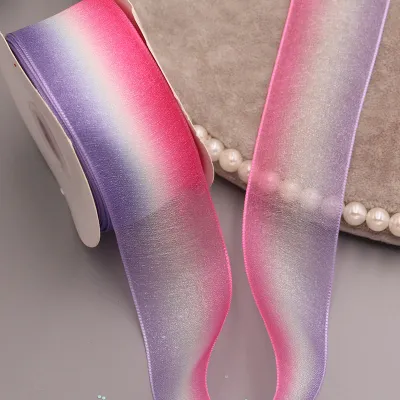
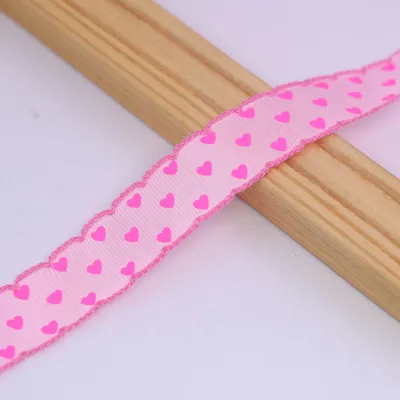
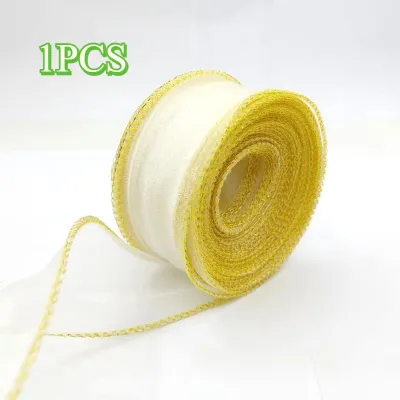
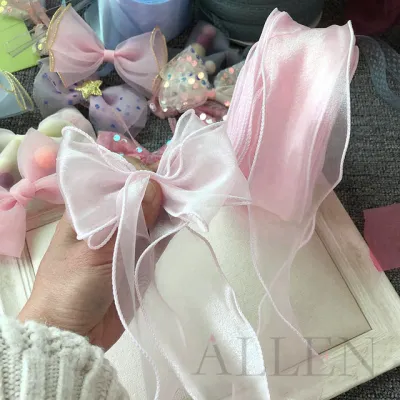
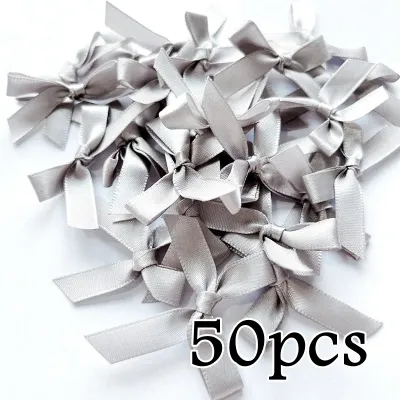
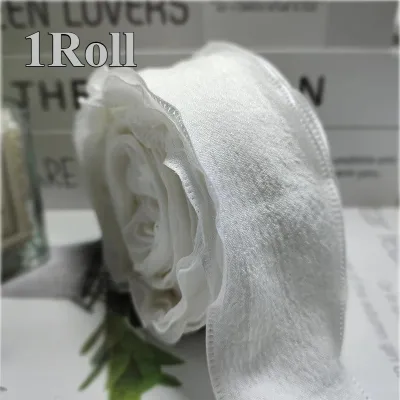
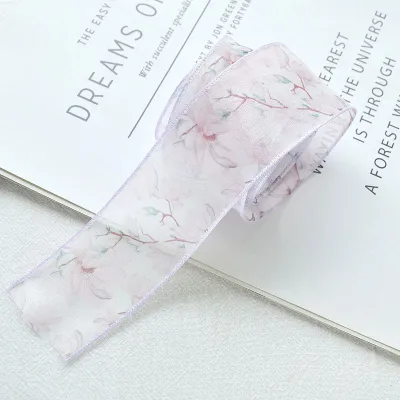
Prices are valid at publication and may change. Please refer to the product page for the latest price.
The top layers are where you can introduce narrower, softer ribbons to create tactile and visual contrast. Satin, velvet, or organza ribbons in widths of 6mm to 15mm work beautifully when layered over a grosgrain base. The smooth, glossy finish of satin or the rich, matte texture of velvet creates an appealing contrast against the ribbed background of the base ribbon.
Before cutting and stacking your materials, always inspect the edge finishes of your ribbons. Woven edges are much more stable and resistant to fraying than cut edges. When combining different textures, keep in mind that slippery materials like satin may slide against each other during assembly, requiring careful alignment and secure bonding.
Creating Color Palettes for Multi-Element Hairclips
Developing a cohesive color palette is essential for making your multi-element hairclips look intentional and professionally designed. Basic color theory offers a simple framework for pairing ribbons. A monochromatic scheme uses different shades of a single color, such as pairing a deep navy base with a soft sky-blue top layer, creating a sophisticated and subtle look.

For a more vibrant design, analogous color schemes combine colors that sit next to each other on the color wheel, such as peach, coral, and soft yellow. If you want your hairclip to stand out with high contrast, complementary pairings like forest green and dusty rose offer a striking visual balance.
When working with patterned, printed, or metallic ribbons, balance is key to avoiding a cluttered appearance. Pair a bold floral print or a shiny gold-accented ribbon with a solid, neutral base color like cream, beige, or slate gray. This allows the patterned ribbon to serve as the focal point without overwhelming the entire design.
Always test your color combinations under different lighting conditions before applying any adhesive. Ribbon colors can shift dramatically between the bright, natural sunlight of the outdoors and warm indoor LED or fluorescent lighting. Laying your ribbons side-by-side under both light sources ensures the colors harmonize beautifully in any environment.
Step-by-Step Layering and Assembly Techniques
Assembling a layered hairclip requires a systematic approach to ensure all elements are securely bonded and perfectly aligned. Start by preparing the metal clip base, such as a standard alligator clip or barrette. Metal surfaces can be slippery, so cleaning the clip to remove manufacturing oils is a crucial first step for a long-lasting bond.
To improve grip, wrap the metal clip with a thin, 6mm grosgrain ribbon before attaching your main bow. Apply a thin, even layer of adhesive along the top of the metal clip, press the ribbon down firmly, and wrap it around the ends. This wrapped base provides a high-friction surface that holds onto hair much better than bare metal.
Next, establish your stacking order by preparing your ribbon layers from widest to narrowest. Apply a controlled amount of craft adhesive to the center of your wide base ribbon, fold it into your desired bow shape, and secure it to the wrapped clip. Ensure the base bow is perfectly centered and level before moving on to the next layer.
Once the base is secure, apply a small bead of glue to attach the narrower accent layers, such as a satin loop or a velvet strip, directly over the center. When adding delicate embellishments like tiny bows, pearls, or fabric flowers, use a toothpick to apply the adhesive. This prevents excess glue from squeezing out, which can ruin the soft texture of velvet or leave unsightly shiny marks on satin.
Common Ribbon Pairing Mistakes and How to Avoid Them
One of the most common mistakes in DIY hairclip crafting is using heavy embellishments on a flimsy, narrow base ribbon. If your base layer lacks structural support, adding heavy resin charms, pearls, or multiple ribbon loops will cause the bow to sag, droop, or pull away from the clip entirely. Always match the weight of your decorations to the strength of your base material.
Adhesive bleed-through is another frequent issue, particularly when working with thin, light-colored satin or silk ribbons. Standard hot glue can easily seep through these delicate fabrics, leaving hard, dark, and unsightly patches on the visible surfaces of your hairclip. To prevent this, use a specialized clear fabric glue and apply it sparingly with a precision tip.
Different ribbon materials also require different handling when it comes to sealing and bonding. Synthetic fibers like polyester grosgrain and satin melt cleanly when exposed to heat, making them easy to seal. However, natural fibers like cotton or silk will burn rather than melt, meaning they require liquid fray check or clear fabric sealant instead of a heat source.
Finally, budget your materials wisely to avoid waste. Crafting your own custom hair accessories is highly cost-effective, often costing less than ₱50 per clip in raw materials when purchasing ribbons in bulk. Planning your cuts and testing your layouts beforehand ensures you maximize your supplies and achieve a clean, professional finish every time.
Frequently Asked Questions (FAQ)
Can I wash DIY layered ribbon hairclips?
Full submersion in water is not recommended for handmade ribbon hairclips, as moisture can weaken craft adhesives and cause the underlying metal clips to rust. Instead, opt for gentle spot cleaning. Use a damp cotton swab with a tiny drop of mild fabric detergent to carefully lift dirt or oils from the ribbon surface. Avoid rubbing delicate textures like velvet piles or metallic foil prints, as friction can permanently bald the velvet or wear away the metallic shine.
How do I stop cut ribbon edges from fraying?
To prevent cut ribbon edges from unraveling, you can apply a thin line of clear fabric sealant or clear nail polish along the raw edge for a safe, cold-finish seal. This method is highly effective for all material types, including natural fibers. For synthetic ribbons like polyester grosgrain or satin, you can carefully pass the cut edge near a controlled heat source, such as a lighter flame, for a fraction of a second. The heat will melt the plastic fibers together, creating a clean, permanent seal.

Community discussion
Share your experience or ask a question. Comments are reviewed before publication.