
Organizing important documents with a transparent plastic envelope system is one of the most effective ways to protect vital paperwork from dust, spills, and tropical humidity while keeping everything instantly visible. Unlike opaque folders that hide their contents, transparent envelopes allow you to identify certificates, contracts, and receipts at a glance without constantly opening and rummaging through your files. By establishing a systematic approach to sorting, labeling, and integrating these envelopes into your existing binders or cabinets, you can build a highly functional archive that preserves your papers for years to come.
To get the most out of this system, you must select the right materials and follow a structured filing process. This guide provides a practical, step-by-step method to categorize your documents, choose the best envelope features, apply durable labels, and maintain your filing system against environmental wear and tear.
Preparing Your Documents and Filing Supplies
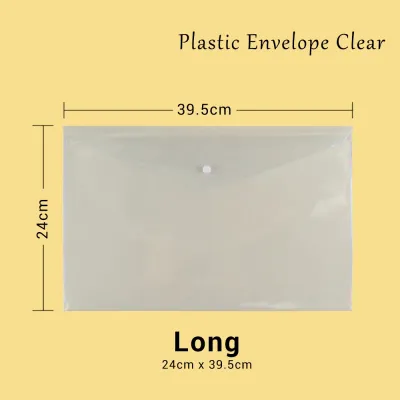
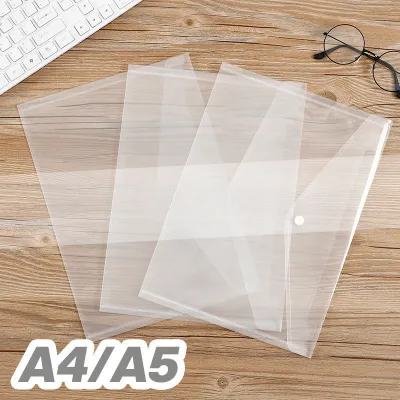
Before sliding any papers into plastic sleeves, you must assess the volume and physical dimensions of the documents you need to organize. In the Philippines, office and personal paperwork typically comes in three standard sizes: Letter (short, 8.5 x 11 inches), A4 (8.27 x 11.69 inches), and Legal (long, 8.5 x 13 inches). Gathering your documents beforehand allows you to group them by size and determine exactly how many envelopes of each dimension you will need. Trying to fold a long land title or contract to fit into a short envelope will damage the paper, so matching the envelope size to your largest document is a critical first step.
Products mentioned in this guide
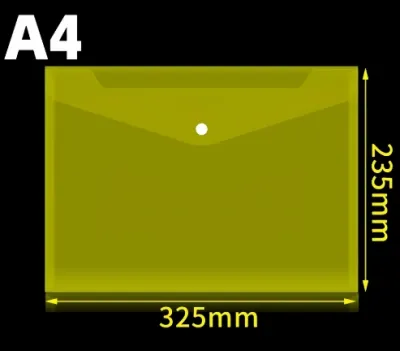
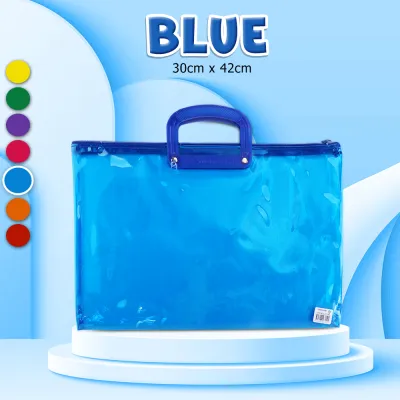
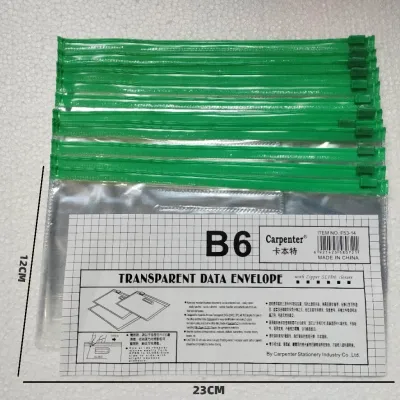
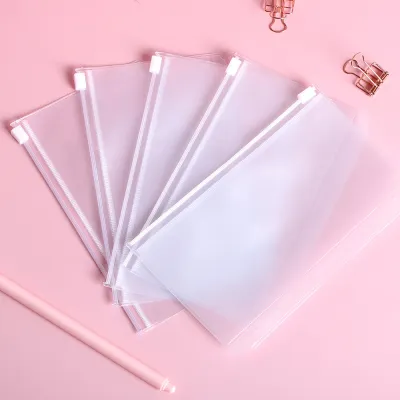
Prices are valid at publication and may change. Please refer to the product page for the latest price.
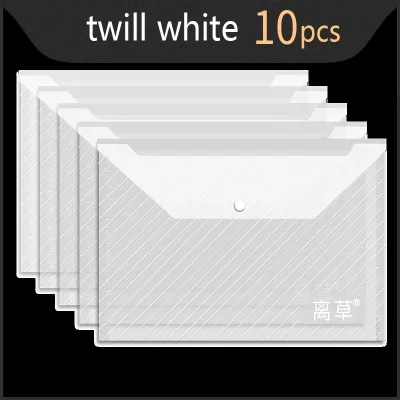
Next, consider the physical features of the transparent plastic envelope. These envelopes come in various thicknesses, often measured in microns or gauge. Thicker, heavy-duty plastic offers better rigidity and protection against bending, making it ideal for documents you handle frequently, such as school certificates or active business permits. You must also choose a closure type that suits your storage environment. Snap buttons offer quick and easy access, slide zippers provide a tighter seal against dust and moisture, and string-and-button ties allow the envelope to expand slightly to accommodate thicker stacks of paper.
Finally, gather your labeling tools and prepare your primary storage units. If you plan to store your envelopes in ring binders, ensure you have a heavy-duty hole puncher or purchase envelopes that come pre-punched along a reinforced left margin. If you prefer filing drawers or storage boxes, clear out any old, loose folders to make room for your new organized system. Having your label maker, permanent markers, or adhesive tabs ready at the start will keep your workflow smooth and uninterrupted.
Step-by-Step Guide to Sorting and Storing Documents
To build an intuitive filing system, start by sorting your loose papers into logical categories before placing them into any envelopes. Group your documents by function, project, or chronological order. For example, you might create separate piles for household utility bills, medical records, academic transcripts, and government-issued identification papers. Sorting your papers on a large, clean table allows you to see the volume of each category, helping you decide if a group needs its own dedicated envelope or if closely related topics can share one.

Once your documents are sorted, prepare to insert them into the envelopes. To prevent bending, creasing, or tearing the edges of your papers, tap the stack gently on a flat surface to align all the sheets perfectly. Hold the stack firmly and slide it slowly into the envelope. If you are dealing with delicate, older papers or thin receipts, place a sheet of clean, heavy cardstock behind the papers to act as a rigid support beam inside the plastic envelope.
After the documents are safely inside, secure the closure mechanism carefully. For snap-button closures, press down firmly while supporting the back of the button with your thumb to avoid putting unnecessary pressure on the papers underneath. If you are using slide-zipper envelopes, run your fingers along the track to ensure a complete seal. For string-and-button closures, wrap the string snugly around the plastic buttons without pulling so tightly that you warp or bend the envelope corners.
Avoid the temptation to overstuff your envelopes. While a standard flat transparent plastic envelope is highly convenient, it is generally designed to hold between 20 and 50 sheets of standard paper comfortably. Overstuffing strains the welded side seams, makes the closure difficult to secure, and presses the papers tightly against the plastic. In humid tropical climates, this high pressure can cause the ink from printed pages to transfer or stick to the inner plastic surface, potentially ruining important original documents.
Labeling Strategies for Quick Retrieval
Clear labeling is the key to finding what you need in seconds. While the transparency of the plastic envelope helps you identify the contents, a structured label provides specific details like dates, account numbers, or project names. When choosing a labeling method, look for options that stick securely to plastic surfaces without causing damage. Self-adhesive paper labels are highly readable, while insertable index cards are ideal for envelopes that feature a built-in clear label pocket on the front.
Placement of your labels depends entirely on how you plan to store the envelopes. If you are filing them vertically in a drawer or a desktop organizer, place your labels along the top edge of the envelope so they remain fully visible when you look down into the container. If you are integrating the envelopes into a ring binder, place the labels on the outer right edge or the spine margin so you can read them easily as you flip through the binder pages.
To keep your filing system flexible, use labeling methods that are easy to update. Avoid writing directly on the envelope with permanent marker unless you are certain the category will never change. Instead, apply a strip of low-tack masking tape or a removable adhesive label. If you must update a label, peel it off slowly and at a flat angle to prevent stretching or tearing the plastic surface. If any sticky residue remains, clean it off immediately before applying a new label.
Integrating Envelopes into Your Existing Filing System
Integrating your transparent plastic envelopes into a broader storage system keeps your workspace tidy and ensures your files are easy to access. If you prefer using ring binders, select envelopes with pre-punched margins. These are designed to sit flat inside standard two-ring, three-ring, or multi-ring binders. If you prefer filing cabinets, deep drawers, or plastic storage crates, flat envelopes without punched holes are the better choice, as they slide smoothly against one another without catching on binder rings.
Arrange your envelopes within your storage unit using a logical sorting method. Color-coding is an excellent way to categorize your files visually. You can use blue envelopes for financial documents, green for property and land records, yellow for academic certificates, and clear envelopes for general identification papers. Within each color category, arrange the envelopes chronologically or alphabetically to make retrieval even faster.
When using ring binders, pay close attention to weight distribution and overall capacity. Plastic envelopes filled with paper are significantly heavier than standard loose-leaf sheets. To prevent the punched holes from tearing or putting too much strain on the binder rings, avoid overloading a single binder. Use binders with sturdy D-rings rather than round O-rings, as D-rings allow the envelopes to stack flatly and evenly, reducing wear on the plastic margins.
Maintaining and Updating Your Document System
An organized filing system is not a one-time project; it requires regular maintenance to remain useful. Schedule a routine review of your documents once or twice a year. During these reviews, go through each envelope to archive outdated papers, digitize receipts that may fade over time, and discard documents that are no longer needed. Keeping your envelopes free of clutter ensures that your filing system remains lightweight and easy to navigate.
Keeping the plastic surfaces clean is also essential for maintaining visibility. Over time, dust, fingerprints, and oils from your hands can accumulate on the envelopes, making them look cloudy. To clean them, remove the documents entirely and wipe the plastic surfaces with a dry or slightly damp microfiber cloth. Avoid using harsh chemical sprays, window cleaners, or abrasive paper towels, which can scratch the plastic or leave a cloudy residue that permanently reduces transparency.
Finally, inspect your envelopes regularly for signs of physical wear. Look for cracked side seams, broken snap buttons, or plastic that has become brittle and yellowed due to heat or exposure to sunlight. If you notice any damage, transfer the documents to a fresh envelope immediately. Replacing worn envelopes promptly ensures that your important papers remain fully protected from the elements and are always ready when you need them.
Frequently Asked Questions (FAQ)
Can I use transparent plastic envelopes for long-term archival storage?
Standard commercial plastic envelopes are generally not recommended for long-term archival storage of highly sensitive or irreplaceable documents. Many common plastic envelopes are made from polyvinyl chloride (PVC), which can release acidic byproducts over time, especially in hot and humid climates. These acids can cause paper to yellow, degrade, and stick to the plastic, leading to ink transfer. For irreplaceable items like birth certificates, marriage contracts, or land titles, look for envelopes explicitly labeled as acid-free, archival-safe, or made from copy-safe polypropylene (PP). Always verify the manufacturer’s specifications before storing valuable documents long-term.
How do I remove sticky residue from a plastic envelope without damaging it?
To remove sticky adhesive residue left behind by old labels, use a gentle, non-solvent approach. Apply a single drop of common cooking oil, such as coconut oil or canola oil, to a soft microfiber cloth and rub the sticky area gently in a circular motion. The oil will break down the adhesive without harming the plastic. Once the residue is gone, wipe the area with a damp cloth dipped in mild soapy water to remove the oil, then dry it completely. Never use harsh chemicals like acetone, nail polish remover, or abrasive scrubbers, as these will permanently melt, scratch, or cloud the transparent plastic surface.

Community discussion
Share your experience or ask a question. Comments are reviewed before publication.