
Organizing multiple permits—such as business permits, barangay clearances, sanitary certificates, and parking decals—requires a systematic approach to prevent misplacement and ensure rapid retrieval during inspections or renewals. A dedicated binder or permit holder system offers a centralized, portable, and highly visible solution for managing these critical documents. By grouping your permits logically, protecting them from environmental wear, and utilizing clear indexing tools, you can transform a chaotic stack of paperwork into an audit-ready filing system. Setting up this system involves selecting the right physical storage tools, preparing your documents safely, and establishing a routine for regular updates.
Choosing the Right Binder, Folder, or Permit Holder
Selecting the right storage tool depends on the volume, size, and format of your permits. For businesses displaying multiple certificates to inspectors, a heavy-duty ring binder with clear sheet protectors is highly effective. This setup allows you to flip through pages easily and present documents without removing them. For smaller, mobile documents like parking permits, delivery clearances, or temporary passes, a compact permit holder or expanding folder is more practical.
When purchasing storage materials, check the chemical composition of the plastics. Look for labels specifying acid-free, archival-safe, or non-PVC materials. Standard PVC sleeves release plasticizers over time that can bond with ink or toner, causing text to lift off the paper and stick to the plastic. Polypropylene sheet protectors are a safer, stable alternative that prevents this degradation.
Products mentioned in this guide
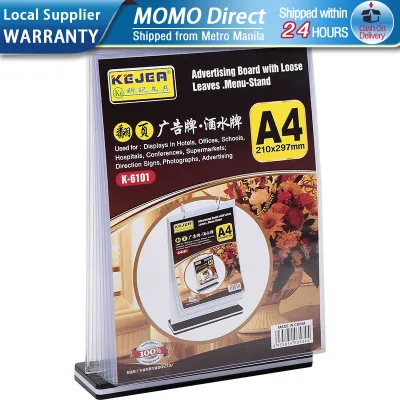

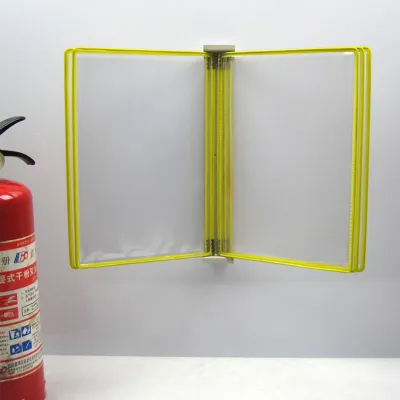
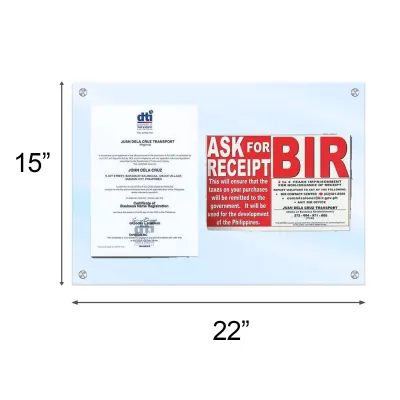
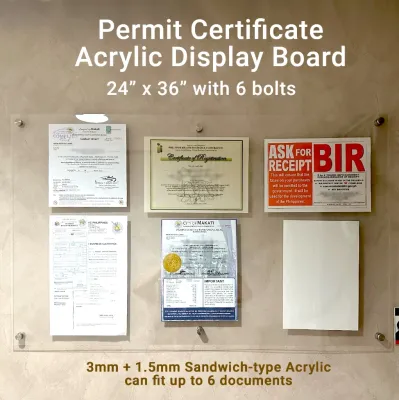
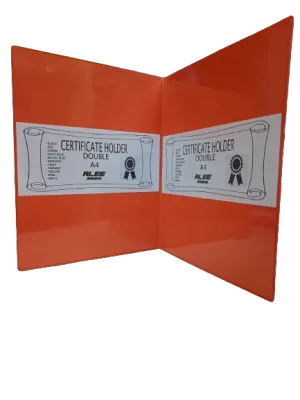
Prices are valid at publication and may change. Please refer to the product page for the latest price.
To determine binder capacity, estimate your total page count and account for future additions. A standard 1-inch ring binder holds about 150 sheets, but this capacity decreases when using thick plastic protectors. For a comprehensive set of corporate permits, tax clearances, and receipts, a 1.5-inch or 2-inch D-ring binder is preferable. D-ring mechanisms allow pages to lie flat and stack evenly, reducing the risk of creasing or tearing.
Sorting and Preparing Permits for Archiving
Before placing any document into your new filing system, you must sort and prepare them to ensure a logical flow and prevent physical damage. Begin by gathering all active permits and categorizing them by primary function, such as municipal business permits, sanitary clearances, environmental certificates, and vehicle passes. Grouping documents by category makes it much easier to locate specific items when an inspector visits or during annual renewals.

During this sorting process, identify any permits printed on thermal paper, which is commonly used for payment receipts, parking slips, and temporary gate passes. Thermal paper is highly sensitive to heat, light, and friction, meaning the printed text will naturally fade over time. To preserve this information, make high-quality photocopies or digital scans of these thermal documents on standard paper before filing them. Store the photocopy in your main binder and keep the original thermal slip in a dark, cool envelope if required for official verification.
Another critical decision is how to secure the documents within the binder. Avoid punching holes directly into original government permits, certificates, or licenses. Punching holes can accidentally destroy official seals, signatures, barcodes, or security watermarks, which may render the document invalid. Instead, slide the original documents into clear, top-loading polypropylene sheet protectors. This method keeps the permits fully intact while allowing you to organize them securely within any standard ring binder.
Step-by-Step Assembly of Your Filing System
With your sorted permits and storage tools ready, you can begin the physical assembly of your filing system. Start by placing durable tabbed dividers into your ring binder to mark the boundaries of each document category. Using dividers with insertable paper tabs allows you to customize the section names as your administrative requirements evolve. Place the most frequently requested categories, such as your primary business permit or general clearance, at the very front of the binder for immediate access.
Next, load your prepared permits into the sheet protectors and insert them into their respective sections. Arrange the documents chronologically or by expiration date within each category, placing the most recently issued or longest-lasting permits at the front. If a permit has a corresponding payment receipt, slide the receipt into the same sheet protector directly behind the permit, facing outward. This back-to-back arrangement keeps all related proof of payment and authorization together without cluttering the binder.
Once all documents are loaded, close the binder rings and test the functionality of the system. Turn the pages slowly from front to back to verify that the sheet protectors slide smoothly along the rings without catching, bunching, or tearing at the punched margins. If you notice resistance, check if the binder is overfilled or if the rings are misaligned. Adjusting the volume of pages or upgrading to a slightly larger binder size will prevent physical wear on the plastic sleeves and ensure the system remains easy to navigate.
Labeling and Indexing for Quick Retrieval
A highly functional permit binder relies on clear visual cues that allow anyone to locate a specific document in seconds. Design a consistent labeling format for the binder spine, section dividers, and individual sleeves. The spine label should clearly state the contents of the binder and the current calendar year, such as “Business Permits & Clearances – 2026.” This prevents confusion if you maintain multiple binders for different years or business branches.
Color-coding is an excellent way to enhance visual navigation and highlight urgency. You can assign specific colors to different categories of permits, such as blue for local government clearances, green for environmental permits, and red for urgent, short-term passes. Alternatively, use colored adhesive tabs on the edges of individual sheet protectors to flag upcoming expiration dates. For example, a yellow tab could indicate a permit expiring within 60 days, while a red tab signals a document that requires immediate renewal action.
For larger or more complex collections of permits, create a master index or table of contents and place it in a clear sleeve at the very front of the binder. This index should list every document in the binder, its corresponding section, its issue date, and its exact expiration date. Having a centralized schedule at the front of the binder allows managers and staff to see the status of all permits at a single glance, eliminating the need to flip through every page to check validity.
Maintaining, Storing, and Updating Your Records
An organized filing system is only effective if it is kept up to date through regular maintenance. Establish a routine schedule—such as a monthly or quarterly review—to inspect the binder, remove expired permits, and insert newly issued documents. When a permit expires, do not simply discard it; transfer it to a separate, clearly labeled long-term archive box or binder. Keeping historical permits can be crucial for tax audits, legal verifications, or proving continuous business operations over several years.
Physical storage conditions play a vital role in preserving the integrity of your paper documents and plastic holders. Store your permit binder in a cool, dry environment away from direct sunlight, high humidity, and extreme heat. In tropical climates, high humidity can cause paper to absorb moisture, leading to mold growth or causing pages to stick to plastic sleeves. Avoid storing binders on the floor or near external walls where moisture can accumulate, and consider placing silica gel packets inside the storage cabinet to help control humidity levels.
Finally, always maintain a digital backup of every document in your physical binder. Scan each permit at a high resolution and save the files in a secure cloud storage service or an external local drive. Organize your digital folders to mirror the physical structure of your binder, using the same categories and naming conventions. Having digital copies ensures that you can still access and print your permits in the event of physical damage, loss, or emergencies, providing an extra layer of security for your essential records.
Frequently Asked Questions (FAQ)
Can I use a standard hole punch on original government permits?
No, you should avoid using a standard hole punch on original government permits, licenses, or official certificates. Punching holes through these documents carries a high risk of damaging critical security features, such as official embossed seals, watermarks, barcodes, or signatures. If any of these elements are punctured or obscured, regulatory officers or inspectors may deem the permit altered, damaged, or completely invalid, which can lead to administrative delays or fines.
To keep your original permits fully intact and legally valid, use clear, top-loading sheet protectors made of polypropylene. These sleeves feature pre-punched margins on the outer edge, allowing you to secure the documents inside a standard ring binder without making any physical alterations to the paper itself. If a document is unusually shaped or too small for a standard sleeve, you can use clear adhesive pockets designed to stick onto a backing sheet, keeping the original permit safe and unaltered. Always check the specific guidelines of the issuing government authority before making any physical modifications to an official document.
How do I prevent thermal paper permits from fading in a binder?
Thermal paper permits, such as parking receipts, temporary gate passes, and payment slips, are highly sensitive to environmental factors because they use heat-activated chemicals rather than traditional ink to display text. Exposure to heat, direct sunlight, friction, and even the natural oils from your fingers can cause the printed text on thermal paper to fade rapidly, sometimes becoming completely illegible within a few months.
To prevent the loss of critical information, the most effective strategy is to make a high-quality photocopy or digital scan of the thermal paper permit as soon as you receive it. Standard printer paper and toner are far more durable and resistant to fading. Place the photocopy in your main permit binder for daily reference and inspection. If you must keep the original thermal slip, store it in a cool, dark place away from plastic sleeves containing PVC, as certain plasticizers can accelerate the chemical reaction that causes thermal paper to fade. Verify that any plastic sleeves you use are certified as acid-free and archival-safe to minimize chemical degradation.

Community discussion
Share your experience or ask a question. Comments are reviewed before publication.