
Pairing dimensional bubble stickers with flat, versatile washi tape is an excellent way to bring depth, texture, and structure to your journal spreads. Successfully combining these two popular stationery items relies on understanding their distinct visual weights, using washi tape to build structural foundations, and leveraging the raised, tactile nature of bubble stickers as eye-catching focal points. In tropical climates like the Philippines, where high humidity can affect adhesive behavior over time, mastering the sequence of layering is key to keeping your layouts secure and visually balanced. This guide will walk you through practical layering techniques, sequential workflows, and common layout pitfalls to help you achieve harmonious, professional-looking journal pages.
Understanding the Roles of Bubble Stickers and Washi Tape
To create a balanced layout, you must first recognize how each material functions on the page. Bubble stickers are inherently high-contrast elements due to their raised, three-dimensional profiles and glossy finishes. They naturally act as focal points, thematic anchors, or dimensional accents that draw the reader’s eye directly to a specific section of the page. Because they command so much visual attention, using them selectively prevents your spread from feeling cluttered or physically heavy.
Washi tape, on the other hand, serves as the structural backbone of your journal layout. With its low profile and matte texture, washi tape is ideal for creating borders, framing text blocks, dividing pages, or acting as a subtle background layer. It provides a grounding effect, organizing the white space and connecting disparate elements across the spread.
Products mentioned in this guide
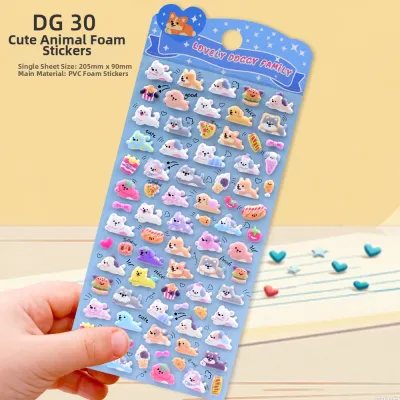
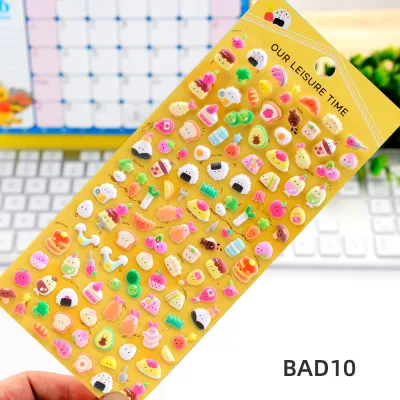
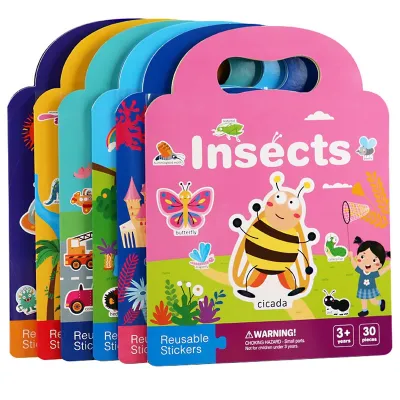

![[COD] SHPYHT TOY Animal Stereoscopic 3D Bubble Sticker Diary Sticker Decor Stationery Stickers](https://img.lazcdn.com/g/p/6c9bc518b3a009bcd904c7080f9ae92a.jpg_400x400q80.jpg_.webp)

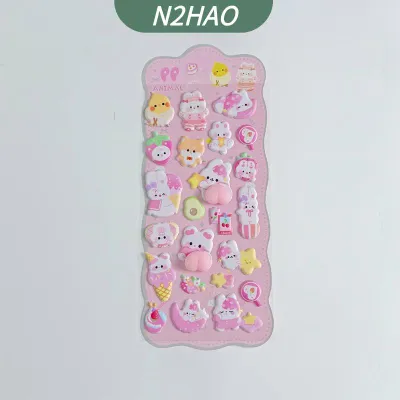
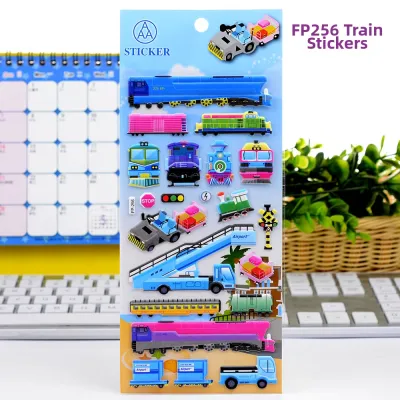
Prices are valid at publication and may change. Please refer to the product page for the latest price.
Before applying either medium, it is essential to evaluate your journal’s paper. Standard notebook pages vary widely in thickness and texture; thinner paper may warp under the weight of multiple heavy bubble stickers, while highly textured paper might resist the low-tack adhesive of standard washi tape. Checking the paper weight (often measured in grams per square meter, or GSM) helps ensure your pages can support layered adhesives without buckling, tearing, or causing ink to bleed through from the other side.
Core Techniques for Layering and Combining
Achieving a cohesive look requires deliberate layering techniques that merge the flat texture of tape with the raised dimension of bubble stickers. One of the highly effective methods is the framing technique. By laying down a strip of solid-colored or subtly patterned washi tape first, you create a clean, contrasting backdrop. Placing a detailed bubble sticker directly on top of this tape frame makes the sticker’s design pop, preventing its intricate details from getting lost against a busy page background.

Another approach involves using washi tape as a visual connector to guide the eye through your layout. You can lay down diagonal tape paths, geometric grids, or horizontal lines that span across the page. Placing bubble stickers at the intersections or ends of these tape lines creates a natural path for the viewer’s eye to follow, unifying scattered elements and making the entire spread feel like a single, intentional composition rather than a random collection of items.
Balancing colors and patterns is equally crucial for visual harmony. If you are using highly detailed, vibrant bubble stickers, pair them with minimalist, neutral, or solid-colored washi tape to avoid visual competition. Conversely, if your tape features bold, repeating patterns, choose simpler, monochromatic bubble stickers. Matching specific accent colors across both mediums—such as pairing a pastel pink floral tape with a bubble sticker of a similar soft rose hue—creates an instant, satisfying sense of coordination.
Step-by-Step Guide to Building a Journal Spread
Building a balanced journal spread is a sequential process that starts with planning before any adhesive touches the paper. Begin by establishing a central theme or color palette for your page. You might choose a warm sunset theme, a cool botanical aesthetic, or a simple pastel color scheme. Gather your selected washi tapes and bubble stickers beforehand to verify that their colors and styles complement each other under your workspace lighting.
Next, lay down your base washi tape to define the structure of the page. Use longer strips to create outer borders, or construct simple grids to partition your writing zones. This step establishes the physical boundaries of your layout and ensures you leave enough clean, flat space for your actual journaling or planning notes.
Once your structural base is secure, place your primary bubble stickers. These should be your largest or most detailed stickers, positioned strategically to anchor the main focal points of the layout—such as the top corner of a daily entry or the center of a weekly spread. Because bubble stickers are thick, placing them at this stage ensures they do not overlap areas where you intend to write comfortably.
Finally, add secondary accents to complete the composition. Use thinner washi tape strips or smaller bubble stickers to fill awkward gaps, frame your written text, and balance the overall visual weight. Be mindful of negative space; leaving some areas of the paper completely blank allows your eyes to rest and keeps the layered sections from feeling overwhelming.
Common Mistakes to Avoid in Your Layouts
While experimenting with stationery is highly creative, certain layout choices can disrupt the visual harmony or physical durability of your journal. A frequent mistake is pattern clashing, which occurs when too many high-saturation, complex designs compete for attention on a single page. To prevent this, limit yourself to one dominant pattern per spread and use solid colors or simple grids to balance the rest of the layout.
Another common pitfall is ignoring visual weight and negative space. Overcrowding a page with too many thick bubble stickers not only makes writing difficult but also creates a chaotic, disorganized look. If your journal struggles to close flat, or if the pages bulge excessively, it is a sign that you need to scale back the dimensional elements and rely more on flat washi tape or simple pen illustrations.
Adhesion issues are also common, particularly in warm, humid environments where low-tack adhesives can lose their grip over time. When layering thick bubble stickers over washi tape, the sticker’s edges may lift due to the textured or slightly waxy surface of the tape. To address this, ensure you apply firm, even pressure across the entire sticker surface during application, and check that the underlying tape is completely flat and free of air bubbles before layering.
Frequently Asked Questions (FAQ)
Can I write on bubble stickers and washi tape?
Whether you can write on these materials depends entirely on their surface finishes and the type of ink you use. Most bubble stickers have a glossy, non-porous plastic coating that causes standard water-based gel pens or fountain pen inks to bead up and smudge. If you need to write on or near a bubble sticker, it is highly effective to use a permanent, oil-based marker and allow it ample time to dry. Washi tape, which is typically made from traditional Japanese paper, is much more receptive to ink, but finishes can still vary. Always test your favorite gel pens, ballpoints, or markers on a small scrap piece of tape first to observe the drying speed, opacity, and potential for smudging before writing on your final layout.
How do I prevent thick bubble stickers from peeling off the tape?
To prevent thick, dimensional stickers from lifting off your washi tape, start by preparing a clean surface. Ensure the tape is pressed completely flat against the journal page and is free from dust, eraser shavings, or natural skin oils, which can severely compromise adhesive strength. When applying the bubble sticker, press down firmly and hold for several seconds, paying close attention to the outer edges and the transition points where the sticker meets the tape. If you notice immediate lifting, it may be due to the sticker’s stiffness or a highly textured tape surface; in such cases, try repositioning the sticker slightly so it adheres directly to the journal paper rather than overlapping the tape.

Community discussion
Share your experience or ask a question. Comments are reviewed before publication.