
Pairing condiment stickers with other elements on your food-themed journal pages requires a thoughtful balance of visual weight, color harmony, and material compatibility. By establishing a clear visual hierarchy, using washi tape as a grounding frame, and blending handwritten notes or doodles, you can seamlessly integrate these charming designs into your layouts. In tropical climates like the Philippines, where high humidity can affect paper texture and adhesive strength, choosing the right techniques is essential for a clean, long-lasting journal spread.
Establishing a Visual Focal Point with Condiment Stickers
Every successful journal layout needs a clear starting point for the reader’s eye. When working with food themes, you must decide whether your condiments sticker will serve as the main hero of the page or as a supporting accent. If you have a large, highly detailed sticker—such as an intricate bottle of hot sauce, a jar of chili garlic oil, or a classic soy sauce bottle—it makes an excellent central anchor. Place this primary sticker in a prominent position, such as the center of a page or the outer corner of a major text block, to establish your theme immediately.
Once your anchor is in place, you can balance the visual weight of the page by distributing smaller condiment accents around it. For instance, if your main focal point is a large bowl of noodles, you can scatter smaller stickers of calamansi halves, chili flakes, or tiny dipping saucers nearby. This distribution prevents the page from feeling lopsided. Grouping these smaller elements in odd numbers, such as clusters of three or five, creates a more natural and visually pleasing arrangement than even pairings.
Products mentioned in this guide
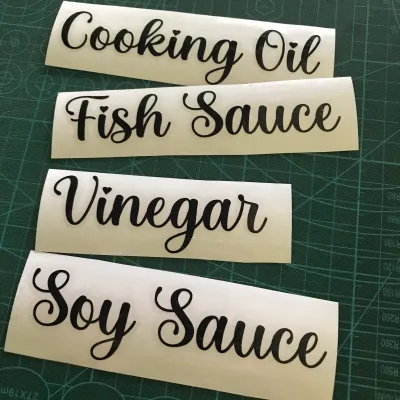
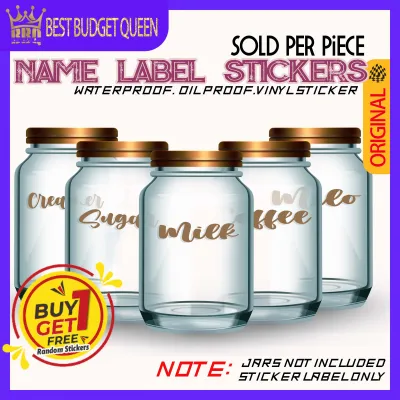
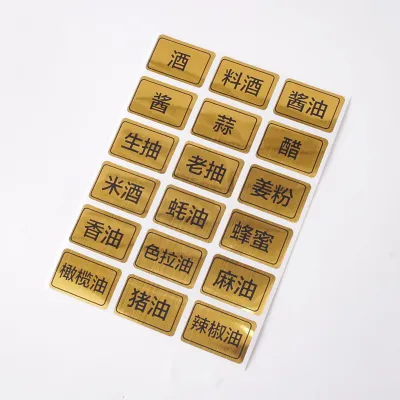
Prices are valid at publication and may change. Please refer to the product page for the latest price.
While it is tempting to fill every corner with colorful designs, utilizing negative space is crucial to prevent your spread from looking overcrowded. Leaving open areas of blank paper around your sticker clusters gives the eyes a place to rest and highlights the details of your artwork. In humid environments, overloading a page with too many heavy stickers can also cause the paper to warp or buckle. Keeping your layout balanced with plenty of breathing room ensures your journal remains flat, neat, and easy to read.
Layering Washi Tape to Frame and Connect Elements
Washi tape is one of the most versatile tools in a journaler’s collection, serving as the perfect bridge between your stickers and the blank page. Without a background or frame, a condiments sticker can look like it is floating aimlessly on the paper. By strategically layering washi tape, you can create visual anchors, borders, and pathways that guide the viewer’s eye through your food-themed story.

When selecting washi tape to pair with your stickers, pay close attention to width, color, and pattern. Opt for tapes that complement rather than compete with your sticker designs. If your condiment stickers feature busy, detailed illustrations of spice jars or ketchup bottles, pair them with simple, low-contrast tapes. Grid patterns, classic gingham, or solid pastel colors work beautifully because they provide structure without adding visual noise. For a warm, rustic food theme, neutral kraft paper tapes or soft yellow and olive green tones are excellent choices.
To build depth, practice layering your elements from the background upward:
- The Base Layer: Apply a horizontal or vertical strip of medium-width washi tape directly onto the page to act as a shelf or floor.
- The Sticker Layer: Place your condiments sticker so that its base slightly overlaps the top edge of the tape. This simple technique instantly grounds the sticker, making it look like it is sitting on a table or kitchen counter.
- The Overlay Layer: For a tucked-in look, place a thin, semi-transparent strip of washi tape over the bottom corner of the sticker, securing it to the page as if it were a taped-down recipe card.
Before committing to a complex layered layout, always check the adhesive compatibility of your materials. High humidity can cause some low-tack washi tapes to curl or peel away from slick sticker surfaces over time. To prevent this, test your tape and sticker combination on a scrap piece of paper first. If the tape struggles to hold, a tiny dab of a glue runner can provide the extra security needed to keep your layers perfectly flat.
Integrating Hand-Drawn Details and Journaling
To make your food-themed journal pages feel truly personal, combine your condiment stickers with handwritten reflections and simple hand-drawn doodles. This integration transforms a collection of stickers into a cohesive, narrative-driven layout that tells the story of a specific meal or culinary experience.
You do not need to be a professional artist to add engaging hand-drawn details. Simple, minimalist doodles can interact directly with your stickers to create a playful, dynamic scene:
- Steam Lines: Draw gentle, wavy lines rising from a hot sauce sticker to suggest heat and spice.
- Table Settings: Sketch a simple circle around a condiment bottle to represent a plate, or draw quick outlines of forks, spoons, or chopsticks resting nearby.
- Action Marks: Add small droplets or starbursts around a squeezed mustard bottle sticker to convey movement and energy.
Selecting the right writing instrument is critical when combining hand-drawn elements with stickers. Different sticker materials react uniquely to various inks. Matte paper stickers are generally highly receptive to gel pens, ballpoints, and fine liners, allowing for smooth writing without feathering. Glossy or vinyl stickers, however, often repel water-based inks, leading to smearing. Because tropical humidity slows down ink drying times, always test your chosen pen on an inconspicuous area of the sticker—such as a discarded edge of the sticker sheet—before writing on your main layout.
When planning your page, position your journaling blocks to balance the overall composition. Instead of writing in rigid, square blocks, try wrapping your text gently around the contours of your condiment stickers. Use a light pencil to sketch out your text boundaries first, ensuring you leave enough space for your writing to flow naturally without overlapping or obscuring the sticker artwork. Once your ink is completely dry, gently erase the pencil guidelines to reveal a clean, custom-designed layout.
Common Pairing Mistakes and Layout Adjustments
Even experienced journalers occasionally run into design conflicts when building themed spreads. Recognizing these common pitfalls early allows you to make quick adjustments before permanently adhering your elements to the page.
One of the most frequent mistakes is a clashing color palette. Food themes thrive on warmth and harmony. If your condiment stickers feature rich, warm tones like deep red ketchup, golden mustard, or dark brown soy sauce, pairing them with cool, bright neon washi tapes can disrupt the visual flow. Instead, stick to a unified color family. Earthy tones, warm neutrals, and soft primary colors naturally enhance food illustrations, creating a cozy and appetizing aesthetic. If you are on a budget, high-quality sticker sheets are widely available starting around ₱50, making this a highly accessible hobby.
Another common issue is excessive layering, which can make your journal pages too thick and heavy. In humid climates, thick layers of paper, tape, and heavy vinyl stickers trap moisture, causing the pages to warp, swell, or peel at the edges. To maintain a slim, flat journal profile, limit your layers to three levels: a background tape, the sticker, and a small accent. If you find your pages becoming too bulky, swap out thick vinyl stickers for thin matte paper alternatives.
To avoid permanent mistakes, always perform a dry run of your layout. Arrange your condiment stickers, washi tape strips, and planned journaling spaces on the page without removing any adhesive backings. This temporary placement allows you to step back, evaluate the balance of the page, and adjust the positioning of your elements until the composition feels just right.
Frequently Asked Questions (FAQ)
Can I write directly on condiment stickers?
Whether you can write directly on a condiments sticker depends entirely on its material and finish. Matte paper stickers are highly receptive to most inks, including gel pens, ballpoint pens, and fine liners, making them ideal for adding dates or small notes. Glossy, metallic, or vinyl stickers have a non-porous surface that causes water-based inks to bead up and smudge. To ensure a clean result, test your pen on a small, unused corner of the sticker sheet first. Always allow extra drying time, especially in humid weather, before closing your journal to prevent ink transfer.
How do I reposition a sticker if I place it incorrectly?
If you misplace a sticker, act quickly but gently to avoid tearing your journal page. Start at one corner and slowly peel the sticker back at a flat, sharp angle rather than pulling straight up. The success of this adjustment depends on the thickness of your journal paper and the strength of the sticker’s adhesive; thin notebook papers tear easily under strong adhesives. If the sticker loses its tackiness after being peeled off, simply apply a thin layer of a double-sided glue runner or a small piece of double-sided tape to its backing to secure it in its new position.

Community discussion
Share your experience or ask a question. Comments are reviewed before publication.