
A well-structured hanging folder filing system is one of the most reliable ways to conquer paper clutter and keep your essential documents accessible. Whether you are organizing household bills, medical records, or business contracts, setting up a system from scratch transforms a chaotic stack of papers into an orderly, stress-free archive. In tropical climates like the Philippines, where high humidity can cause loose papers to curl, stick together, or attract mold, a suspended filing setup is particularly beneficial. Hanging folders keep papers elevated and slightly separated, allowing air to circulate more freely than they would in a tightly packed stack. This simple physical separation helps preserve the integrity of your important documents over time.
By taking the time to plan your categories, select the right physical supplies, and establish a consistent labeling method, you can build a durable system that saves you hours of searching. A tidy filing cabinet not only streamlines your daily workflow but also provides peace of mind, knowing that every critical receipt, contract, or certificate is exactly where it belongs.
Gather the Right Filing Supplies and Equipment
Before purchasing any supplies, you must measure the interior dimensions of your filing cabinet, drawer, or storage box. Filing systems generally come in two standard sizes: letter size (8.5 by 11 inches) and legal size (8.5 by 14 inches). In many local offices and homes, you will also encounter A4-sized documents, which typically fit comfortably within letter-sized hanging folders, though you should verify the width of your drawer rails to ensure the hanging folders will slide smoothly without jamming. If your drawer is too wide for letter-size folders but too narrow for legal-size, you may need an adjustable hanging frame to bridge the gap.
Products mentioned in this guide
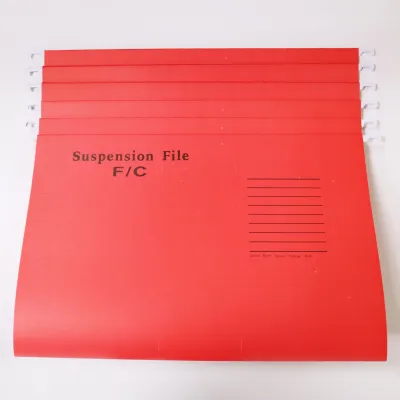
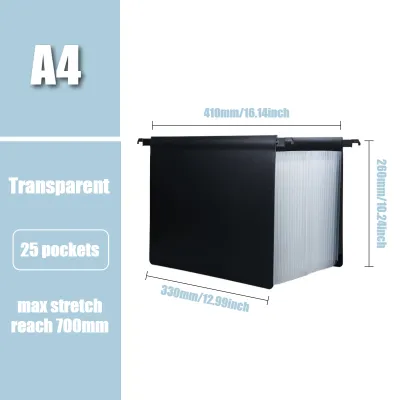
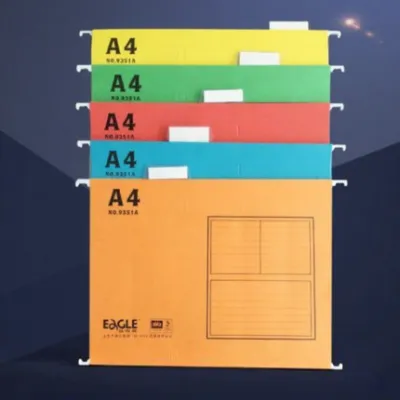
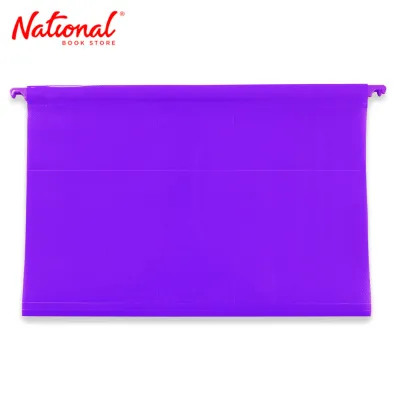
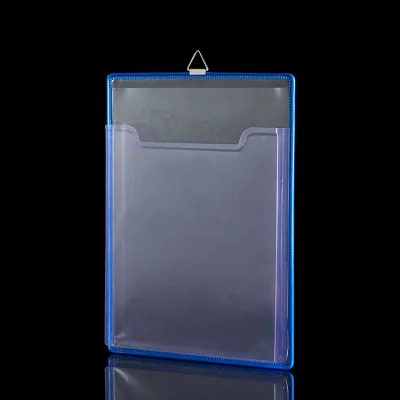
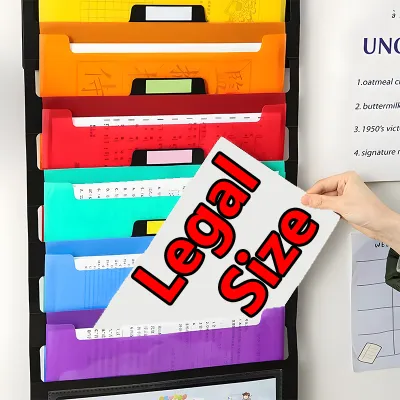
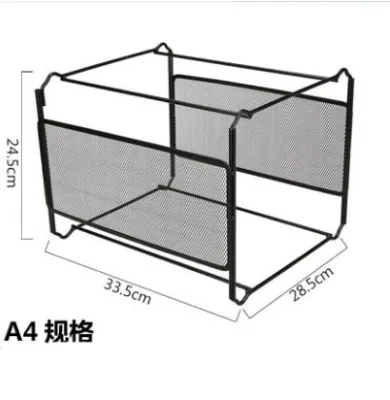
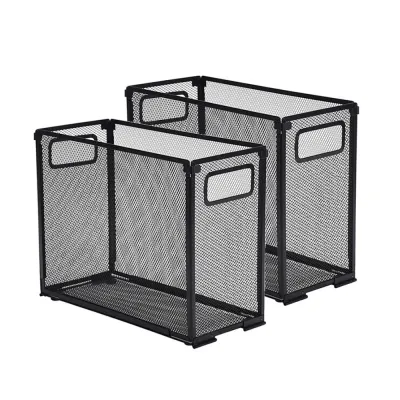
Prices are valid at publication and may change. Please refer to the product page for the latest price.
The core of your system relies on the hanging folder itself, which features integrated metal hooks or suspension rods that rest on the parallel rails of your drawer. Standard paperboard hanging folders work well for light, everyday documents, but you may want to invest in reinforced folders with plastic-coated hangers or tear-resistant bottoms for heavier files. For areas prone to high humidity, polypropylene or plastic hanging folders are excellent alternatives to traditional paperboard, as they resist moisture, spills, and tearing. Some folders also feature built-in plastic tabs, while others use customizable, snap-on plastic tabs that you can slide into pre-cut slots along the top edge.
To make your system truly functional, you will also need inner folders, commonly known as manila folders. These tabbed folders sit inside the hanging folders to group specific sub-topics, preventing the main hanging folders from becoming bulky and disorganized. Finally, gather your labeling tools, such as a label maker or fine-tip permanent markers, along with colored tab inserts to help visually segment your categories. Budgeting a few hundred ₱ for these basic supplies is a small investment that yields long-term organizational benefits.
Plan Your Document Categories and Hierarchy
A successful filing system relies on a logical hierarchy that reflects how you naturally search for information. Start by grouping your documents into broad, primary categories that will serve as the anchors for your hanging folders. For a home setup, these primary categories typically include Financial, Medical, Property, and Administrative. For a small business, you might focus on Tax Records, Client Files, Vendor Agreements, and Employee Documents. Mapping these categories out on a sheet of paper before you begin labeling will save you from making mistakes and wasting supplies.

Once you have established these broad categories, use inner manila folders to create specific sub-categories. For example, under the primary hanging folder labeled “Financial,” you might place separate inner folders for “Bank Statements,” “Tax Returns,” and “Utility Bills.” This two-tiered approach keeps your files neat and prevents a single hanging folder from collapsing under the weight of loose, unsorted papers. It also allows you to grab a single, lightweight manila folder when you need to consult a document, rather than pulling out an entire heavy hanging folder.
Next, decide on an indexing method that suits your retrieval habits. An alphabetical system is highly intuitive for client names or vendor files, while a chronological system works best for tax years or monthly statements. You can also implement a color-coded system by assigning specific colors of hanging folders or plastic tabs to different primary categories—such as green for financial documents, red for medical records, and blue for property files. This visual shorthand allows your eyes to navigate directly to the correct section of the drawer instantly, reducing the cognitive load of searching through dozens of identical tabs.
Assemble and Label Your Hanging Folders
With your supplies gathered and your hierarchy planned, you can begin the physical assembly of your filing system. If your hanging folders require separate metal or plastic suspension rods, carefully slide them through the pre-punched channels at the top of each folder. Ensure the hooks on both ends point downward and extend evenly so they can grip the drawer rails securely. If you are using folders with pre-installed rods, simply flex them slightly to ensure they are straight and ready to hang.
Next, prepare your labels using clear, legible print. If you are using a label maker, choose a high-contrast font that is easy to read from a standing position. If you are writing by hand, use a fine-tip black permanent marker and write in neat block letters. Keep your labels concise; use short, descriptive terms like “Car Insurance” or “Water Bills” rather than long sentences that crowd the tab space. If you are using a color-coded system, match the color of the paper label insert to the corresponding category color you planned earlier.
When attaching the plastic tabs to the hanging folders, consider their horizontal alignment. Staggering the tabs from left to right across the drawer can make them easier to read at a glance, but a straight-line alignment for specific categories can also create a clean, structured look. For instance, you might place all “Financial” tabs on the far left, “Medical” tabs in the center, and “Property” tabs on the far right. Whichever method you choose, maintain consistency throughout the drawer so your eyes do not have to search erratically to find a file.
Load Documents and Maintain the System
Before placing a single piece of paper into your new folders, perform a thorough purge of your existing documents. Discard duplicate copies, shred outdated receipts, and recycle junk mail to maximize your available drawer space. In humid environments, check that none of the papers show signs of dampness or mold before filing them, as trapping moisture inside a closed drawer can damage surrounding documents. If you find damp papers, let them dry completely in a well-ventilated area before placing them in the cabinet.
Place your sorted papers into their respective inner manila folders, and then drop those inner folders into the corresponding hanging folders. Ensure the metal hooks of the hanging folders rest squarely on the drawer rails and slide back and forth without resistance. Avoid stuffing too many papers into a single inner folder; if a file exceeds one inch in thickness, split it into chronological volumes, such as “Receipts 2026 – Vol. 1” and “Receipts 2026 – Vol. 2.” This keeps the weight manageable and prevents the folders from slipping off the rails.
To keep your filing system from deteriorating into chaos, establish a regular maintenance schedule. Dedicate a few minutes at the end of each month to file new documents, and set aside one day a year to archive old files to a secondary storage box or shred documents that have passed their legal retention period. Placing a few silica gel packets at the bottom of the drawer can also help absorb excess moisture, keeping your stationery and documents crisp and dry over time.
Frequently Asked Questions (FAQ)
Can I use hanging folders in any type of drawer?
Hanging folders cannot be used in standard household drawers without the proper support structure. They require parallel metal rails or built-in tracks along the sides of the drawer for the folder hooks to rest on. If your existing desk or cabinet drawers lack these built-in rails, you can purchase aftermarket hanging folder frames made of metal or plastic that assemble easily and sit directly inside the drawer. Before installing a frame, measure the depth, width, and height of your drawer to ensure a snug fit, and verify that the drawer slides are sturdy enough to support the weight of fully loaded files without derailing or jamming.
How do I prevent hanging folders from sagging or tearing?
Hanging folders can sag or tear if they are overloaded with too much weight or if the documents inside are not distributed evenly. To prevent this, always use inner manila folders to distribute the weight of the papers across the bottom of the hanging folder. For exceptionally heavy files, such as thick property deeds or multi-page legal contracts, opt for reinforced hanging folders that feature plastic-reinforced bottoms and stronger suspension rods. Additionally, avoid packing the drawer too tightly; leave at least two to three inches of clearance at the back of the drawer so you can easily slide the folders apart to retrieve documents without putting unnecessary stress on the hangers.

Community discussion
Share your experience or ask a question. Comments are reviewed before publication.