
Styling snow dots ribbons effectively relies on balancing the playful, textured pattern of the dots with the visual weight of your wrapping paper and the physical structure of your gift box. By pairing these dotted ribbons with contrasting solid colors or carefully scaled patterns, and adjusting your tying techniques to suit the box’s shape and material, you can create a cohesive, professional-looking gift presentation. Whether you are preparing gifts for a tropical holiday season or a local family celebration, mastering these design principles ensures your packages stand out.
Matching Snow Dots Ribbons with Wrapping Paper Patterns
Snow dots ribbons feature raised or printed dots—often white or contrasting colors—on a sheer, satin, or grosgrain base. Pairing them with solid-colored wrapping paper creates an instant focal point. The solid background allows the dotted pattern to stand out without visual competition. For example, a deep forest green, rich navy, or warm terracotta solid paper paired with a white snow dots ribbon creates a clean, elegant contrast that feels both modern and festive.
When matching snow dots with patterned papers like stripes, florals, or geometric designs, you must check the scale and density of both patterns to prevent visual clutter. If the wrapping paper has a busy, small-scale floral print, a small snow dots pattern will clash and cause visual fatigue. Instead, pair small snow dots with wide, bold stripes or large, minimalist geometric shapes. Ensure there is enough negative space on the paper so the dots do not get lost in the background design.
Products mentioned in this guide
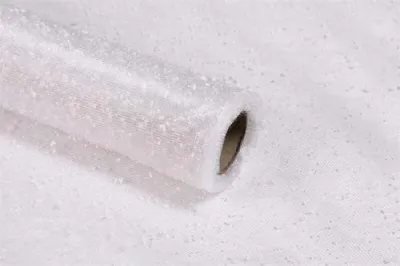
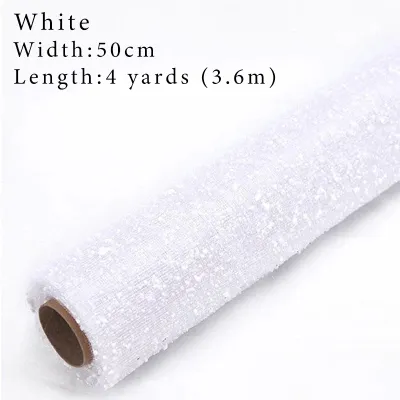
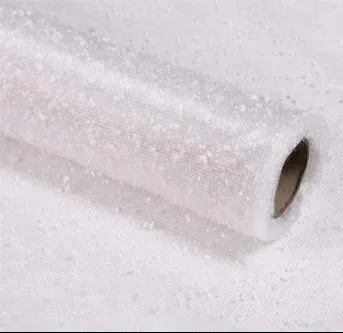
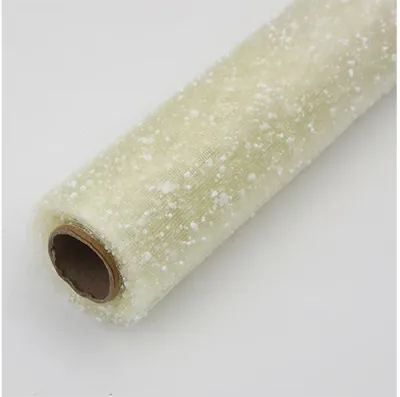
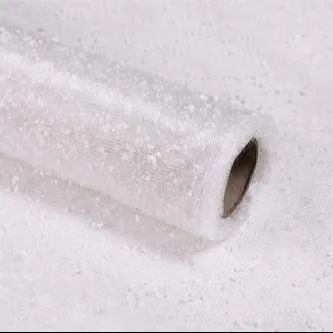
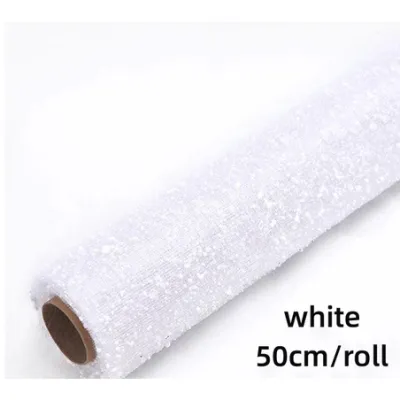
Prices are valid at publication and may change. Please refer to the product page for the latest price.
Texture considerations also play a major role in the overall presentation. Matte papers, such as rustic brown kraft paper, pair beautifully with the slight sheen of organza or satin-based snow dots ribbons, creating a pleasant sensory contrast. Glossy papers require a more structured, high-contrast ribbon to avoid looking washed out under bright lights. Always consider the weight of the paper; lightweight wrapping papers can tear if paired with heavy, stiff grosgrain ribbons, so match thin papers with airy, lightweight ribbons.
Adapting Ribbon Styling to Gift Box Shapes and Materials
Standard rectangular and square boxes provide flat surfaces that support a variety of ribbon widths. For a standard shoe-box-sized gift, a ribbon width of 1 to 1.5 inches is highly proportional. A classic four-way cross-tie works best here, centering the knot on the top lid to draw attention to the snow dots pattern. This layout keeps the ribbon flat against the box sides, preventing it from shifting during handling.

Cylindrical and round boxes present a unique challenge because ribbons easily slip off curved edges. To secure a snow dots ribbon on a cylinder, wrap the ribbon horizontally around the middle of the container. You can secure the ribbon on the underside or back using a small dot of adhesive or double-sided tape to prevent vertical sliding. Alternatively, tie a single vertical loop and secure it at the top center with a decorative bow, allowing the tails to drape naturally over the curved sides.
Different box materials require adjustments in tension and knot styles. Sturdy cardboard boxes can handle tight tension, allowing you to pull the ribbon taut for a crisp look. Wooden boxes or metal tins have smooth, slippery surfaces; here, a high-friction knot or a ribbon with a textured edge, such as grosgrain, is preferable to smooth satin. Be careful not to over-tighten ribbons on soft, thin cardboard boxes, as this can crush the corners and ruin the presentation.
Step-by-Step Tying and Layering Techniques
To tie a balanced classic bow, start by making two even loops. Cross them and pull one through the center loop, keeping the tension even as you tighten. Adjust the loops so they are symmetrical and proportional to the box size—ideally, the bow’s total span should not exceed two-thirds of the box’s width. Trim the ribbon tails at a sharp 45-degree angle or cut a clean chevron V-shape to prevent fraying and add a professional touch.
To add depth and structure, layer your snow dots ribbon over a wider, solid-colored backing ribbon. For instance, place a 1.5-inch solid satin ribbon down first, then center a 1-inch sheer snow dots ribbon directly on top of it. This framing technique makes the dotted pattern pop and provides extra structural support, which is especially helpful if the snow dots ribbon is made of soft, floppy organza.
In warm, humid climates like the Philippines, standard adhesives can lose their grip over time. Use high-quality, heat-resistant double-sided tape or a small dab of low-temperature hot glue hidden beneath the knot to secure the ribbon to the box. When tying structural knots, pull them firm but flat so they do not create an unsightly bulge under the final bow. This ensures the wrapping remains intact during transport and handling.
Common Pairing Mistakes and Styling Limits
The most common mistake is visual overload, which occurs when you combine too many design elements at once. A busy, multi-colored wrapping paper paired with a vibrant, multi-colored snow dots ribbon creates visual chaos. If your paper is highly detailed, keep the ribbon monochromatic and simple. Let one element be the star of the presentation while the other serves as a supporting accent.
Proportion errors can also make a gift look unpolished. Using a tiny, quarter-inch ribbon on a large appliance box makes the ribbon look like an afterthought, while a massive three-inch wide ribbon will completely overwhelm a small jewelry box. Always match the ribbon scale to the face of the box. If you only have narrow ribbon for a large box, consider wrapping it around the box multiple times in parallel bands rather than tying a single small bow.
Heavy, multi-layered bows require a sturdy base. If you attempt to mount a massive, heavy bow onto a flimsy paper gift box, the box lid will sag or collapse inward. Always assess the structural integrity of your packaging before adding heavy embellishments, and reinforce weak lids from the inside with a piece of scrap cardboard if necessary.
Frequently Asked Questions (FAQ)
Can I use snow dots ribbons on fabric gift bags?
Yes, but you must adjust your technique to accommodate the flexible material. Avoid pulling the ribbon too tight, as high tension will distort the shape of the fabric bag and bunch up the opening unevenly. If the bag has built-in drawstrings or handles, thread the snow dots ribbon through the existing loops to integrate it naturally. Finally, check the ribbon’s edges; rough or wired edges can snag delicate fabrics like silk or organza bags, so opt for soft-edged woven ribbons instead.
How do I keep the ribbon bow from losing its shape?
Maintaining the bow’s volume depends heavily on the ribbon’s material memory. In humid tropical environments, soft ribbons can wilt easily. To combat this, choose snow dots ribbons with wired edges, which allow you to easily reshape and fluff the loops. If using non-wired ribbon, you can insert small rolls of tissue paper inside the loops during storage and transit to prevent them from flattening. Additionally, store wrapped gifts in a cool, dry place away from direct sunlight to preserve both the ribbon’s shape and the adhesive’s strength.

Community discussion
Share your experience or ask a question. Comments are reviewed before publication.