
Tying a bunny ear bow is a delightful and creative way to elevate simple loot bags into eye-catching party favors. Whether you are preparing for a children’s birthday party, a festive holiday gathering, or a school celebration, these whimsical bows add a touch of handmade warmth that guests appreciate. The distinct shape of the bunny ears—characterized by two tall, upright loops and neat, draping tails—instantly transforms plain packaging into a themed presentation. By mastering a few basic folding, looping, and securing techniques, you can create consistent, professional-looking bows that remain intact throughout your entire event.
In regions with warm, humid tropical climates, selecting the right materials and techniques is especially important to ensure your decorations do not droop or lose their shape before the party even begins. High humidity can soften certain ribbon fibers and weaken standard craft glues, making structural choices a key part of your preparation. This guide will walk you through the entire process, from selecting the ideal ribbon type to troubleshooting common folding mistakes, ensuring your bunny loot bags look polished and festive.
Materials and Ribbon Selection
Choosing the right ribbon material is the foundation of a successful bunny ear bow. The physical properties of the fabric dictate how well the loops stand up, how easily the knot holds, and how the finished bow handles wear and tear.
Products mentioned in this guide
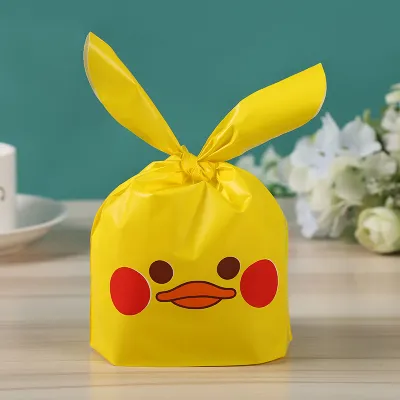
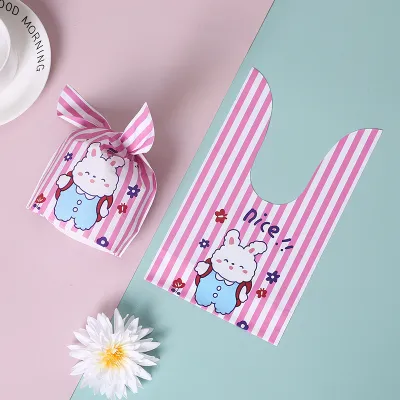
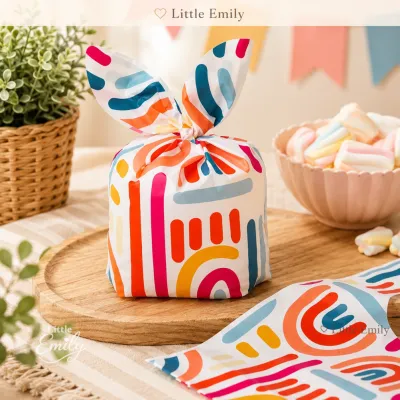
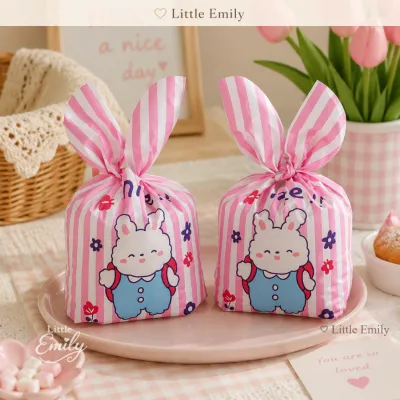
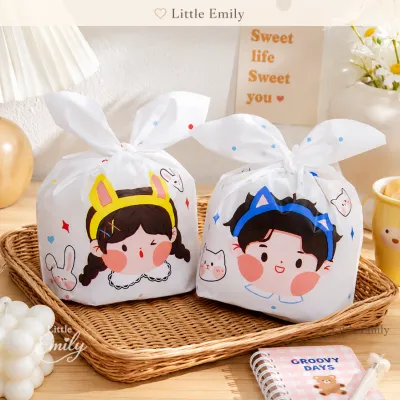
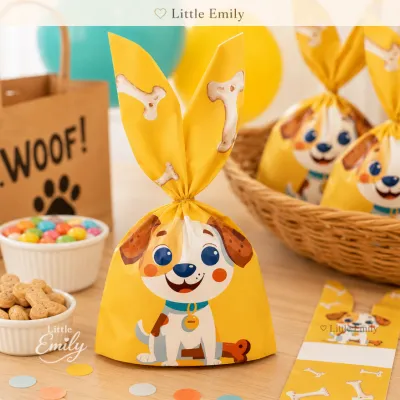
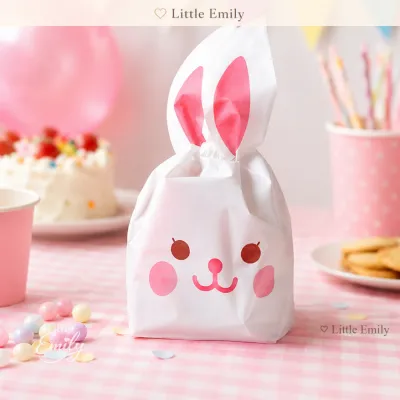
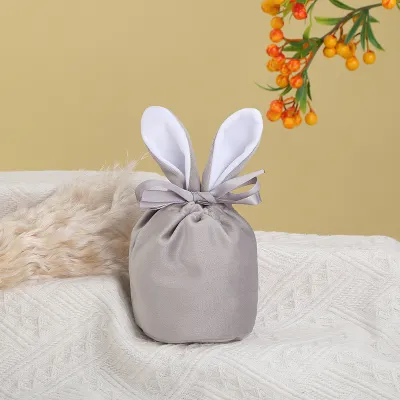
Prices are valid at publication and may change. Please refer to the product page for the latest price.
Grosgrain ribbon is widely considered a highly reliable choice for creating upright bunny ears. Its distinctive ribbed texture provides excellent structural integrity and natural friction, which prevents the central knot from slipping. This stiffness is particularly beneficial in humid environments, where moisture in the air can cause softer fabrics to sag. Grosgrain is also highly durable and resistant to fraying, making it easy to handle for beginners and experienced crafters alike.
Satin ribbon offers a beautiful, glossy sheen that lends an elegant, polished look to your loot bags. However, its smooth, slippery surface makes it more challenging to tie securely. Satin loops tend to slip out of alignment, and the central knot can easily loosen if not pulled tight or secured with an extra binding agent. If you choose satin, opt for double-sided satin so the glossy finish is visible on both sides of the loops and tails.
Organza ribbon is sheer, lightweight, and adds a delicate, airy quality to gift packaging. While beautiful, standard organza lacks the stiffness required to keep tall bunny ears standing upright. If you prefer the look of organza, look for wired-edge organza, which contains thin, flexible wires along the borders that allow you to mold and maintain the ear shape effortlessly.
Beyond the ribbon itself, gathering the correct tools ensures a smooth crafting process. A pair of sharp fabric scissors is essential; dull household scissors will chew through ribbon fibers, leaving messy, frayed edges. For synthetic ribbons like polyester grosgrain or satin, a lighter or a small heat-sealing tool is invaluable for melting and sealing the cut ends. If you are working with children or prefer to avoid open flames, clear fabric glue or fray-check solution can be applied to the edges instead.
To estimate the amount of ribbon needed for each bag, consider both the bag’s dimensions and the desired size of the bunny ears. A reliable guideline is to use a ribbon length that is approximately four times the width of your loot bag. For instance, a standard 15-centimeter-wide paper bag will require about 60 centimeters of ribbon. This length provides enough material to form two 8-centimeter loops, a secure central knot, and 10-centimeter tails that drape elegantly down the front of the bag.
Step-by-Step Guide to Tying the Bunny Ear Bow
Creating a symmetrical bunny ear bow requires a deliberate sequence of folds and tension adjustments. By focusing on the orientation of the ribbon at each stage, you can prevent twists and ensure both ears stand proud.

First, prepare your workspace by clearing a flat, clean surface. Cut your ribbon to the estimated length using your sharp fabric scissors. Fold the ribbon exactly in half, end to end, and gently pinch the fold to create a light crease at the midpoint. This crease serves as your visual guide, ensuring that your loops and tails remain balanced and equal in length on both sides.
Next, lay the ribbon flat with the patterned or shiny side facing upward. Take the ribbon on the left side of the crease and fold it upward to form a loop, leaving a tail of about 10 to 12 centimeters hanging down. Repeat this process on the right side, creating a second loop of equal size. You should now have two upright loops side by side, resembling a pair of rabbit ears, with the two tails draping down behind them. Hold the base of both loops securely between your thumbs and index fingers.
Now, cross the left loop over the right loop to form an “X” shape. The crossing point should sit directly above the center crease you marked earlier. Ensure that the loops do not twist during this step; the flat, decorative side of the ribbon must remain facing forward. Use one hand to pinch the crossing point firmly, keeping the structure stable.
With your free hand, take the loop that is currently on top (the original left loop) and fold it backward, tucking it under the bottom loop. Feed this loop through the triangular opening that has formed at the base of the “X”. This motion is identical to the initial step of tying a standard shoelace, but instead of working with single strands of lace, you are passing the entire pre-formed loop through the opening.
Once the loop is threaded through, begin to pull both loops outward, away from each other. Do this slowly and evenly. As the central knot begins to close, use your fingers to guide the ribbon, ensuring that the flat faces of the loops do not twist or bunch up inside the knot. If the ribbon starts to roll, pause and flatten it out before pulling any further.
Before tightening the knot completely, assess the symmetry of your bunny ears. If one ear is larger than the other, gently feed some ribbon from the tail through the knot to adjust the loop size. Once the ears are perfectly matched in height and width, hold the base of both loops and pull them firmly in opposite directions to lock the central knot in place. The ears should now stand upright independently, with the two tails hanging down neatly in front of the bag.
Troubleshooting and Adjusting the Bow Shape
Even with careful folding, ribbons can sometimes behave unpredictably. Knowing how to diagnose and correct common shape issues will save you time and material.
If your bunny ears are drooping or falling flat against the bag, the issue is usually a loose central knot or a lack of structural support in the ribbon. To resolve this, hold the central knot firmly with one hand and use your other hand to pull upward on each loop individually. This tightens the core of the bow, forcing the loops to stand more vertically. If the ribbon material itself is too soft to hold the shape, you can insert a short piece of thin, color-matched floral wire inside the hollow of each loop, bending it slightly to support the fabric from within.
Twisted loops are another common frustration, especially when working with single-sided satin or patterned ribbons. If the dull underside of the ribbon is showing, do not untie the entire bow. Instead, insert a smooth, blunt object—such as a knitting needle, a chopstick, or the closed tips of your scissors—inside the twisted loop. Gently rotate the tool to untwist the ribbon and smooth out any creases from the inside. Once the decorative side is facing forward, pinch the base of the loop and give it a quick tug to secure the adjustment.
The final touch that elevates a handmade bow to a professional standard is the treatment of the ribbon tails. Leaving the ends cut straight across can look unfinished and invites rapid fraying. Instead, fold the end of the tail in half vertically and cut upward at a 45-degree angle from the folded edge to the outer edge; this creates a classic, symmetrical “V” shape (also known as a swallowtail). Alternatively, you can make a single diagonal cut at a 45-degree angle across the width of the ribbon.
To prevent the cut edges from unravelling over time, seal them using a heat source or a liquid sealant. For synthetic ribbons, pass the cut edge quickly near the blue flame of a lighter. The heat will melt the polyester fibers, creating a tiny, hard bead that locks the weave. Be careful not to hold the flame too close or too long, as this can scorch or blacken the ribbon. For natural fibers like cotton or linen, apply a very thin line of clear fabric glue or specialized fray-preventing liquid along the edge and allow it to dry completely.
Attaching the Bow to Loot Bags
Once your bunny ear bow is perfectly formed, the final step is mounting it securely to your loot bags. The best attachment method depends on the material of the bag and whether you want the bow to be removable.
For loot bags that feature built-in drawstrings, handles, or pre-punched holes, direct tying is the most secure and eco-friendly option. Instead of tying the bow separately, you can thread the ribbon through the bag’s holes or around the handles before executing the step-by-step tying guide. This integrates the bow directly into the bag’s closure system, ensuring it stays attached during transport and allowing the recipient to untie and reuse the ribbon afterward.
If you are working with plain paper, plastic, or cellophane bags that do not have built-in tie points, you will need to use an adhesive. For paper kraft bags, high-quality double-sided craft tape is an excellent choice. It provides a strong, flat bond that will not warp or wrinkle the paper, and it keeps the presentation clean and free of messy glue lines.
For plastic or cellophane loot bags, a small dab of low-temperature hot glue is highly effective. Apply the glue directly to the back of the bow’s central knot, wait two to three seconds for it to cool slightly, and then press it firmly onto the bag. Avoid using high-temperature hot glue, as the intense heat can easily melt thin plastic bags or scorch delicate synthetic ribbons. Always perform a quick test on a scrap piece of bag material to verify compatibility before assembling your entire batch.
Placement is key to a balanced presentation. Position the bunny ear bow near the top closure of the bag, ensuring that the tall loops do not interfere with the opening and closing mechanism. Placing the bow slightly off-center can create a playful, modern look, while centering it offers a classic, formal appeal. Make sure the tails drape flat against the front of the bag, framing any printed designs or labels without obscuring them.
Frequently Asked Questions (FAQ)
How do I keep the bunny ears standing upright?
To keep your bunny ears standing upright over time, start by choosing a naturally stiff ribbon material like grosgrain or a wired-edge ribbon. If you have already tied your bows using a softer fabric like satin or organza, you can apply a light mist of fabric stiffener or unscented hairspray to the loops, shaping them with your fingers as they dry. For a more permanent, structural solution, cut a short length of thin craft wire, form it into a small loop, and slide it inside the ribbon loop. This invisible wire skeleton allows you to bend and position the ears precisely, ensuring they remain upright even during transport or in high-humidity conditions.
Can I wash loot bags with the ribbon bow attached?
Whether you can wash a loot bag with the bow attached depends entirely on the bag material, the ribbon type, and the attachment method used. If the bow is tied directly to a washable fabric bag (such as canvas or cotton), it can generally be washed, though it is highly recommended to untie the ribbon first to prevent tangling and severe creasing. If the bow is attached using hot glue or double-sided tape, washing will likely dissolve or weaken the adhesive, causing the bow to detach. Additionally, many vibrant ribbon dyes are not colorfast and may bleed onto the bag fabric when wet. For the best results, always remove the ribbon bow before washing the bag, or spot-clean the bag gently by hand, avoiding the decorated areas entirely.

Community discussion
Share your experience or ask a question. Comments are reviewed before publication.