
Tying a decorative bow on a pop-up gift box requires a careful balance between aesthetic appeal and mechanical freedom. Unlike standard rigid boxes, a pop-up gift box relies on precise fold lines, hinges, and lightweight paperboard structures that expand when opened. Applying too much tension, wrapping ribbon across moving seams, or using heavy materials can easily warp the cardboard, jam the mechanism, or prevent the box from opening fully. To achieve a beautiful presentation without compromising the structural integrity, you must isolate the decorative elements from the moving parts of the box. By selecting lightweight ribbons, utilizing non-destructive adhesives, and anchoring your bow only to structural, non-moving surfaces, you can create a stunning gift presentation that preserves the magical pop-up effect.
Assessing Your Pop-Up Box and Gathering the Right Materials
Before cutting any ribbon or applying adhesive, you must thoroughly inspect the architecture of your pop-up gift box. Gently open and close the box several times, observing which panels remain completely stationary and which ones fold, slide, or lift. The outer base and the flat exterior lid panels are typically the safest zones for decoration because they do not bend during the pop-up transition. You must strictly avoid placing any ribbon, tape, or decorative elements over internal fold lines, fragile paper hinges, or the moving layers that slide past one another. If your box features an automatic pop-up mechanism triggered by opening the lid, identify the exact points where the internal structural ribs connect to the outer walls, as these areas must remain entirely free of external pressure.
The choice of ribbon material is critical when working with delicate paperboard structures. Heavy fabrics like thick velvet, dense grosgrain, or heavily wired ribbons can add unnecessary weight, causing the box panels to sag or preventing the internal mechanism from lifting smoothly. Instead, opt for lightweight materials such as fine satin, organza, chiffon, or lightweight cotton seam binding. These fabrics provide a luxurious look and hold their shape beautifully without putting physical strain on the paperboard. If you prefer a structured bow, look for ultra-thin, lightweight wired ribbons, but verify that the wire is highly flexible and does not press hard against the delicate paper surfaces.
Products mentioned in this guide
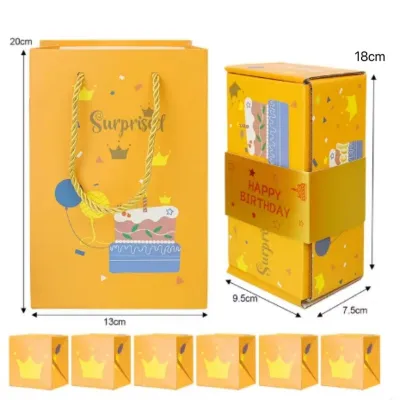
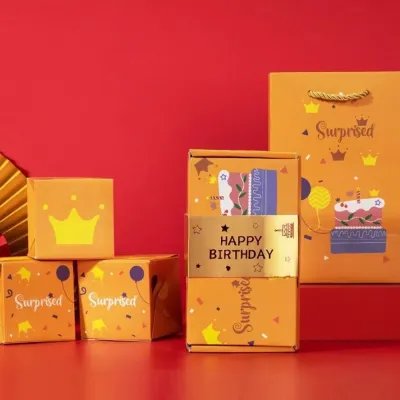
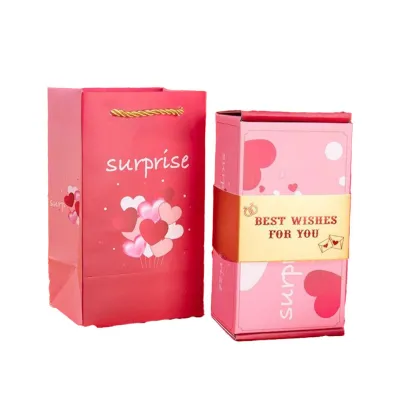
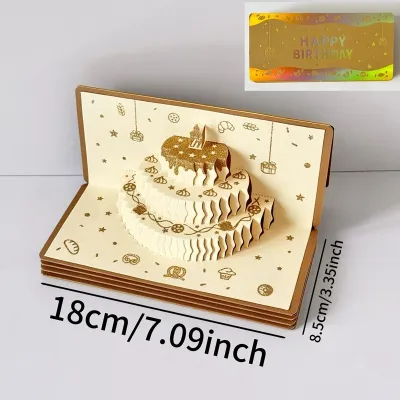
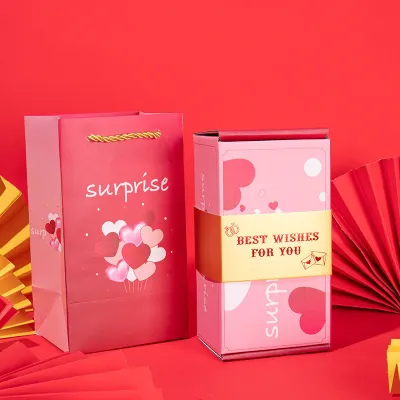
Prices are valid at publication and may change. Please refer to the product page for the latest price.
In tropical climates like the Philippines, high humidity can soften paperboard and make certain adhesives gummy or overly aggressive. Therefore, gathering the right crafting tools is essential to prevent permanent damage to the box’s finish. Avoid hot glue guns, as the high temperature can warp thin cardboard and create bulky, uneven lumps that interfere with flush closing. Instead, prepare high-quality double-sided crafting tape, low-tack glue dots, or soft, thin crafting wire. If you plan to use adhesives, perform a small spot test on an inconspicuous area of the box, such as the inside of a bottom flap, to ensure the adhesive can be removed cleanly without tearing the paper fibers or lifting the printed design. Keep safety in mind when handling sharp crafting scissors or utility blades, ensuring they are kept out of reach of children and used on a stable cutting mat.
Choosing the Safest Attachment Method for Delicate Mechanisms
Deciding how to attach your bow depends heavily on the specific design and material limits of your pop-up gift box. There are two primary approaches: wrapping a continuous ribbon around the entire exterior of the box, or attaching a pre-tied bow directly to a single, solid surface. Wrapping a ribbon completely around the box is classic, but it presents significant risks for pop-up structures. If the ribbon is tied even slightly too tight, it can compress the sides of the box, binding the internal hinges and preventing the pop-up mechanism from deploying when the lid is removed. If you choose to wrap the ribbon, it must remain loose enough to slide off easily, or it should only wrap around a completely non-moving portion of the outer sleeve.

For boxes with complex internal pop-ups, attaching a pre-tied bow to a solid, non-moving surface is almost always the safer and more reliable method. This technique completely eliminates the risk of crushing internal layers or restricting the movement of sliding panels. By tying the bow separately in your hands, you can refine its shape, symmetry, and fullness without putting any physical stress on the box itself. Once the bow is complete, you can use a small, strategically placed low-tack glue dot or a strip of double-sided crafting tape to secure it to the center of the lid or a designated structural panel. This keeps the decorative element entirely independent of the mechanical action inside.
Under no circumstances should you pierce the cardboard of a pop-up gift box with needles, pins, brads, or thick crafting wire to secure a bow. Piercing the paperboard permanently compromises its structural integrity, making it prone to tearing along the puncture points under the tension of opening and closing. Furthermore, the sharp ends of pins or wires on the inside of the box can snag on the delicate internal pop-up layers, causing irreversible tears or jams. If you must use wire to secure a bow, ensure it is a soft, paper-wrapped twist tie or thin decorative wire that merely wraps around an exterior structural band, never penetrating the cardboard panels.
Step-by-Step Guide to Tying and Securing Your Bow
To execute this process smoothly, begin by creating your decorative bow independently of the box. If you are wrapping a ribbon around a non-structural outer sleeve, lay the ribbon flat on your workspace and place the sleeve on top. Bring the ends of the ribbon together and tie a basic knot, keeping the tension light and even. To verify that the tension is correct, slide a finger easily between the ribbon and the cardboard; if the cardboard bows inward or resists your finger, loosen the knot immediately. If you are making a pre-tied bow, use the classic bow-tying method or a multi-loop bow-making technique in your hands, adjusting the loops and tails until they are highly symmetrical before tightening the center knot.
Once your bow is formed, prepare the safe attachment zone on the box. Clean the surface of the cardboard gently with a dry microfiber cloth to remove any dust or oils that might prevent the adhesive from bonding. Apply a single, small piece of double-sided crafting tape or a low-tack glue dot to the underside of the bow’s center knot. Carefully press the bow onto the designated non-moving panel of the box, applying gentle, even pressure for a few seconds. Avoid pressing down hard on the center of the lid if there is no structural support directly beneath it, as this can cave in the top panel; instead, slide a flat hand or a small piece of rigid cardboard inside the lid to act as a support guide while you apply pressure from the outside.
The final step in the assembly is trimming and shaping the ribbon tails. Long, flowing tails can look elegant, but they pose a high risk of getting caught in the seams, corners, or internal mechanisms of the pop-up gift box as it opens and closes. Use sharp fabric scissors to trim the tails at a clean 45-degree angle or a classic V-shape to prevent fraying. Position the tails so they drape away from the opening seams of the box. If the box opens outward from the sides, ensure the tails are short enough that they do not fall into the path of the folding panels, which could cause them to get pinched, wrinkled, or jammed inside the mechanism.
Testing the Pop-Up Mechanism and Making Final Adjustments
With the bow securely attached, you must conduct a series of gentle operational tests to ensure the pop-up mechanism still functions smoothly. Slowly and carefully open the gift box, watching the movement of the internal pop-up elements from various angles. Pay close attention to the areas near the bow and its attachment points. Look for any signs of resistance, such as panels catching on the ribbon tails, the lid sticking due to misplaced adhesive, or the cardboard warping under localized tension. If you feel any unusual resistance as you open the box, stop immediately and identify the source of the obstruction rather than forcing it open.
If you notice that a ribbon tail is catching in a hinge or preventing the box from closing completely flush, make immediate adjustments. You can trim the tail slightly shorter, change its draping angle, or use a tiny speck of low-tack adhesive to secure the tail flat against a non-moving exterior panel. If the weight of the bow is causing a lid panel to sag, you may need to replace the ribbon with a lighter material, such as organza, or reposition the bow closer to a reinforced edge where the cardboard is naturally stronger and more rigid.
Finally, inspect the attachment points for any adhesive seepage. If you used liquid craft glue or excessive tape, ensure that no sticky residue has squeezed out from under the bow’s knot. Any exposed adhesive can easily stick to adjacent panels when the box is closed, causing the paper to tear the next time the box is opened. If you find any excess adhesive, gently roll it away with a clean finger or use a specialized adhesive eraser designed for papercrafts. Once you are satisfied that the box opens smoothly and closes completely flush without any interference, your beautifully decorated pop-up gift box is ready to impress.
Frequently Asked Questions (FAQ)
What type of ribbon is best for pop-up gift boxes?
Lightweight, flexible ribbons with minimal bulk are ideal for pop-up gift boxes. Single-faced or double-faced satin and sheer organza are excellent choices because they drape beautifully, tie into crisp knots, and add virtually no weight to the delicate paperboard structure. Organza is particularly forgiving because its translucent, airy texture prevents it from looking bulky even in multi-loop designs. Avoid heavy, stiff materials like thick grosgrain, heavy velvet, or thick-gauge wired ribbons, as their weight can cause the cardboard panels to sag or warp. If you want a structured look, choose a very fine, lightweight ribbon with thin, flexible wire edges, ensuring you test its flexibility before attaching it to the box.
Can I reuse the pop-up gift box after removing the bow?
Yes, you can easily reuse the pop-up gift box if you use gentle removal techniques that protect the paperboard. If you used low-tack glue dots or high-quality double-sided crafting tape, slowly peel the bow away from the box at a flat, 180-degree angle rather than pulling straight up, which can tear the paper fibers. For stubborn adhesive residue, gently rub the spot with a clean, dry fingertip to roll the adhesive into a small ball, or use a dedicated rubber adhesive eraser. Avoid using liquid adhesive removers or water, as moisture can warp the cardboard, dissolve the paper glue holding the pop-up mechanism together, or cause the printed colors to bleed.

Community discussion
Share your experience or ask a question. Comments are reviewed before publication.