
Creating a beautifully tied fishtail ribbon bow is one of the most effective ways to elevate your gift presentation from simple to spectacular. The signature look of a fishtail bow—characterized by its neat, symmetrical loops and distinct V-notched tails—adds a touch of classic sophistication to any wrapped package. While it may appear complex and professionally crafted, achieving this polished finish relies on a few foundational folding techniques and a precise cutting method. By mastering the tension of your folds and understanding how different ribbon materials behave, you can easily create stunning bows that hold their shape even in warm, humid tropical climates.
The secret to a flawless bow lies not in speed, but in deliberate, step-by-step execution. Each fold must be balanced, and the center knot must be secured with just the right amount of tension to prevent the loops from collapsing. Whether you are preparing a gift for a birthday, a wedding, or a festive holiday, learning this technique ensures your packages always stand out. This comprehensive guide will walk you through selecting the ideal ribbon, executing the perfect knot, shaping the classic fishtail ends, and mounting the finished bow securely onto your gift box.
Materials and Tools Needed for a Perfect Fishtail Bow
Selecting the right ribbon material is the first and most crucial step in crafting a bow that maintains its structure. Satin ribbon is a popular choice for its luxurious, glossy finish, but its smooth texture makes it highly slippery and prone to unraveling if the knot is not tied tightly. Grosgrain ribbon, with its ribbed texture, offers excellent friction and stiffness, making it incredibly easy for beginners to manipulate and secure. Organza ribbon provides a sheer, delicate aesthetic, but its lightweight nature requires careful handling to prevent the loops from drooping, especially in humid environments where moisture can soften the fabric fibers.
Products mentioned in this guide
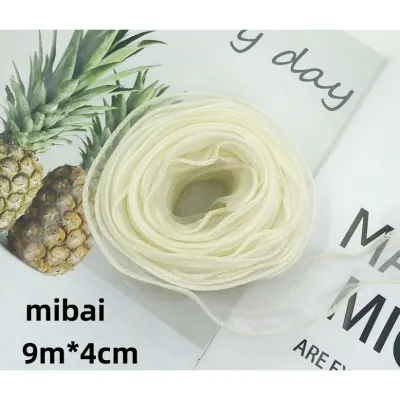
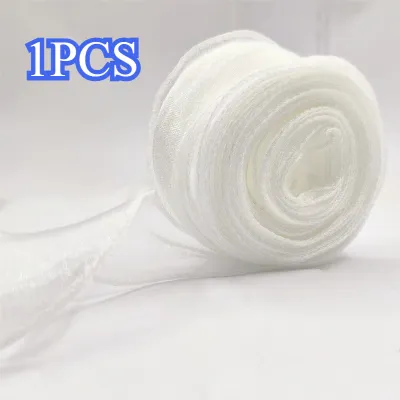
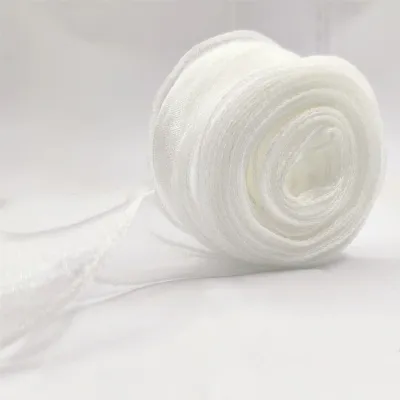
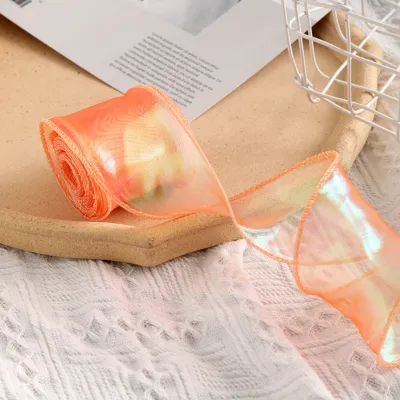
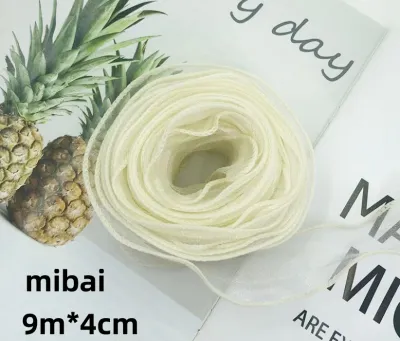
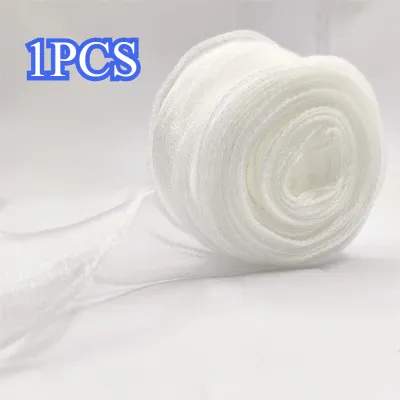

Prices are valid at publication and may change. Please refer to the product page for the latest price.
The width of your ribbon dictates the overall scale, proportion, and visual weight of the bow relative to your gift box. For small jewelry boxes, a narrow ribbon of about 9mm to 15mm keeps the presentation delicate and balanced. Medium-sized boxes, such as those for books or cosmetics, pair beautifully with ribbons measuring 25mm to 38mm in width. Large packages demand wider ribbons, typically 50mm or more, to ensure the bow does not look lost or insignificant against the expansive surface of the wrapping paper.
Before you begin folding, gather a few essential tools to ensure a smooth crafting process. A pair of exceptionally sharp fabric scissors is non-negotiable; dull blades will chew through the ribbon fibers, leaving messy, frayed edges instead of clean, crisp cuts. You will also want to have high-tack double-sided tape or specialized craft glue on hand to secure the bow to the box. For slippery or wide ribbons, keeping a spool of fine floral wire or strong sewing thread nearby can help you lock the center knot in place without relying solely on hand tension.
Step-by-Step Instructions to Tie a Fishtail Ribbon Bow
Tying a fishtail ribbon bow from a single continuous piece of ribbon requires a systematic approach to measurement and folding. Before making any cuts, it is vital to estimate the total length of ribbon required by wrapping it loosely around your box and adding generous allowances for the loops and the trailing tails. A good rule of thumb is to allocate at least three to four times the width of the finished bow for the loops alone, plus extra length for the tails to drape elegantly.

The physical process of forming the bow involves a logical sequence of creating symmetrical loops, crossing them over a central point, and pulling the tails through to lock the structure. As you progress through each step, maintaining consistent tension is key to preventing the ribbon from twisting or bunching unevenly. By performing quick visual checks at each stage, you can ensure that both loops remain identical in size and that the decorative side of the ribbon remains prominently displayed on the exterior of the bow.
Preparing the Ribbon and Forming the Base Loops
To begin, measure and cut your ribbon to the desired length, ensuring the ends are cut cleanly to prevent immediate fraying. Lay the ribbon flat on a clean, dry surface to identify the midpoint, which will serve as the anchor for your loops. Fold the ribbon to create two equal-sized loops that resemble the shape of rabbit ears, leaving two long, symmetrical tails hanging down from the center.
Once the loops are formed, pinch the intersection point firmly between your thumb and forefinger. This pinching motion should compress the ribbon vertically at the center without creating permanent, unsightly creases across the width of the fabric. Holding this point securely is essential, as it establishes the foundation of the bow and prevents the loops from shifting out of alignment while you prepare to tie the knot.
If you are working with a single-sided ribbon—such as one with a printed pattern or a satin finish on only one side—you must pay close attention to the orientation of the material. Ensure that the “right side” or finished side of the ribbon faces outward on both loops. If you notice the dull underside showing, gently twist the ribbon at the pinch point to flip the correct side forward before proceeding to the next step.
Crossing, Folding, and Securing the Center
With the center point pinched firmly, cross the right loop over the left loop to form a central opening just below the intersection. Take the right loop and fold it back and through this central opening, mimicking the initial step of tying a standard shoelace. This motion wraps the ribbon around the pinched center, creating a neat, structured band that will define the middle of your bow.
Gently pull both loops outward and away from each other to tighten the knot, adjusting the tension slowly and evenly. As you pull, observe the size of the loops to ensure they remain symmetrical; if one loop begins to shrink, release some tension and adjust the ribbon before pulling tight again. The goal is a snug center knot that locks the loops in place without distorting their rounded shapes.
If you are working with highly slippery materials like silk or heavy satin, the knot may tend to slip or loosen as soon as you let go. To combat this, you can wrap a small piece of fine floral wire or strong thread tightly around the pinched center before completing the fabric knot. This hidden structural support ensures the bow remains crisp and secure, even if the gift is handled frequently or transported through humid conditions.
Shaping the Tails and Final Adjustments
Once the center knot is secure, it is time to create the signature fishtail finish on the trailing ends of the ribbon. Pull both tails downward so they drape symmetrically from the bottom of the knot, and trim them to your desired length. To cut the classic V-notch, fold one tail in half vertically, then use your sharp fabric scissors to cut at a 45-degree angle starting from the folded edge up toward the outer open edge.
Unfold the ribbon tail to reveal a perfectly symmetrical, clean V-shaped cut that defines the classic fishtail look. Repeat this exact process on the second tail, using the first cut as a visual guide to ensure both ends are trimmed to the same length and angle. This simple geometric cut instantly elevates the bow, giving it a tailored, professional appearance.
Finish by inserting your fingers into the loops to gently fluff them outward, giving the bow a full, three-dimensional shape. If your ribbon has become wrinkled or creased during the tying process, you can use a low-heat hair straightener or a garment steamer to smooth out the fabric. Always verify the heat tolerance of your specific ribbon material first, as synthetic fibers like polyester can melt easily under high temperatures.
Common Mistakes and How to Fix Them
One of the most common frustrations when tying a fishtail bow is ending up with a twisted ribbon that exposes the dull, unfinished underside. This usually happens when the ribbon is twisted during the crossing or pulling stage. To fix this without untying the entire bow, gently loosen the center knot slightly and use your fingers to rotate the twisted section until the finished side faces outward, then retighten the knot carefully.
Another frequent issue is uneven tails, where one side hangs significantly lower than the other after the knot is tightened. Instead of trying to pull the ribbon through the tight knot—which can distort the loops—it is much easier to secure the knot first and then trim the longer tail to match the shorter one. Always make small, incremental cuts, as cutting too much fabric at once can leave you with tails that are too short for the scale of the box.
A loose center knot can cause the entire bow to sag, lose its shape, or slide off the package entirely. If you are using low-friction materials like satin, try applying a tiny drop of clear craft glue or a small glue dot directly inside the fold of the center knot as you tighten it. This provides just enough grip to lock the fibers in place permanently without altering the external appearance of the bow.
Tips for Attaching the Fishtail Bow to Your Gift
Once your fishtail bow is perfectly formed and trimmed, mounting it securely to your wrapped package is the final step to a flawless presentation. For a clean, seamless look, high-tack double-sided tape or adhesive glue dots are highly effective, especially when applied directly to the flat back of the center knot. If you are wrapping a heavy or textured paper, a small dab of hot glue can provide a stronger bond, though you must apply it sparingly to prevent it from seeping through the ribbon fibers.
Alternatively, you can tie the bow directly to the box using a secondary, thinner ribbon of the same color. Wrap the thin ribbon around the length and width of the box, tie a secure flat knot on top, and then use the remaining ends of this thin ribbon to tie through the back of your main fishtail bow’s center knot. This method ensures the bow is anchored firmly to the package without the need for any chemical adhesives.
When positioning your bow, consider the overall balance and layout of the gift box. Placing the bow dead center is a classic approach that works well for square boxes, while positioning it in the upper-left corner offers a modern, asymmetrical aesthetic for rectangular packages. Ensure that any structural elements, such as wire twists or tape edges, are tucked neatly behind the center knot so they remain completely hidden from the recipient’s view.
Frequently Asked Questions (FAQ)
What is the best ribbon width for a standard gift box?
For a standard shoe-box-sized package, a ribbon width of 25mm to 38mm (approximately 1 to 1.5 inches) offers the most balanced visual proportion. Wider ribbons require longer cuts to form loops that do not look squashed, while narrower ribbons can look sparse on larger surfaces. Always check the ribbon packaging or label for width specifications before purchasing to ensure it matches your box dimensions.
How do I prevent the ribbon tails from fraying?
To keep your fishtail cuts looking sharp and clean, apply a tiny amount of clear fabric sealant or specialized fray check solution along the raw edges. For synthetic ribbons made of polyester or nylon, you can carefully pass the cut edge near a small flame for a fraction of a second to melt and seal the fibers. Always verify the material composition on the ribbon spool label before applying heat to avoid scorching or melting the fabric.
Can I make a fishtail bow with wired ribbon?
Yes, wired ribbon is excellent for creating voluminous fishtail bows because the thin wire embedded in the edges allows you to sculpt and hold the loops perfectly. However, because the wire adds bulk, tying a traditional fabric knot at the center can be difficult and may result in a lumpy appearance. Instead, pinch the center tightly and secure it with a separate piece of floral wire, then wrap a small, flat piece of ribbon over the wire to create a neat faux knot.

Community discussion
Share your experience or ask a question. Comments are reviewed before publication.