
The signature Korean-style ribbon bow is defined by its soft, voluminous loops, elegant drape, and relaxed, asymmetrical charm. Unlike stiff, traditional Western bows that sit rigidly atop a package, the Korean ribbon style emphasizes an organic flow that elevates any gift into a work of art. Achieving this look relies on choosing a pliable fabric ribbon, mastering a simple pinch-and-fold technique, and carefully adjusting the loops to create a balanced yet effortless drape. Whether you are preparing a delicate gift for a loved one or wrapping corporate tokens for a special event, learning this wrapping technique adds an instant touch of modern sophistication to your presentation.
Materials and Tools Needed for a Korean Ribbon Bow
To achieve the characteristic soft, pillowy look of a Korean ribbon bow, selecting the correct material is the most critical first step. Stiff plastic ribbons will not drape correctly. Instead, choose soft fabrics like cotton herringbone, washed linen, or premium soft-drape polyester. Cotton and linen are excellent because their natural texture provides a subtle grip, preventing loops from slipping in humid conditions. Soft satin or chiffon also works beautifully, though their slippery surfaces require more care during knotting.
To calculate the required length for a standard rectangular box, multiply the sum of its length, width, and depth by four, then add 50 centimeters for the loops and tails. For a medium-sized box, a ribbon width of 2.5 centimeters to 3.8 centimeters is ideal, as it provides enough surface area to showcase the fabric’s texture and hold a voluminous shape without overwhelming the package.
Products mentioned in this guide
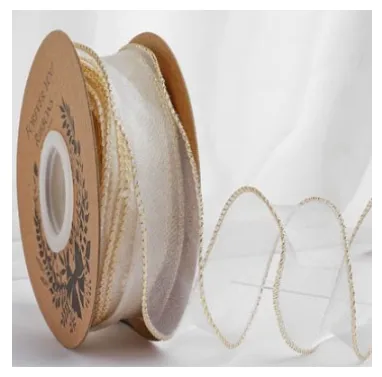
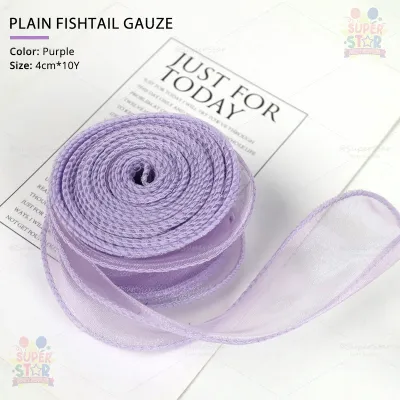
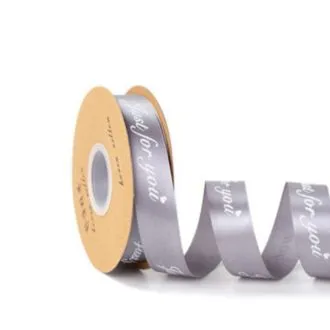
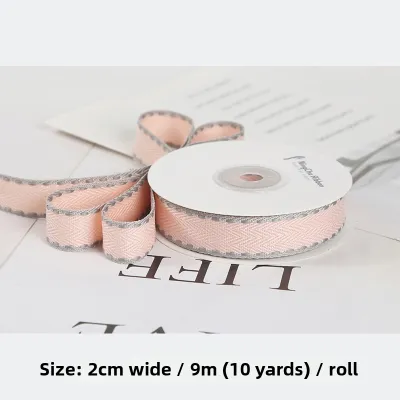
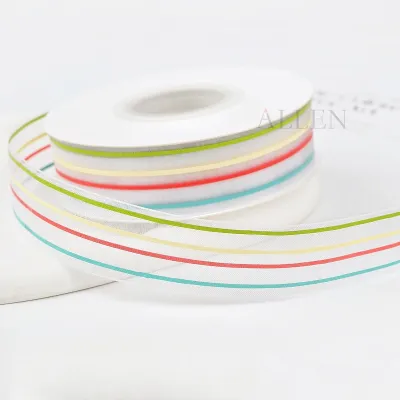
Prices are valid at publication and may change. Please refer to the product page for the latest price.
Sharp fabric scissors are essential to prevent fraying on delicate cotton or chiffon edges. Keep a roll of double-sided tape or clear glue dots nearby. These adhesives are incredibly helpful for securing the ribbon base to the box or keeping slippery tails in place, especially when working with smooth, glossy wrapping papers that offer very little natural friction.
Step-by-Step Guide to Tying the Korean Ribbon Bow
Place your gift box on a flat surface and ensure the wrapping paper is secure. Drape the ribbon across the top, leaving a left tail roughly one and a half times the box length. Wrap the longer right end completely under the box from right to left, bringing it back to the top. This wrap should be snug without warping the box edges.

Cross the ends at the center to create the foundational knot. Cross the longer end over the shorter end, wrapping it under and pulling through to form a flat single knot. Ensure the ribbon lies flat against the box without twisting. A flat foundation prevents the finished bow from sitting crookedly or tilting forward.
To form the first loop, fold the bottom tail back on itself to create a loop approximately 5 to 7 centimeters long. Pinch the base of this loop firmly where it meets the center knot. This pinching action creates a rounded, voluminous shape instead of a flat crease.
Drape the top ribbon tail over the front of the loop. Wrap it around the back of the pinched base from right to left, forming a small collar. This movement creates the central loop or knot cover that holds the entire structure together. Ensure the ribbon remains smooth and untwisted as you wrap it around the base.
Push a fold of the active tail through the collar behind the first loop. Slide your finger into this new loop and pull it through from left to right. Pull only enough fabric to match the size of the first loop. Hold both loops by their centers and pull in opposite directions to tighten the knot.
Adjusting and Shaping the Bow for a Polished Look
After securing the knot, shape and fluff the bow. Unlike structured Western styles, a Korean bow should look organic, soft, and slightly asymmetrical. Insert your index fingers into both loops and pull outward and upward to restore the volume compressed during tightening. Gently massage soft cotton or linen ribbon to encourage a rounded, pillowy shape.
The loops should be roughly equal, though slight variation adds handmade charm. If one loop is larger, pull the corresponding tail to adjust it, then re-tighten the knot. The tails should drape elegantly downward off the box. Adjust the center knot so that the tails emerge from the bottom of the knot rather than sticking out sideways.
To trim the tails, fold each end in half vertically and cut upward at a 45-degree angle to create a classic swallowtail. Alternatively, a sharp diagonal cut works beautifully for minimalist presentations. Keep one tail slightly longer than the other to enhance the asymmetrical flow. If you are working with a slippery fabric like satin, place a tiny glue dot under the center knot or beneath the drape of the tails to keep them perfectly positioned.
Common Mistakes and Troubleshooting
If your loops collapse or flatten, the center knot may be too loose or the ribbon material may lack sufficient body. Pinch the loops tightly at their base before pulling them through the collar. If the knot slips, tie a discreet thread or wire twist-tie around the center for hidden support.
Twisted ribbon edges occur when the ribbon twists during wrapping or knotting, exposing the matte underside. Keep the ribbon flat against your fingers while forming loops. If you notice a twist, slide your thumb inside the loop and rotate the fabric outward.
If you have tied and untied the same section multiple times, the fabric may become creased, limp, or frayed. Delicate chiffon or lightweight cotton can lose its natural spring. Cutting a fresh length of ribbon ensures a pristine, professional finish.
Pairing the Korean Ribbon with Gift Packaging
A stunning presentation requires coordinating colors, textures, and proportions. The Korean wrapping aesthetic is rooted in minimalism and natural beauty. Pair matte, textured wrapping papers like natural brown kraft or soft pastels with a contrasting cotton or linen ribbon. Cream cotton over sage green or dusty rose creates an elegant palette.
Proportion is equally important. A tiny box with wide ribbon looks crowded, while a large box with thin ribbon looks unfinished. Use 1 to 1.5-centimeter ribbon for small jewelry boxes, and 2.5 to 4-centimeter widths for larger boxes. Layering sheer chiffon over solid cotton adds a beautiful multi-textured effect.
In warm, humid tropical settings, heavy velvet or wool ribbons feel visually heavy. Instead, embrace lightweight, breathable textures like linen, cotton, and organza. These materials hold their shape well in humidity and offer a fresh, modern aesthetic. Match the ribbon’s weight to the paper for a cohesive unboxing experience.
Frequently Asked Questions (FAQ)
Can I use wired ribbon for a Korean-style bow?
Wired ribbons can be used, but they will alter the signature look of the Korean-style bow. Traditional Korean bows rely on the natural, soft drape of unwired fabric to achieve their relaxed, organic appearance. A wired ribbon will hold its shape perfectly, but it tends to look more structured, stiff, and formal. If you choose to use wired ribbon, focus on creating very soft, rounded curves rather than sharp angles, and gently smooth out the wire along the tails so they drape downward naturally instead of flaring outward.
How do I keep the ribbon bow from slipping off the box?
Keeping a ribbon secure on smooth or glossy gift boxes can be challenging, especially in humid climates where paper surfaces can become slightly slick. To prevent slipping, ensure your initial wrap around the box is snug and tied tightly at the base. For extra security, place a small glue dot or a piece of double-sided tape directly onto the box surface where the center knot will sit. This anchors the bow in place without damaging the wrapping paper, ensuring your beautifully crafted bow remains perfectly centered during transport and handling.

Community discussion
Share your experience or ask a question. Comments are reviewed before publication.