
Tying a neat, professional bow with a 4cm satin ribbon elevates any gift package from simple to spectacular. The generous 4cm width provides a luxurious, substantial presence on a gift box, but its smooth, slippery texture and wide surface area can make it challenging to handle without the loops collapsing or the knot slipping. To achieve a picture-perfect bow, you must master the balance of tension, loop formation, and ribbon orientation so that the glossy side of the satin always faces outward. By understanding the physical properties of satin and practicing a few deliberate hand movements, you can consistently create symmetrical, high-end bows that stay secure throughout transit and presentation.
Preparing Your 4cm Satin Ribbon and Tools
Before you begin cutting or folding your ribbon, setting up a clean and organized workspace is essential for protecting the delicate fabric. Satin is highly susceptible to snags, pulls, and dirt, which can instantly ruin the smooth, reflective surface of a 4cm band.
Start by thoroughly cleaning and drying your work surface. A smooth, flat tabletop or a clean cutting mat is ideal. Avoid rough wooden surfaces or textured tablecloths that can catch on the fine threads of the woven satin. If you are working in a humid tropical environment, ensure your hands are completely dry and free of oils, which can leave dark, unsightly spots on light-colored ribbons.
Products mentioned in this guide
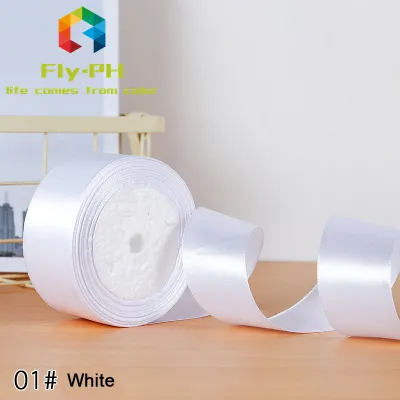
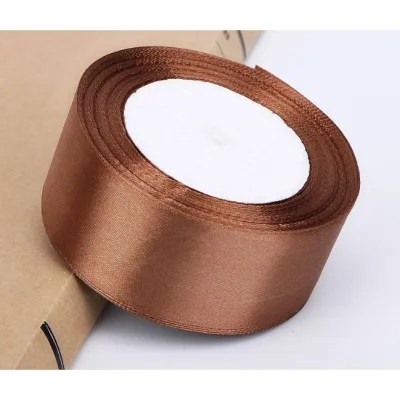
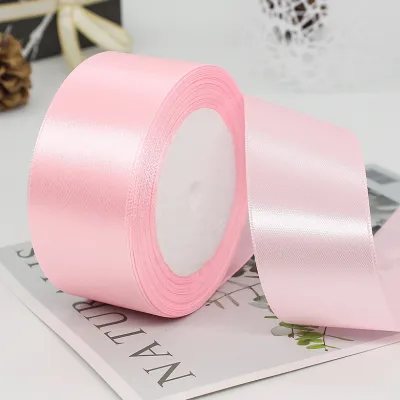
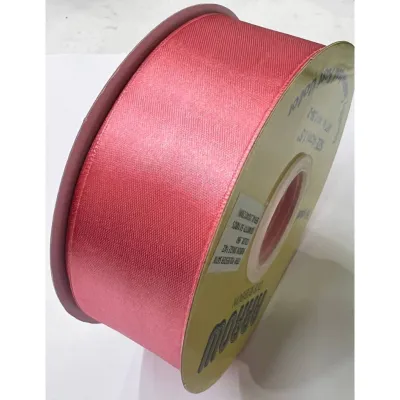
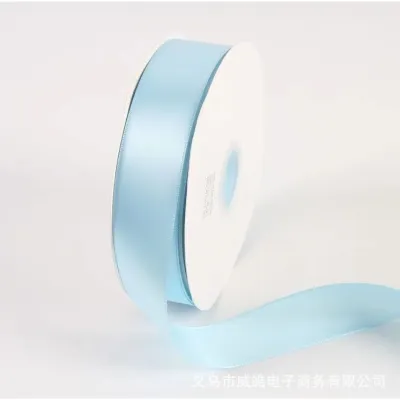
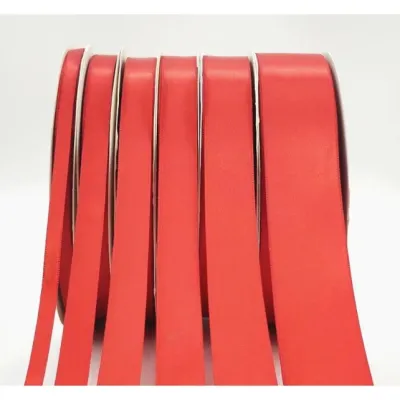
Prices are valid at publication and may change. Please refer to the product page for the latest price.
Next, select your cutting tool. Standard household scissors often have dull blades that chew through fabric rather than slicing it, leading to immediate fraying along the cut edges. Instead, use a pair of sharp fabric shears or dedicated stationery scissors reserved exclusively for paper and textiles. A clean, swift cut is the first line of defense against unraveling threads.
Finally, inspect your ribbon roll before making any cuts. Unroll a portion of the 4cm satin ribbon and check for any deep creases, folds, or manufacturing snags. If the ribbon has been tightly wound or stored improperly, you may notice stubborn wrinkles. Running a cool iron on its lowest heat setting over the ribbon can quickly smooth out these imperfections, ensuring a flawless drape once the bow is tied.
Tying a Classic Professional Bow Step-by-Step
Creating a flawless bow with a wider ribbon requires a systematic approach to measuring, folding, and securing the knot. Because 4cm satin ribbon has a distinct structure, standard shoelacing techniques often result in twisted loops and hidden glossy sides. Following a structured loop-to-loop method ensures both loops display the brilliant sheen of the satin.

Begin by measuring the correct length of ribbon for your project. For a standard gift box where the ribbon wraps around the package and finishes with a medium-sized bow, you will generally need a generous length to allow for comfortable handling. Cut the ribbon with your sharp fabric scissors at a temporary 90-degree angle, leaving extra length that you can trim to perfection later.
Lay the ribbon flat across your package. To tie a classic bow directly onto a package, wrap the ribbon around the box and cross the two ends over each other at the center. Tie a simple over-under knot, pulling it snug but not so tight that it warps the gift box. Ensure the shiny, lustrous side of both ribbon tails faces upward after this initial knot is secured.
Now, form your first loop with the tail pointing downward. Fold the ribbon back on itself to create a loop of your desired size, keeping the glossy side on the outside of the loop. Hold the base of this loop firmly between your thumb and forefinger to maintain its shape and prevent the satin from slipping.
Take the other ribbon tail and drape it over the front of the loop you are holding. As you wrap this tail around the base of the first loop, you will create a small opening or tunnel behind it. Push the middle section of the wrapping ribbon through this tunnel to form the second loop.
As you push the ribbon through, pay close attention to the orientation of the fabric. To ensure the shiny side of the second loop faces forward, you may need to perform a slight twist of the ribbon within the center knot as you feed it through. This subtle adjustment prevents the matte underside of the satin from showing on the finished bow.
Gently pull both loops outward simultaneously to tighten the center knot. Do not pull too aggressively, as this can crush the volume of the loops or cause the ribbon to bunch up unevenly. Instead, use a gradual, alternating pulling motion—tugging the loops, then the tails, and then the loops again—until the center knot is firm, compact, and centered.
Once the bow is secure and symmetrical, it is time to finish the tails. A raw, straight cut on a 4cm satin ribbon will quickly fray under normal handling. To prevent this and add a professional touch, fold each tail vertically in half and cut upward at a 45-degree angle from the open edges toward the fold. This creates a classic, clean V-cut finish. Alternatively, you can make a single, sharp diagonal cut across the width of the ribbon.
Fixing Uneven Loops and Slipping Knots
Even with careful execution, the slippery nature of satin can sometimes result in asymmetrical loops or a loose center knot. Fortunately, you do not need to untie the entire bow and start over to correct these common issues.
If your center knot feels loose or begins to slip, you can reinforce its grip without ruining the ribbon’s appearance. Before tightening the knot completely, apply a small amount of tension to the back of the knot while pulling the loops forward. For bows that must withstand significant handling or shipping, placing a tiny, clear glue dot directly under the center knot can lock it in place permanently without altering the look of the satin.
To fix uneven loops, avoid pulling randomly on the tails, as this often distorts the center knot. Instead, trace the path of the ribbon. Identify which tail connects to the loop you wish to adjust. Gently hold the center knot with one hand to stabilize it, and use your other hand to slide the ribbon through the knot, adjusting the loop size millimeter by millimeter. Once the loops are perfectly balanced, give the tails a final, gentle tug to lock the adjustment in place.
If you notice minor fraying starting to develop on the edges of your ribbon during the tying process, act quickly to stop it from spreading. You can use a very small amount of clear liquid seam sealant along the cut edges. Apply it sparingly with a toothpick to ensure it does not bleed into the main body of the ribbon or leave a dark, stiff residue on the satin.
Shaping, Fluffing, and Attaching the Bow
The difference between an average bow and a professional, boutique-style bow lies in the final shaping and presentation. Because 4cm satin ribbon has a beautiful weight and drape, a little manual styling can dramatically enhance how it catches the light.
Start by inserting your fingers inside each loop to open them up. Gently expand the loops outward and upward, creating a rounded, three-dimensional shape. If the satin is single-faced, ensure the matte backing is completely hidden inside the curve of the loop. Give the loops a slight twist at the base to make them stand up proudly from the surface of the gift box.
Next, address the tails. Instead of letting them hang flat and lifeless, run your fingers down the length of each tail, gently curving the ribbon to create a soft wave. This technique, often called training the ribbon, allows the tails to drape naturally over the edges of the package, adding movement and elegance to your gift wrapping.
If you have created a pre-tied bow rather than tying it directly around the box, you will need a reliable method to attach it. Double-sided tape is a quick and clean option, but ensure you use a high-tack variety that can hold the weight of a 4cm satin bow. For a more secure bond, apply a small glue dot or a touch of low-temperature hot glue to the back of the center knot, then press it firmly onto the wrapping paper.
If you are wrapping a delicate or expensive gift box, avoid applying adhesives directly to the box material. Instead, wrap a simple band of ribbon around the box first, secure it with tape, and then attach your pre-tied bow directly to that ribbon band. This preserves the integrity of the gift box while keeping the bow perfectly centered.
Storing Leftover Satin Ribbon Without Creases
High-quality 4cm satin ribbon is an investment, and preserving your leftover material ensures that your next gift-wrapping project looks just as pristine. Improper storage can lead to deep creases, dust accumulation, and color fading.
Never fold your leftover satin ribbon, as folding creates sharp, permanent creases that are incredibly difficult to iron out without damaging the delicate synthetic fibers. Instead, roll the ribbon loosely around its original cardboard spool. If you no longer have the spool, you can roll the ribbon around a clean cardboard paper towel tube or a rolled-up piece of clean cardstock.
Secure the outer end of the rolled ribbon with a fine sewing pin inserted parallel to the ribbon’s edge, or use a small piece of low-tack painter’s tape. Avoid using standard cellophane tape, which can leave a sticky, yellow residue that ruins the satin surface over time.
Store your secured ribbon rolls in a cool, dry, and dark place, such as a dedicated drawer or a plastic storage bin. In tropical climates where humidity levels can fluctuate significantly, keeping your ribbons in an airtight container prevents moisture from softening the ribbon’s sizing—the starch-like agent that gives satin its body and structure. Additionally, keeping the ribbons away from direct sunlight prevents the vibrant colors from fading unevenly.
Frequently Asked Questions (FAQ)
How much 4cm satin ribbon do I need for a standard gift box bow?
To estimate the amount of ribbon required, you can use a simple multiplier rule based on the size of your gift box. For a standard medium-sized box (approximately 20cm by 15cm by 5cm), a safe estimate is to use roughly five times the longest dimension of the box for a basic wrap and bow. This translates to about 2 to 2.5 meters of 4cm satin ribbon. If you are tying a pre-tied bow to stick on top, you will need approximately 60 to 80 centimeters of ribbon to form comfortable loops and elegant tails. Always err on the side of caution and cut slightly more than you think you need; it is much easier to trim excess length than to struggle with tails that are too short to tie securely.
Can I use fabric glue to secure the center of a satin bow?
Yes, fabric glue is an excellent alternative to traditional knotting, especially if you want to achieve a flatter, more streamlined profile on your gift packaging. When making a multi-layered bow or working with very stiff satin, tying a bulky knot can sometimes distort the shape of the loops. To use glue, fold your loops into shape and secure the center overlap with a small dab of clear-drying, flexible fabric glue. Wrap a separate, short strip of ribbon around the center to cover the joint, gluing it securely at the back. Ensure you use a glue specifically formulated for delicate fabrics; standard craft glues can soak through the satin fibers, leaving stiff, dark, or shiny wet-look stains that ruin the elegant finish of your bow.

Community discussion
Share your experience or ask a question. Comments are reviewed before publication.