
A beautifully wrapped gift is incomplete without a perfectly tied bow. While satin ribbon offers an unmatched, luxurious sheen and a soft, elegant drape, its slippery texture makes it notoriously difficult to handle. Many DIY gift wrappers struggle with lopsided loops, twisted tails, or knots that slide loose before the gift is even delivered. Tying a neat, professional-looking bow requires understanding ribbon anatomy, managing tension, and using the right stabilizing techniques.
To achieve a flawless finish, you must master the mechanics of loop formation and ribbon orientation. Whether you are preparing a gift for a wedding, a birthday, or a holiday celebration, learning how to manipulate this classic material ensures your presentation looks polished and intentional. With a few professional techniques, you can transform a simple spool of ribbon into a stunning, secure centerpiece for any gift box.
Materials and Tools for a Professional Satin Bow
Selecting the right ribbon width is the first step toward achieving visual balance. For small jewelry boxes, a narrow ribbon of 6mm to 9mm works best, as it will not overwhelm the delicate packaging. Medium-sized gifts, such as books or standard shirt boxes, pair beautifully with ribbons measuring 15mm to 25mm in width. For large hampers, native baskets, or oversized boxes, opt for wide ribbons of 38mm to 50mm to make a bold, festive statement. High-quality double-faced satin ribbon rolls are widely available on online marketplaces or local craft stores, typically costing between ₱50 and ₱150 depending on the width and length.
Products mentioned in this guide
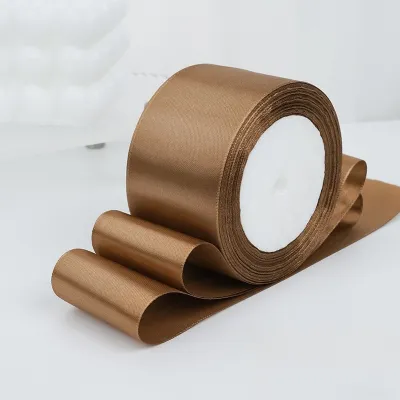
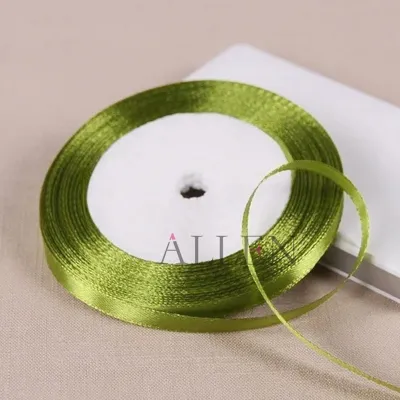
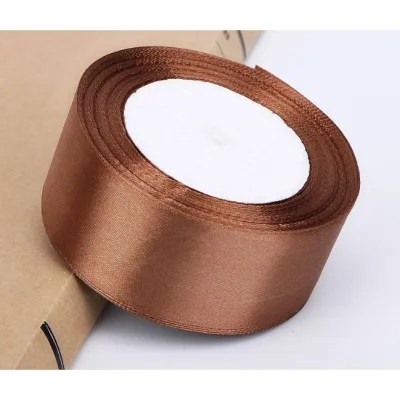
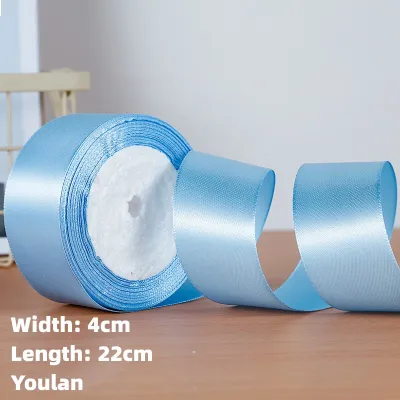
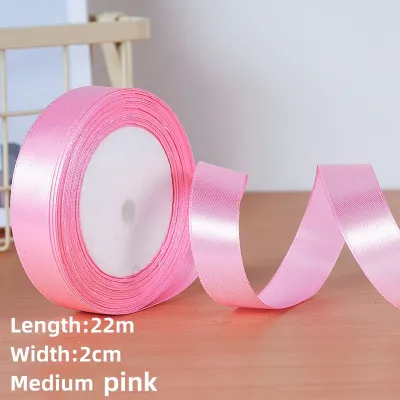
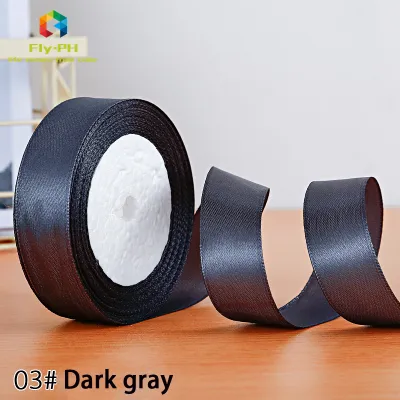
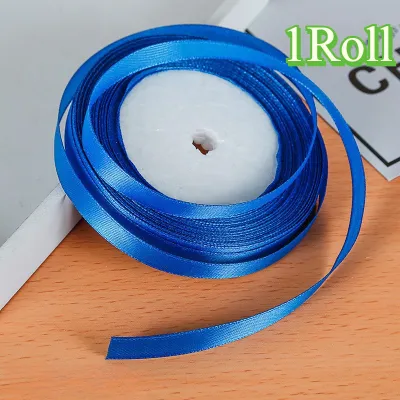
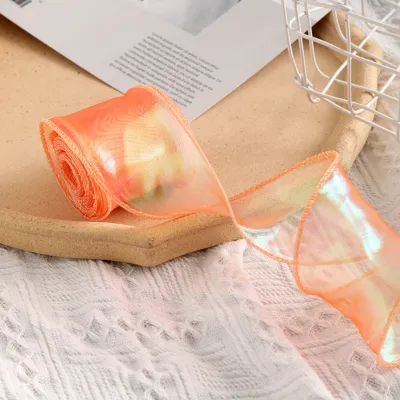
Prices are valid at publication and may change. Please refer to the product page for the latest price.
Using dedicated, exceptionally sharp fabric scissors is critical for a professional finish. Standard paper or household craft scissors dull quickly and will chew through delicate satin fibers, leaving behind unsightly, frayed edges. When handling sharp fabric shears, always work on a stable surface and cut away from your body to ensure safety. Keeping a dedicated pair of scissors exclusively for fabric and ribbon will preserve their sharpness for years.
Satin is incredibly smooth, which means your knots can easily slip and lose tension during the tying process. To combat this, keep securing aids like double-sided tape, clear glue dots, or temporary styling pins nearby. These tools act as invisible anchors, holding the ribbon in place while you perfect the loops. Finally, prepare a flat, clean, and dust-free working surface to prevent the delicate satin from catching on rough textures or picking up debris.
Measuring and Cutting Satin Ribbon to Prevent Fraying
Estimating the correct ribbon length before cutting prevents wasteful mistakes and ensures your tails are long enough to drape elegantly. A reliable rule of thumb for a simple wrap and bow is to wrap the ribbon once around the length of the box and once around the width, then add about 60 centimeters to account for the loops and tails. If you are wrapping a complex cross-pattern, use this formula: multiply the box length by two, the width by two, and the height by four, then add 60 centimeters for the bow itself.

To cut the satin cleanly, pull the ribbon taut and use the sharpest part of your scissors, which is typically near the pivot of the blades. Make the cut in one swift, continuous motion rather than several small snips. Multiple snips create jagged edges that unravel quickly. Cutting at a sharp 45-degree angle is highly recommended, as it exposes fewer loose warp threads and naturally reduces the risk of fraying.
For synthetic polyester satin, you can permanently seal the cut edges using heat. Carefully pass the freshly cut tip of the ribbon near the outer blue edge of a small flame, such as a lighter or candle, for a fraction of a second. The heat will melt the polyester fibers, fusing them into a clean, un-frayable bead. Always prioritize safety: perform this in a well-ventilated area, keep your fingers away from the heat source, and ensure no flammable wrapping materials are nearby. If you are working with natural silk ribbon, do not use heat, as silk will burn and char; instead, rely solely on sharp diagonal cuts.
Step-by-Step Instructions for Tying a Classic Satin Bow
Forming the Base Loops and Center Knot
Begin by placing your wrapped gift box face up on your clean workspace. Center the measured ribbon under the box, bring both ends up to the top center, and tie a basic cross-knot. Pull this flat and tight against the box to serve as your anchor.
Create the first loop with the left-hand strand by folding the ribbon back toward the center knot. If you are using single-faced satin, which is shiny on only one side, you must twist the ribbon at the base of the loop so the dull side faces inward and the shiny side faces outward. Pinch the base of this loop firmly between your thumb and index finger to maintain tension.
Take the right-hand strand and drape it over the front of the pinched loop. Ensure the ribbon remains flat and does not twist awkwardly as you wrap it around the base of the first loop to prepare for the final knot.
Crossing, Tucking, and Pulling Tight
As you wrap the right-hand strand around the first loop, a small gap or tunnel will naturally form near the base of the center knot. Push the middle of the right-hand strand through this gap from front to back to form the second loop. Be careful to push only a folded section of the ribbon through, leaving the tail free.
Grasp both loops firmly between your fingers and pull them gently in opposite directions. Avoid pulling too fast or with excessive force, as jerking the ribbon can cause the slippery satin to twist, wrinkle, or slip completely out of the knot. Maintain a slow, steady tension until the knot is secure.
Shaping and Fluffing the Bow
Once the basic knot is formed, you must adjust the proportions to achieve symmetry. Slide your index fingers inside both loops and pull outward to expand them, or pull the tails downward to shrink the loops. A balanced bow usually has loops that are slightly shorter than the width of the gift box.
Run your fingers along the inside and outside of the loops to smooth out any twists. This restores the natural, rounded volume of the satin, giving the bow a plump, three-dimensional appearance.
Tighten the center knot by pulling the loops firmly one last time, ensuring the knot is compact and neat. Fan out the tails so they drape elegantly down the sides of the box, framing the bow beautifully.
How to Keep Slippery Satin Bows Secure and Neat
Satin’s low-friction surface means bows can easily slide around the box, especially when transported or handled. In high-humidity environments, wrapping paper can lose some of its crispness, making the ribbon even more prone to shifting. To prevent this, place a small square of double-sided tape or a clear glue dot directly onto the wrapping paper where the center knot will sit, then press the knot firmly onto the adhesive to anchor the entire ribbon structure.
If tying a bow directly on a wrapped box proves too frustrating, try the separate-bow method. Wrap a flat band of ribbon around the box and secure it with tape. Next, tie a perfect bow around a small piece of cardboard or your fingers, slide it off, trim the tails, and use a glue dot to attach the bow directly to the flat ribbon band on the box.
For large, dramatic bows on oversized gift hampers, the loops may sag under their own weight. To keep them upright, insert a thin piece of flexible florist wire or a color-matched pipe cleaner inside the loops to provide structural support. This hidden framework keeps the bow plump and professional-looking even during transit.
If the gift will be transported over long distances or handled frequently, apply a tiny drop of clear, fast-drying fabric glue inside the center knot once the bow is perfect. This bonds the slippery fibers together, ensuring the knot cannot slip undone. Always test the glue on a small scrap of ribbon first to ensure it does not stain or discolor the fabric.
Trimming and Finishing the Ribbon Tails
The presentation of the ribbon tails is just as important as the loops themselves. Unfinished, straight-cut tails look incomplete and are highly susceptible to fraying over time.
To create a classic diagonal cut, hold the tail flat and cut at a sharp 45-degree angle. This simple cut is elegant, modern, and highly effective at minimizing fraying because it exposes fewer loose warp threads.
For a traditional swallowtail look, fold the ribbon tail in half lengthwise. Angle your scissors at the open outer edge and cut upward toward the folded crease at a 45-degree angle. When you unfold the ribbon, you will have a perfect, symmetrical “V” shape, which is ideal for wider ribbons.
Before making the final cuts, pull both tails down side-by-side to ensure they are even. Use a light pencil mark or a sewing pin to mark the desired length. As a general rule, the tails should be slightly longer than the loops to create a balanced, elegant drape.
Troubleshooting Common Satin Ribbon Mistakes
Working with satin can be challenging, but most mistakes are easily corrected without starting over. Use these quick solutions to fix common issues:
- Crooked or uneven loops: If one loop is larger than the other, do not untie the entire bow. Gently loosen the center knot just enough to allow movement, slide the ribbon through the knot to redistribute the length, and pull the loops tight again.
- Wrinkled or crushed satin: To remove unsightly creases, smooth the ribbon with your fingers. For stubborn wrinkles, use a garment steamer or a hair dryer on a warm setting from a distance of 15 to 20 centimeters. If using an iron, place a clean cotton cloth over the satin and iron on the lowest heat setting to avoid melting the synthetic fibers.
- Knot slipping undone: If the ribbon slips while you are trying to tie the loops, place a small glue dot or a piece of double-sided tape under the initial cross-knot. This locks the base knot in place, giving you both hands free to form and perfect the loops without losing tension.

Community discussion
Share your experience or ask a question. Comments are reviewed before publication.