
Working with a 4 cm satin ribbon presents a unique challenge for gift wrapping and crafting. While its wide profile and lustrous sheen offer an elegant, luxurious aesthetic, its physical thickness and slippery texture often result in bulky, messy knots when tied using traditional methods. To achieve a neat, flat, and professional-looking bow, you must bypass the standard “bunny ear” knot.
Instead, the key lies in a structured folding and pleating technique—often called the accordion fold—where the loops are formed independently and secured at the center with a low-profile binding agent like wire or thread. This method compresses the wide fabric into a tight, neat center, which is then finished with a clean ribbon band to conceal the mechanics.
Preparing Your Materials and Workspace
Before cutting your ribbon, it is essential to calculate the required length based on the proportions of your project rather than relying on arbitrary measurements. A reliable formula is to measure the desired width of your finished bow span, multiply this by four (to account for two complete loops and their internal overlaps), and then add the desired length of both tails. If you plan to wrap the ribbon entirely around a gift box, add the perimeter of the box to this total. This systematic approach prevents unnecessary waste and ensures your loops and tails remain proportional to the package.
Products mentioned in this guide
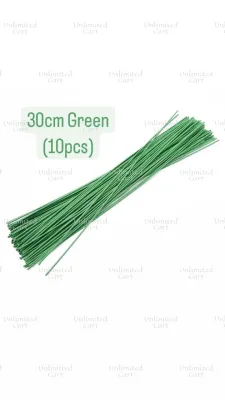
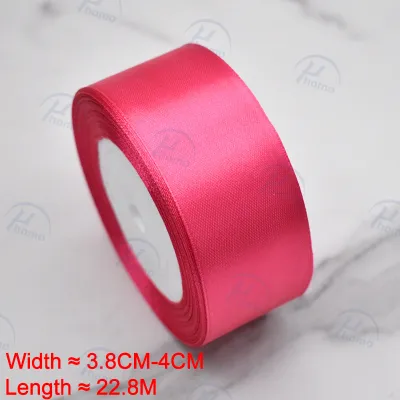
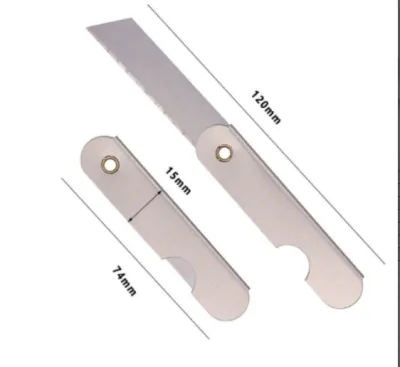
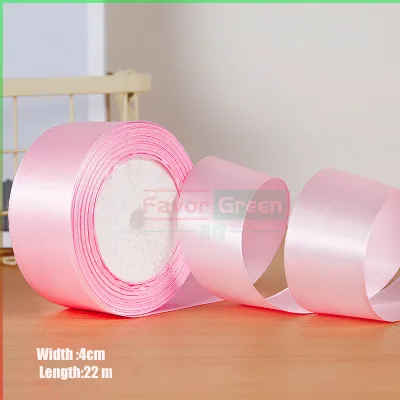
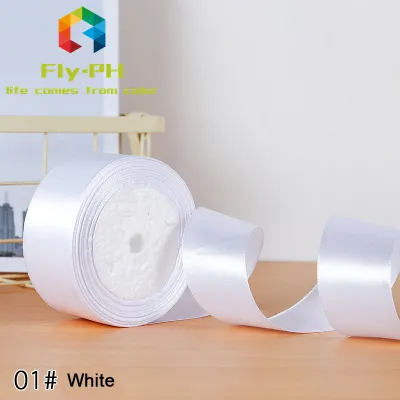
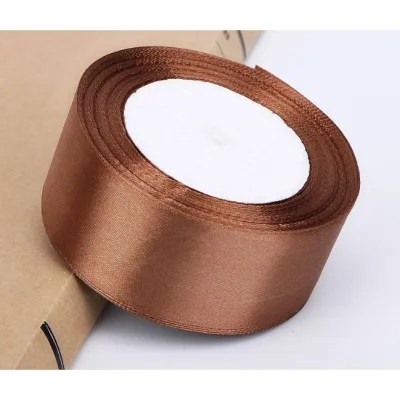
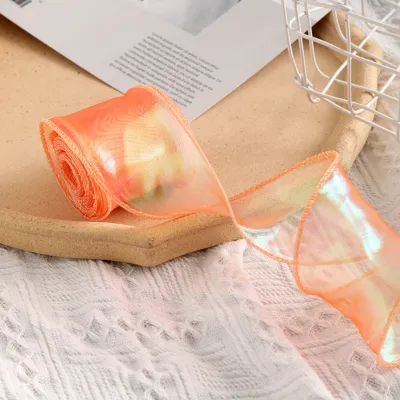
Prices are valid at publication and may change. Please refer to the product page for the latest price.
The tools you select directly impact the cleanliness of your final bow. Standard household scissors often chew through the delicate, woven synthetic fibers of satin, leaving jagged, frayed edges. Always use sharp fabric shears dedicated solely to textiles. A clean, decisive cut is the first line of defense against unraveling.
To eliminate the bulk of a traditional knot, gather your center-securing materials. Thin floral wire (ideally 26-gauge or 28-gauge) or strong, multi-ply polyester sewing thread in a matching color will serve as the structural anchor. These materials compress the 4 cm ribbon far more tightly than the ribbon could ever compress itself. Additionally, keep a fabric-safe adhesive or a low-temperature glue gun nearby for securing the finishing wraps.
Finally, prepare your workspace. Satin is highly susceptible to snags from rough surfaces, splinters, or dry skin. Work on a clean, smooth, flat surface such as a cutting mat or a polished tabletop. In warm, humid tropical environments, moisture and natural skin oils can transfer to the ribbon, making it limp or leaving faint watermarks. Wash and dry your hands thoroughly before handling the material, and ensure your workspace is free from dust and humidity buildup.
Step-by-Step Guide to a Neat, Non-Bulky Bow
Forming the Loops
To begin, lay your pre-cut length of 4 cm satin ribbon flat on your workspace with the shiny side facing down (if using single-sided satin). Bring both outer ends of the ribbon toward the center, overlapping them by approximately 1.5 to 2 centimeters. This creates a flat, continuous loop of ribbon with the overlapping ends resting precisely in the middle.

If you are creating a double-loop bow, fold the ribbon into an “S” shape, ensuring each layer is stacked evenly. Throughout this process, verify that the ribbon remains flat without any twisting, which would distort the final shape and add unnecessary bulk to the center.
The Accordion Fold (Pleating) Technique
The accordion fold is the critical step that transforms a flat loop into a structured bow without creating a thick knot. Locate the exact midpoint of your overlapped ribbon loop. Using your thumb and forefinger, pinch the center to create a series of tight, vertical pleats.
For a 4 cm wide ribbon, aim for three distinct folds: a central “mountain” fold pointing upward, flanked by two “valley” folds pointing downward on either side. This specific pleating pattern compresses the entire 4 cm width of the ribbon into a tight, dense bundle measuring only a few millimeters across, while forcing the loops to flare outward symmetrically.
Securing the Center
While holding the pleated center firmly between your fingers, wrap a 10-centimeter piece of thin floral wire or strong polyester thread tightly around the pinched valley. If using wire, pull it taut and twist the ends together at the back of the bow using small pliers, then snip the excess wire, leaving a small, flat twist.
If using thread, wrap it around the center three to four times, pull it tight to compress the pleats fully, and secure it with a double knot at the back. This mechanical binding holds the pleats in place far more securely and flatly than a bulky ribbon knot ever could.
Shaping and Fluffing
With the center securely bound, you can now shape the bow. Insert your fingers into the loops and gently pull them outward and upward to restore their volume. Because the center is tightly compressed, the loops will naturally stand up and hold their shape.
To finish the bow, cut a separate 6-centimeter strip of the 4 cm satin ribbon. Fold this strip lengthwise into thirds to create a neat, narrow band. Wrap this band over the wire or thread at the center of the bow, securing it at the back with a small dot of fabric adhesive or low-temperature hot glue. Finally, trim the tails of your bow at a sharp 45-degree angle or fold them in half vertically and cut upward at an angle to create a classic chevron (V-cut) finish.
Troubleshooting Common Wide Ribbon Issues
Slipping Centers
Due to the exceptionally smooth, low-friction surface of satin, the pleated center can sometimes slip or slide out of alignment before you can secure it with wire. To prevent this, apply a very small, discreet dot of double-sided fabric tape or fabric glue inside the overlapping section of the loops before you begin pleating. This temporary bond keeps the layers perfectly aligned, allowing you to focus entirely on executing clean, even accordion folds without the fabric shifting under your fingers.
Uneven or Floppy Loops
If your finished loops appear uneven or sag, the issue usually stems from uneven tension during the securing phase. If the wire or thread is wrapped too loosely, the pleats will expand, causing the loops to lose their structural integrity and flop downward. Conversely, if the center is wrapped unevenly, one loop may end up shorter than the other. To fix this, gently slide the fabric within the center band to redistribute the length until both loops are symmetrical, then verify that your center wire is wrapped as tightly as possible to lock the shape.
Frayed Edges
Satin ribbon is highly prone to fraying along raw, cut edges, which can quickly ruin the polished look of your bow. To seal the edges, apply a thin, precise line of liquid fabric sealant along the cut ends and allow it to dry completely.
Alternatively, you can use heat to melt and fuse the synthetic polyester fibers. Carefully pass the cut edge of the ribbon near—but not directly into—the flame of a lighter or match for a fraction of a second. The heat will cause the edge to melt slightly and seal. Always perform this in a well-ventilated area away from flammable materials, and never allow children to handle open flames or hot adhesives.
Adapting the Bow for Different Wrapping Scenarios
Attachment Methods
Fastening a wide, structured bow to a gift package requires a secure foundation so it does not tilt or slide. For flat gift boxes, wrap a separate, flat band of the 4 cm ribbon around the box first, securing it tightly with double-sided tape. You can then thread the wire tails from the back of your finished bow through this band before twisting them secure, or simply glue the flat back of the bow directly onto the band. For curved surfaces, such as gift hampers or baskets, use the remaining wire ends at the back of the bow to tie it directly to the handle or rim.
Layering with Narrower Ribbons
To add visual depth and texture without increasing the physical bulk of the center knot, consider layering your 4 cm satin bow with a contrasting, narrower ribbon. Lay a 1 cm metallic ribbon, a strip of rustic twine, or a narrow grosgrain ribbon directly down the center of your 4 cm satin ribbon before you begin the folding and pleating process. When you pinch the center into an accordion fold, both ribbons will compress together under the wire, creating a sophisticated, multi-textured effect while maintaining a slim, low-profile center.
Storage and Transport
Wide satin bows are delicate and can easily lose their shape if crushed during storage or transport. If you are preparing bows in advance, store them flat in a shallow, rigid box, ensuring they are not stacked on top of one another.
To prevent the loops from collapsing, gently stuff them with small rolls of acid-free tissue paper. In humid tropical climates, where moisture can soften the fibers and cause the ribbon to sag over time, store the boxes in a cool, dry closet and consider adding a small silica gel packet to absorb excess moisture.
Frequently Asked Questions (FAQ)
Can I use this pleating method for other wide ribbons like organza or grosgrain?
Yes, the accordion pleating method is highly adaptable and works exceptionally well with other wide ribbon varieties, though you must adjust your handling based on the material’s physical properties. Organza is extremely lightweight and sheer, meaning it requires very tight pleating and a highly secure center wire to prevent the slippery, airy loops from shifting. Grosgrain, on the other hand, has a ribbed texture and a much stiffer drape than satin. While grosgrain holds its shape beautifully and is less prone to slipping, its inherent stiffness makes the pleats thicker, so you will need to apply extra pressure when pinching the center and use a stronger wire to compress the ribbed fabric fully.
How do I keep the tails of a 4 cm satin bow from curling or flipping upside down?
Wide satin ribbon tails often curl or twist due to the tension introduced during the cutting and handling process. To ensure they hang flat and drape elegantly, always make clean, diagonal cuts, which distribute the fabric’s weight more evenly than a straight horizontal cut.
If the tails still curl, you can apply a light mist of fabric starch or a specialized fabric stiffener spray to the back of the tails, then press them flat with an iron on a low, silk-safe heat setting. For a quick, non-heat alternative, gently run the ribbon tails over the edge of a smooth plastic ruler or table edge in the opposite direction of the curl to neutralize the tension.

Community discussion
Share your experience or ask a question. Comments are reviewed before publication.