
Tying a beautiful bow with grosgrain ribbon relies on mastering its unique ribbed texture, maintaining consistent tension, and aligning the grain. Unlike slippery satin, grosgrain has a distinct horizontal ridge pattern that provides excellent natural grip. This texture makes it ideal for creating structured, slip-free bows that hold their shape on any gift box.
Whether you are wrapping a birthday present, a wedding gift, or a festive package, understanding how to work with this material ensures a professional presentation. By learning how to handle the ribbon’s stiffness and leverage its ribbed texture, you can create clean, symmetrical bows that elevate your gift wrapping from simple to spectacular.
Preparing Your Grosgrain Ribbon and Workspace
Before you begin tying, selecting the right ribbon width and estimating the correct length is essential for a balanced look. For small jewelry boxes, a narrow ribbon of about 0.5 inches (approx. 13 mm) works well, while medium to large gift boxes typically require a width of 1 to 1.5 inches (approx. 25 mm to 38 mm). Choosing a ribbon that matches the scale of your box ensures the final bow does not overwhelm or get lost on the package.
Products mentioned in this guide
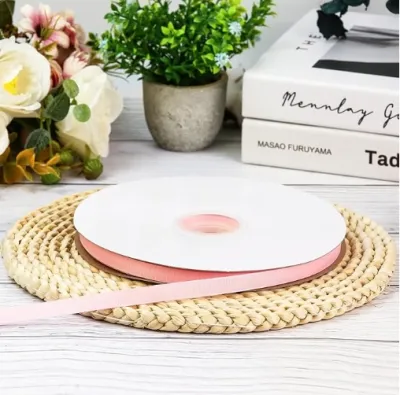
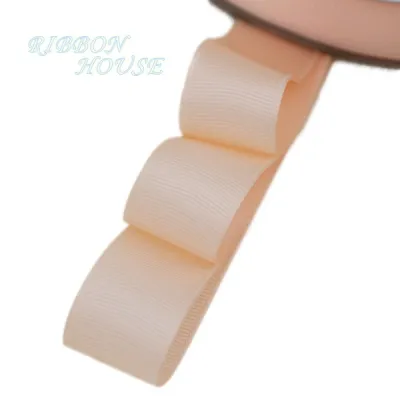
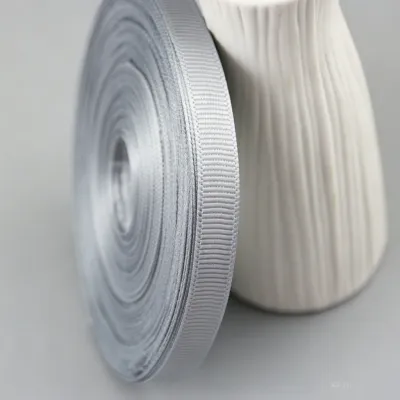
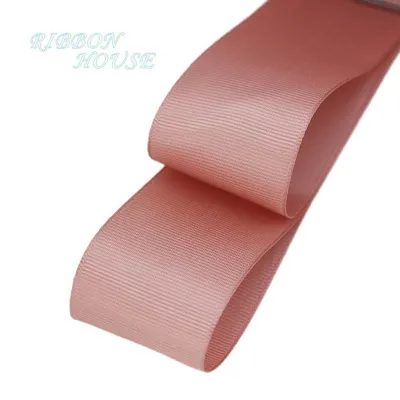
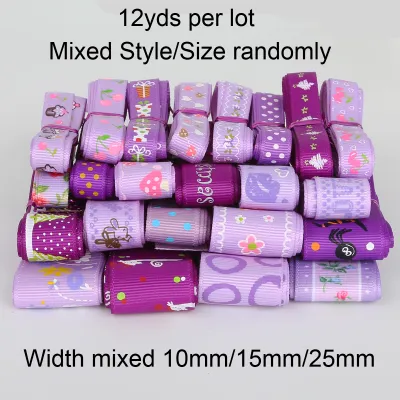
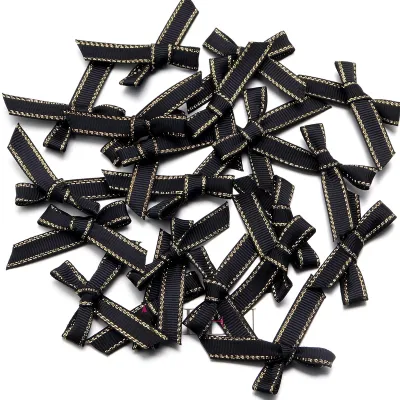
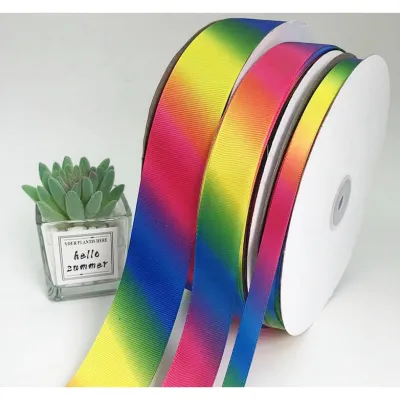
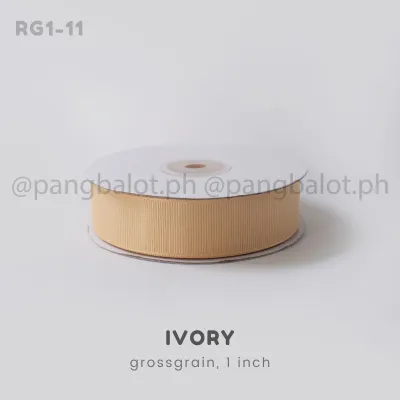
Prices are valid at publication and may change. Please refer to the product page for the latest price.
To estimate the required length without wasting material, wrap the ribbon loosely around your gift box once to cover the perimeter. Add an extra 12 to 15 inches (approx. 30 cm to 38 cm) of ribbon for each loop and tail you plan to create. For a standard shoe-box-sized gift, a total length of 2 to 2.5 meters of grosgrain ribbon is generally sufficient to complete a classic bow. A standard roll of quality grosgrain ribbon typically costs between ₱50 and ₱150 at local stationery stores, making it an affordable yet premium-looking option for your presentation.
Inspect your ribbon carefully before making any cuts. Look along the edges for any factory defects, loose threads, or deep creases that may have formed while the ribbon was wound on its spool. If you notice stubborn creases, you can smooth them out by running the ribbon under a household iron set to a low, synthetic-safe heat setting, using a thin pressing cloth to protect the polyester fibers.
Set up your workspace on a clean, flat, and dry surface, such as a large dining table or a dedicated crafting desk. In warm, humid tropical climates, paper and fabric materials can absorb moisture from the air and lose their crispness, so working in a dry, well-ventilated room is highly recommended. Keep a pair of dedicated fabric shears or very sharp crafting scissors nearby, as dull blades will chew through the horizontal ridges of the grosgrain and cause immediate fraying.
Step-by-Step Instructions for a Classic Grosgrain Bow
To begin, place your wrapped gift box face up on your clean workspace. Lay the grosgrain ribbon across the top of the box, leaving a tail of approximately 8 inches (approx. 20 cm) hanging off the left side. Take the long, remaining end of the ribbon, wrap it completely under the box from left to right, and bring it back up to the top surface.

Cross the long end over the short tail at the center of the box to create a basic half-knot. Pull both ends snugly so the ribbon lies flat against the cardboard, but avoid pulling so tightly that you warp or crush the edges of the gift box. Because grosgrain ribbon has a ribbed texture, this initial knot will naturally grip itself, preventing the ribbon from slipping while you prepare the next steps.
Form your first loop, often called the “bunny ear,” using the lower ribbon tail. Fold the ribbon upward, ensuring the ribbed texture faces outward and the ribbon does not twist at the base of the loop. Hold this first loop securely between your thumb and forefinger at the center knot.
Take the upper ribbon tail and drape it down over the front of the first loop. Wrap this tail around the back of the loop to create a small circle at the center of the bow. Push the middle section of this tail through the circle to form your second loop, paying close attention to keep the ribbon flat and untwisted as it passes through.
Gently pull both loops outward in opposite directions, parallel to the surface of the gift box. Pulling horizontally rather than upward ensures that the center knot flattens out and locks the ribbed fibers of the grosgrain together securely. This horizontal tension creates a neat, square-shaped center knot that serves as the structural anchor for your bow.
Before tightening the knot completely, adjust the proportions of your loops and tails. Hold the center knot firmly with one hand while using your other hand to gently pull the tails to shorten the loops, or pull the loops to shorten the tails. Once both loops are symmetrical and the tails are of equal length, give a final, firm pull on both loops to lock the bow in place.
Troubleshooting Common Grosgrain Bow Mistakes
One of the most common issues when working with grosgrain ribbon is a twisted loop that exposes the underside of the fabric. If a loop looks twisted or sits crookedly, do not untie the entire bow. Instead, insert your index finger into the twisted loop, locate the point where the ribbon enters the center knot, and gently rotate the ribbon fabric within the knot until the ribbed grain aligns flat.
If your center knot looks bulky, messy, or feels loose, it is usually because the ribbon twisted inside the knot during the crossing stage. To resolve this, loosen the center knot slightly with your fingers, flatten the overlapping ribbon layers so they stack neatly on top of one another, and retighten. Pulling the loops slightly downward toward the bottom edge of the box can also help tighten a stubborn knot more effectively than pulling them upward.
Uneven tail lengths or asymmetrical loops can easily be corrected without starting the wrapping process over. If one tail is too long, hold the center knot secure, pull the loop on that same side to draw the excess length out of the tail, and then pull the opposite loop and tail to balance the overall structure. This redistribution technique allows you to fine-tune the bow’s appearance with minimal effort.
Finishing Touches and Ribbon Care
To give your gift a polished, professional finish, you must trim the ribbon tails cleanly. Fold the end of one tail in half vertically, then use your sharp scissors to cut upward at a 45-degree angle from the folded edge to the outer edge; when unfolded, this creates a classic, symmetrical V-notch. Alternatively, you can cut the tails at a simple, sharp 45-degree angle across the width of the ribbon.
Once the tails are trimmed, spend a moment fluffing and shaping the loops. Insert your fingers into each loop and gently pull outward and upward to round them out, taking advantage of grosgrain’s natural stiffness to create a full, three-dimensional shape. This simple step transforms a flat, lifeless bow into an eye-catching, elegant presentation.
In warm, humid environments, the cut edges of synthetic ribbons can sometimes soften and fray over time. To prevent this, you can apply a tiny dot of clear fabric glue or a specialized fray-check liquid to the very edge of the cut tails, allowing it to dry completely before moving the gift. This step is especially useful if the gift will be handled frequently or displayed for an extended period.
If you have leftover grosgrain ribbon on the spool, proper storage is key to preserving its quality for future projects. Never fold or crumple leftover ribbon into a drawer, as this creates permanent creases in the ribbed texture that are incredibly difficult to iron out. Instead, roll the ribbon tightly back onto its original cardboard spool or around a clean paper tube, securing the loose end with a straight pin or a small piece of low-tack painter’s tape.
Frequently Asked Questions (FAQ)
Can I use wired grosgrain ribbon for this technique?
Yes, wired grosgrain ribbon can be used for this technique, and it is particularly excellent for creating large, dramatic bows on oversized gifts. When working with wired ribbon, you must adjust your tension and pull more gently to avoid snapping the thin wire embedded along the edges or tearing the woven fabric. The wire allows you to sculpt the loops into perfect, rounded arches that hold their shape indefinitely. Once you finish tying, make sure to fold the cut ends of the wire slightly inward or trim them flush with the fabric to prevent any sharp tips from scratching the gift recipient or snagging the wrapping paper.
How do I keep the grosgrain bow from flattening during transport?
To protect your finished grosgrain bow when transporting gifts, always place the wrapped package inside a rigid gift bag or a larger protective box that offers plenty of clearance. Avoid stacking other heavy items, packages, or luggage directly on top of the bow during transit. If the loops do become slightly compressed or flattened while traveling, you can easily restore their original volume. Simply insert your fingers or a clean, round pen into the loops and gently pull upward to reshape the ribbed fabric back to its full, rounded appearance.

Community discussion
Share your experience or ask a question. Comments are reviewed before publication.