
Tying a beautiful, professional-looking ribbon bow is the ultimate way to elevate any gift, transforming a simple package into an elegant presentation. While it may seem intimidating to beginners, achieving a picture-perfect bow relies on a few fundamental techniques: selecting the right ribbon material, maintaining consistent tension, and following a structured loop-and-wrap sequence. By mastering these basic steps, you can create crisp, symmetrical bows that stay secure and look stunning, whether you are preparing gifts for a tropical Christmas, a local wedding, or a family birthday celebration.
Choosing the Right Ribbon for Your Gift Box
Selecting the appropriate ribbon is the crucial first step in ensuring your bow holds its shape and complements your gift box. Ribbon materials vary significantly in stiffness, texture, and ease of handling. For beginners, grosgrain ribbon is highly recommended because its ribbed texture provides excellent grip, preventing the knot from slipping while you work. Satin ribbon offers a luxurious, glossy finish that is perfect for formal occasions, though its slippery surface requires a bit more tension control. Organza ribbon is lightweight and sheer, ideal for delicate gifts, while wired ribbon contains thin wire edges that make shaping and fluffing incredibly easy, even for novices.
In the warm and humid climate of the Philippines, humidity can affect how certain materials behave. Cheap paper ribbons or low-quality fabric ribbons can lose their crispness and sag when exposed to moisture in the air. Opting for high-quality polyester satin or sturdy grosgrain ensures your bows remain perky and structured, even during outdoor gatherings or long transits. When budgeting for your wrapping supplies, investing around ₱50 to ₱150 in a high-quality roll of ribbon from a local craft store or online marketplace is a worthwhile choice that prevents wrapping mishaps.
Products mentioned in this guide
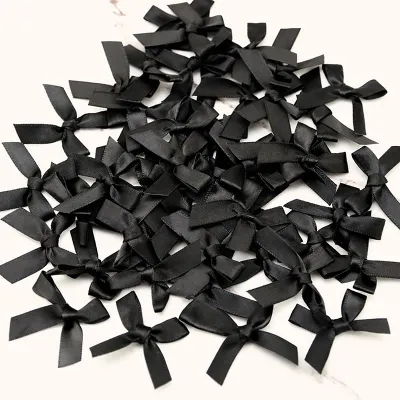
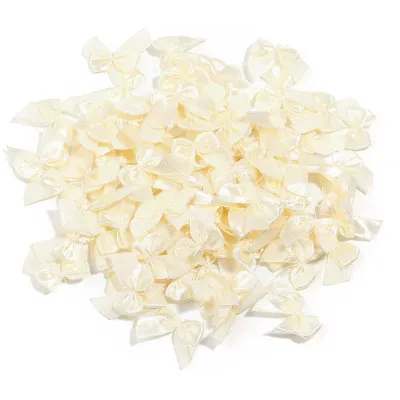
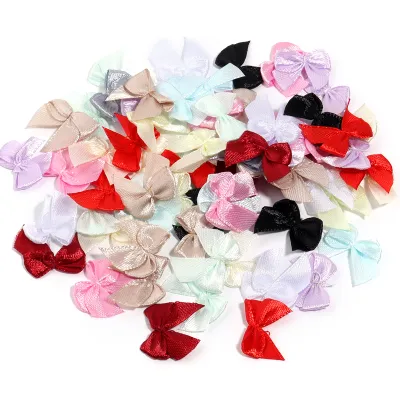
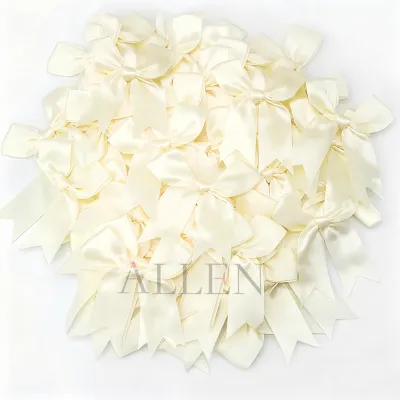
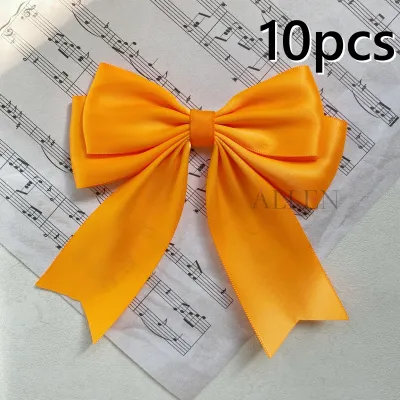
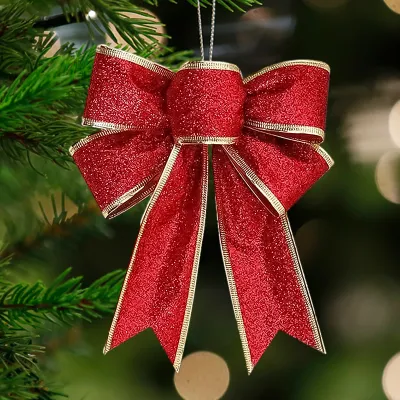
Prices are valid at publication and may change. Please refer to the product page for the latest price.
The width of the ribbon should scale with the size of your gift box. As a general guideline, small jewelry boxes pair best with narrow ribbons measuring about 6 to 12 millimeters (1/4 to 1/2 inch) in width. Medium-sized boxes, such as shoe boxes or book packages, look balanced with ribbons that are 25 to 38 millimeters (1 to 1.5 inches) wide. Large, bulky packages demand wide ribbons of 50 millimeters (2 inches) or more to ensure the decoration is not dwarfed by the box.
To estimate the length of ribbon required before cutting, a reliable method is to wrap the ribbon loosely around the box along both axes, then add an extra 60 to 90 centimeters (24 to 36 inches) to account for the bow loops and tails. Having a bit of excess ribbon is always preferable to running short, as it allows you to trim the ends to a perfect, symmetrical finish at the very end.
Essential Tools and Preparation Steps
Before you begin tying, gathering the right tools will make the process seamless and prevent frustration. You will need a pair of dedicated fabric scissors; dull household scissors will chew through ribbon fibers, leaving unsightly, frayed edges that ruin the clean look of your gift. If you are securing the ribbon directly to the box, keep some high-quality double-sided tape or clear glue dots nearby. These adhesives help anchor the ribbon in place, preventing it from sliding off the corners of slick wrapping paper.

When preparing your workspace, choose a flat, clean surface with plenty of room to maneuver the gift box. Wipe down the surface to remove any dust or moisture that could stain delicate satin or weaken your adhesive tape. If you are using single-sided ribbon—which has a shiny front and a matte back—take a moment to identify the “right” side so you can keep it facing outward during the wrapping process.
Measure your ribbon according to your box dimensions and cut it cleanly at a sharp 45-degree angle. This diagonal cut not only looks professional but also discourages the woven threads of fabric ribbons from unravelling. Place your wrapped gift box face-up in the center of your workspace, ensuring it is stable and positioned comfortably within arm’s reach. Always handle sharp fabric scissors with care, keeping them out of reach of children during your wrapping sessions.
Step-by-Step Guide to Tying a Classic Ribbon Bow
Creating a classic, freestanding ribbon bow is a highly versatile skill. This type of bow is constructed independently and then attached to the gift box using double-sided tape or a small dab of adhesive. The entire process can be broken down into three distinct phases: establishing a secure base knot, forming the loops and tails, and performing the final shaping adjustments.
The secret to a flawless bow lies in maintaining even, consistent tension throughout these phases. Pulling too hard can distort the ribbon and warp the loops, while pulling too loosely will cause the bow to collapse and lose its structure. Keep your fingers close to the center knot as you work, using your thumbs to hold the folds in place.
Creating the Base Knot
To begin the base knot, cut a length of ribbon and lay it flat on your work surface. Cross the left end over the right end to form a simple loop, then tuck the top end under and pull it through the opening, creating a standard overhand knot. As you pull the two ends to tighten the knot, ensure the ribbon remains flat and does not twist.
If you are working with single-sided ribbon, pay close attention to which side is facing up. To keep the shiny or patterned side visible, twist the bottom ribbon slightly as it emerges from the knot so that the decorative side faces outward. Keep the knot centered and snug, but avoid pulling it so tight that it pinches or puckers the fabric.
Forming the Loops and Tails
Once your base knot is secure, it is time to form the loops using the classic loop-and-wrap method. Take the right-hand ribbon tail and fold it back on itself to create your first loop, holding the base of this loop firmly between your thumb and forefinger. Next, take the left-hand ribbon tail and wrap it over and around the front of the first loop, moving from top to bottom.
This wrapping motion creates a small opening at the base of the knot. Push the middle of the wrapping ribbon through this opening to form the second loop. Be careful not to push the entire tail through; only a folded loop should pass through the gap. Slide your fingers into both loops and pull them gently in opposite directions to tighten the center knot.
At this stage, do not worry if the loops are uneven. You can easily adjust their size by holding the center knot secure with one hand while gently pulling on the outer edge of a loop to enlarge it, or pulling on the corresponding tail to shrink it. Aim to make both loops equal in size, scaling them to match the proportions of your gift box.
Tightening and Shaping the Bow
With the loops balanced, secure the bow by pulling the loops and the tails simultaneously. This dual action locks the center knot in place, preventing the ribbon from slipping or unraveling. Once the knot is tight, use your fingers to fluff the loops from the inside, opening them up to create a full, three-dimensional shape.
If you are using wired ribbon, gently curve the edges of the loops to give them a rounded, bouncy appearance. For satin or grosgrain, smooth out any minor creases with your fingertips. To attach this freestanding bow to your gift, apply a small piece of double-sided tape to the back of the center knot and press it firmly onto the wrapped box.
How to Tie a Bow Directly on the Gift Box
Tying a ribbon directly around a gift box is the traditional method for securing packages, especially larger or heavier items. To begin the cross-wrap method, place your gift box face-down on the work surface. Lay the center of your ribbon across the top of the box (which is currently facing down), then bring both ends around to the bottom.
Cross the ribbon ends over each other at a 90-degree angle, pulling them tight so they hug the corners of the box. Bring the ends around the remaining sides of the box back to the top surface. Flip the box over so it is face-up; you should now have two ribbon ends meeting in the center of the top lid, with the ribbon running flat and taut along all four sides.
Thread one end of the ribbon under the crossed ribbons in the center and tie a single overhand knot to secure the entire wrap. This creates a stable foundation directly on the box surface. From this point, proceed with the loop-and-wrap method described earlier: form a loop with one end, wrap the other end around, and push a loop through the resulting gap.
Throughout this process, ensure the ribbon remains flat against the edges and corners of the box. If the ribbon twists along the sides, it can cause the package to sit unevenly or slide around. Keeping the ribbon snug against the corners prevents it from slipping off during handling or delivery.
Troubleshooting Common Bow-Tying Mistakes
Even with careful preparation, beginners often encounter a few common hurdles when learning to tie bows. One of the most frequent issues is a twisted ribbon, where the matte underside of a single-sided ribbon accidentally shows on the loops or tails. To fix this, simply untwist the ribbon at the base knot before forming your loops, ensuring the decorative side always faces outward.
If your loops or tails end up uneven, do not untie the entire bow. Instead, hold the center knot firmly to maintain tension, then gently pull the loop or tail that needs adjustment. Once they are symmetrical, give the loops a final, firm tug to lock them back into place. If one tail remains significantly longer than the other, use your fabric scissors to trim the excess at a matching angle.
A slipping knot is another common frustration, particularly when using slippery satin ribbons. If your knot keeps loosening, try placing a temporary glue dot or a small piece of double-sided tape directly under the base knot to hold it in place while you form the loops. If your bow looks flat and lifeless, the culprit is likely a material that is too soft or thin; switching to a heavier grosgrain or a wired ribbon will instantly provide the structural support needed for a voluminous bow.
Finishing Touches and Curling Ribbon Tails
The final details can transform a simple bow into a work of art. Once your bow is tied and shaped, look at the tails. Leaving them with raw, straight cuts can look unfinished and lead to fraying. Instead, fold each tail in half vertically and cut upward at a 45-degree angle from the folded edge to the outer edge; this creates a classic, elegant swallowtail or chevron finish. Alternatively, a simple diagonal cut at a sharp angle offers a clean, modern aesthetic.
If you are using lightweight, synthetic curling ribbon—often used for casual birthday gifts or balloon strings—you can easily curl the tails to add a playful touch. Hold the ribbon firmly near the knot, press the dull edge of your scissors against the ribbon, and pull it quickly outward along the length of the tail. The friction and tension will cause the ribbon to spiral beautifully.
Keep in mind that fabric ribbons, such as satin, grosgrain, and organza, cannot be curled using the scissor-blade method. Attempting to curl fabric ribbons this way will only damage the fibers and ruin the material. For fabric ribbons, stick to clean diagonal or chevron cuts, allowing the tails to drape naturally and elegantly down the sides of your gift box.
Frequently Asked Questions (FAQ)
How much ribbon do I need to tie a bow?
To estimate the amount of ribbon needed, wrap the ribbon around the length and width of your box as if you were wrapping it, then add about 60 to 90 centimeters (24 to 36 inches) of extra length. This extra material ensures you have plenty of room to form the loops, tie the knot, and trim the tails without struggling. It is always safer to cut a slightly longer piece than you think you need, as trimming excess is much easier than trying to tie a bow with short, tight ends.
Why does my ribbon bow look flat or uneven?
A flat or uneven bow is usually caused by using a ribbon material that lacks sufficient stiffness, or by failing to maintain even tension while tightening the knot. To fix a flat bow, gently slide your fingers inside the loops and pull them outward and upward to fluff them. If the material is very soft, placing a tiny piece of double-sided tape under the loops can help prop them up against the box. For uneven loops, hold the center knot secure and carefully pull the individual loops or tails until they match in size.

Community discussion
Share your experience or ask a question. Comments are reviewed before publication.