
Adding a handmade decorative bow to gift wrapping bags instantly elevates the presentation and adds a personalized touch to any present. However, achieving a polished look requires more than just tying a simple knot; it involves selecting the right materials, mastering specific looping techniques, and using the correct adhesives to ensure the bow stays securely in place. In warm, humid climates like the Philippines, standard adhesives can lose their grip on glossy or textured paper, making proper surface preparation and adhesive selection critical. By following a systematic approach to measuring, folding, and securing your ribbons, you can transform a simple paper bag into an elegant, professional-looking gift presentation that withstands handling and transport.
Essential Tools and Materials for Gift Bag Bows
Before beginning your wrapping project, gathering the correct tools and materials ensures a smooth crafting process and a durable finish. The foundation of any beautiful bow is the ribbon itself, which comes in various widths, textures, and materials. For standard-sized gift wrapping bags, a ribbon width of 2.5 to 4 centimeters is generally ideal, as it provides enough surface area to show off the loops without overpowering the bag’s design. Satin ribbons offer a classic, high-gloss shine that looks luxurious but can be slippery to tie, while grosgrain ribbons feature a ribbed texture that provides excellent grip and holds its shape well. If you want a voluminous, structured bow, wired ribbons contain thin wire edges that allow you to bend and sculpt the loops into place.
Selecting the right adhesive is equally important, especially when matching it to the specific surface finish of your gift wrapping bags. Matte paper bags are highly receptive to standard double-sided tape, craft glue, or light-duty glue dots. However, glossy, laminated, or heavily textured bags present a challenge, as their coatings can prevent adhesives from bonding securely. For these surfaces, high-tack glue dots or a low-temperature hot glue gun are much more reliable options.
Products mentioned in this guide
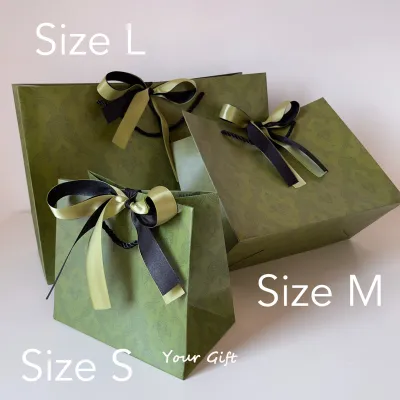
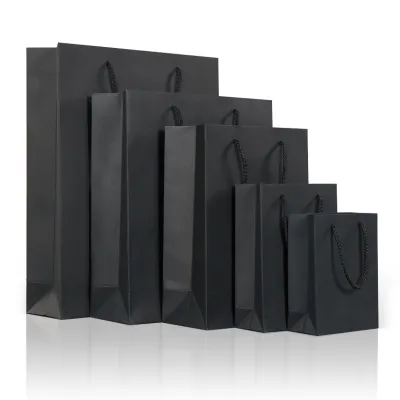
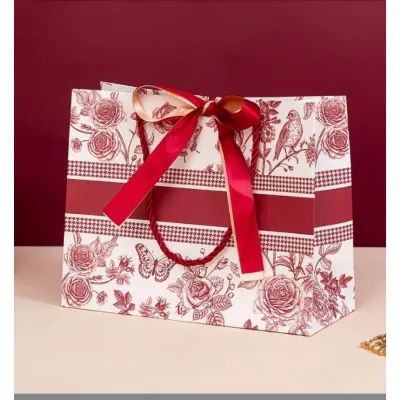
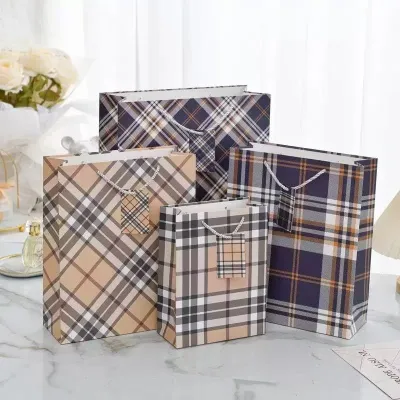
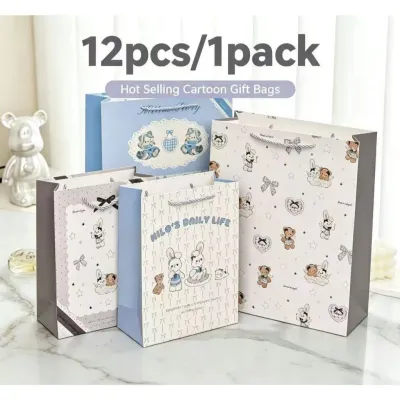
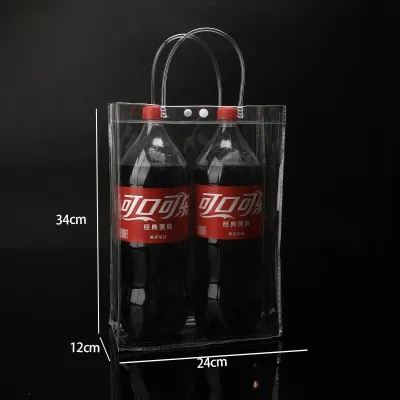
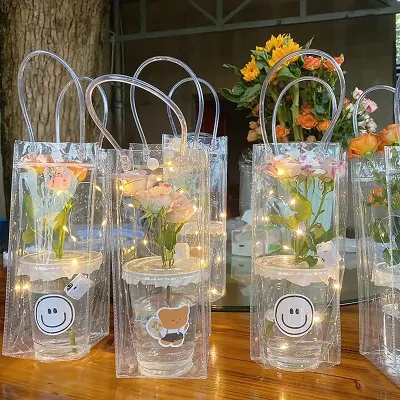
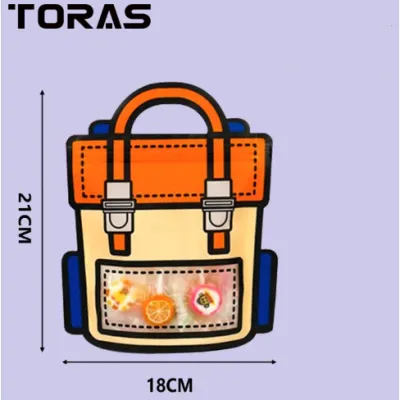
Prices are valid at publication and may change. Please refer to the product page for the latest price.
To execute the process cleanly, you will need a few basic stationery tools. A pair of sharp fabric scissors is essential for making clean cuts without fraying the ribbon ends. You should also keep a roll of high-quality double-sided tape, a sheet of adhesive glue dots, and a spool of thin floral wire or twist ties on hand. The floral wire is particularly useful for securing the centers of complex, multi-loop bows and can also be used to mechanically attach the bow to the bag’s handles, bypassing the need for adhesives entirely.
Step-by-Step Guide to Tying Classic Bow Styles
Tying a beautiful bow is a skill that relies on consistent tension, precise folding, and a bit of patience. Before you begin folding, always measure and cut your ribbon to the appropriate length to avoid wasting material. As a general guideline, a classic two-loop bow requires a ribbon length that is approximately four to five times the width of the gift bag. Cutting the ribbon at a clean 45-degree angle not only looks professional but also helps prevent the woven edges from unraveling as you work.

When tying any bow, the key is to keep the ribbon flat and avoid twisting the fabric unnecessarily, which can result in a distorted shape. Pay close attention to the orientation of the ribbon, ensuring that the finished, shiny side always faces outward. Once the bow is tied, you can verify its symmetry by checking that the loops are of equal size and the tails are cut to matching lengths.
The Classic Loop Bow
The classic loop bow is a timeless choice that works beautifully on almost any size of gift wrapping bag. To begin, cut a length of ribbon—approximately 50 centimeters is a reliable starting point for a medium-sized bag. Lay the ribbon flat on a clean work surface to ensure there are no twists or folds in the material.
First, fold the ribbon to create two equal-sized loops, often referred to as “bunny ears,” leaving a generous amount of ribbon on both ends for the tails. Ensure that the front, decorative side of the ribbon faces outward on both loops. Cross the right loop over the left loop to form an “X” shape, keeping the intersection close to the base of the loops to maintain a tight structure.
Next, take the loop that is now on top, fold it down, and pass it through the circular opening created at the bottom of the “X.” Gently pull both loops outward in opposite directions. As you pull, keep your fingers near the center to guide the ribbon and prevent it from twisting or wrinkling.
To secure the bow, hold the center knot firmly with one hand while gently pulling the loops with the other to lock the knot in place. Adjust the size of the loops by pulling on the individual tails to shrink them, or pulling the loops themselves to enlarge them. Once the loops are symmetrical and the knot is tight, trim the tails at a sharp 45-degree angle or cut a decorative “V” shape into the ends for a polished, boutique-style finish.
The Multi-Loop Pom-Pom Bow
For larger gift wrapping bags or special occasions where you want to make a dramatic statement, the multi-loop pom-pom bow offers incredible volume and texture. This style works best with stiffer ribbons, such as grosgrain, organza, or wired ribbon, which can support their own weight without drooping.
To create this bow, do not cut the ribbon from the spool immediately. Start by making a single loop of your desired size—typically 8 to 10 centimeters wide—and hold the base of the loop between your thumb and forefinger. Continue wrapping the ribbon around your hand or a sturdy piece of cardboard of the same width, stacking the loops directly on top of one another. For a full, spherical look, aim for 8 to 10 complete wraps.
Once you have completed the wraps, carefully slide the ribbon stack off your hand or cardboard, keeping the loops neatly aligned. Fold the entire stack in half to locate the exact center point. Using your sharp scissors, cut a small diagonal notch into both sides of the folded ribbon at the center, making sure not to cut all the way through the fabric. These notches create a narrow “waist” in the middle of the stack.
Take a piece of thin floral wire, a pipe cleaner, or a narrow piece of matching ribbon, and wrap it tightly around the notched center. Twist the wire securely at the back to lock the loops in place, leaving the excess wire intact to help with attachment later.
To finish the pom-pom bow, hold the secured center firmly. Starting from the innermost loop on one side, gently pull the loop out and twist it toward you. Pull the next loop out and twist it away from you in the opposite direction. Repeat this alternating pulling and twisting motion for all the loops on both sides of the bow. Finally, use your fingers to fluff and shape the loops until they form a balanced, voluminous dome.
How to Securely Attach Bows to Gift Wrapping Bags
Once you have crafted a beautiful bow, the final step is attaching it securely to your gift wrapping bag so it remains intact during transport. Before applying any adhesive, it is crucial to prepare the surface of the bag. Dust, oils from your hands, and high environmental humidity can significantly weaken adhesive bonds. Wipe the target area of the bag with a clean, dry microfiber cloth to ensure it is completely clean and dry.
The method you use to attach the bow depends largely on the weight of the bow and the finish of the bag. For lightweight, classic loop bows, high-quality double-sided tape or a single adhesive glue dot placed directly behind the center knot is highly effective. Press the bow firmly against the bag for at least ten seconds to allow the adhesive to bond with the paper fibers.
For heavier, multi-loop pom-pom bows, a stronger attachment is required. You can use multiple heavy-duty glue dots or a small dab of low-temperature hot glue applied directly to the bag’s surface. If you are using hot glue, work quickly and press the center of the bow into the glue immediately, holding it in place until the adhesive cools and hardens. Always test a small drop of hot glue on an inconspicuous part of the bag first, as some glossy plastic coatings can melt or warp under heat.
Placement also plays a key role in both the visual appeal and structural integrity of the presentation. Centering the bow on the front face of the bag is a classic choice that works well for flat ribbons. Alternatively, attaching the bow to the base of one of the handles is an excellent way to hide the handle attachments while adding structural support, as the handle area is naturally reinforced to carry weight.
Troubleshooting and Finishing Touches
Even with careful preparation, crafting and attaching bows can sometimes present challenges. One common issue is the bow sliding or falling off glossy or heavily coated gift wrapping bags. If your adhesive is failing to grip, try using a clean pencil eraser to gently rub the attachment spot on the bag. This removes any slick manufacturing residues and creates a microscopic texture that helps the adhesive grip the surface.
Another frequent problem is frayed ribbon edges, which can quickly make a beautiful gift look messy. If you are using synthetic ribbons like satin, polyester, or nylon, you can seal the cut ends using heat. Carefully pass the freshly cut edge of the ribbon near the flame of a lighter or match for a fraction of a second. The heat will melt the synthetic fibers together, creating a permanent, fray-proof seal. For natural fibers like cotton or silk, apply a very thin layer of clear nail polish or fabric glue along the cut edge to lock the threads in place.
If your bow loops become crushed or flattened during storage or transport, you can easily restore their shape. Insert your fingers, a clean marker pen, or a cardboard tube into the flattened loops and gently expand them outward. For stubborn creases in fabric ribbons, a handheld garment steamer or a quick pass with a hair dryer on a warm setting can help relax the fibers, allowing you to reshape the loops back to their original fullness.
Frequently Asked Questions (FAQ)
Can I reuse ribbons from old gift wrapping bags to make new bows?
Yes, reusing ribbons is an excellent, sustainable practice that saves money and reduces waste. Before using a reclaimed ribbon, inspect it thoroughly for deep creases, fraying, or structural damage. If the ribbon is made of synthetic material like satin or polyester, you can easily remove wrinkles by laying it flat under a thin, clean cotton cloth and pressing it with a household iron on its lowest heat setting. Alternatively, hanging the creased ribbon in a steamy bathroom for a few minutes can help relax the fibers naturally. Avoid applying direct, high heat to synthetic ribbons, as they can melt or lose their glossy finish.
What is the best way to attach a bow to a gift bag with rope handles?
For gift wrapping bags that feature thick, textured, or slippery rope handles, mechanical attachment is far more secure than relying on adhesives. Instead of gluing the bow to the bag, wrap a thin piece of color-matched floral wire or a pipe cleaner tightly around the center knot of your bow. Next, wrap the ends of the wire securely around the base of the rope handle where it meets the bag’s metal grommet or punched hole. If you prefer a completely seamless look, you can thread the ribbon tails of the bow directly through the handle holes and tie them into a secure knot on the inside of the bag, pulling the bow flush against the outer paper surface.

Community discussion
Share your experience or ask a question. Comments are reviewed before publication.