
Tying decorative bows on thank you lootbags is a simple yet highly effective way to elevate the presentation of your party favors. Whether you are preparing for a local birthday celebration, a wedding, or a corporate gathering, a beautifully secured bow shows your guests that every detail was handled with care. However, keeping these bows looking pristine and securely attached can be a challenge, especially when transporting them through warm, humid tropical weather or handing them out at busy outdoor venues.
To ensure your decorative bows stay intact from the moment you assemble them until your guests take them home, you need to combine the right materials with reliable knotting techniques. This guide covers everything from choosing the best ribbon textures for friction to step-by-step tying instructions, reinforcement methods, and quick troubleshooting tips for a polished finish.
Choosing the Right Ribbon and Lootbag Material
Selecting the right combination of ribbon and bag material is the foundation of a secure bow. Different ribbon textures offer varying levels of friction, which directly impacts how well a knot holds. For instance, grosgrain ribbon features a distinct ribbed texture that provides excellent grip, making it highly resistant to slipping even under tension. On the other hand, satin ribbon is prized for its smooth, glossy finish and elegant drape, but its slick surface means knots can easily slide loose if not tied with precision. Cotton ribbons offer a rustic, matte texture with moderate grip, while organza provides a lightweight, sheer look that requires careful handling to avoid pulling.
Products mentioned in this guide
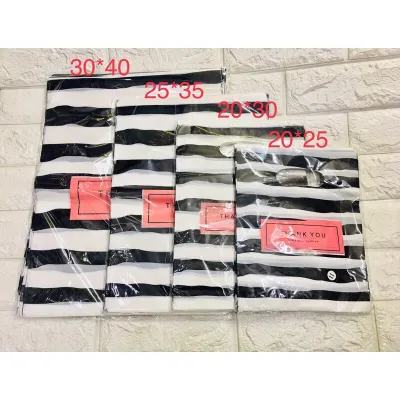

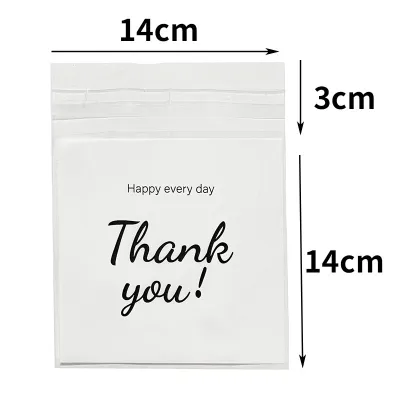
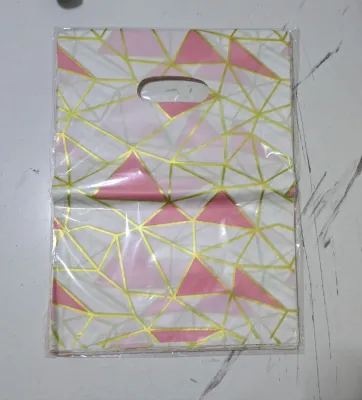
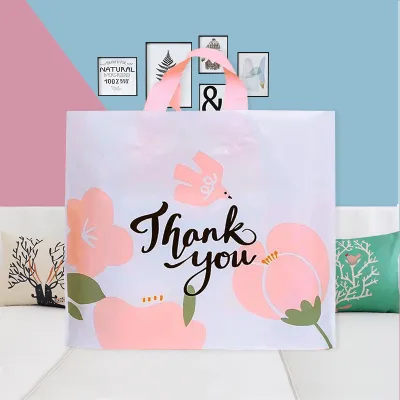


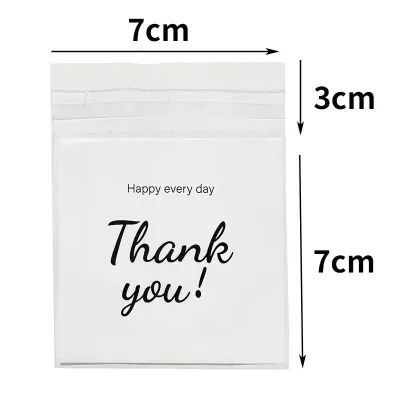
Prices are valid at publication and may change. Please refer to the product page for the latest price.
When matching your ribbon to the lootbag, consider both the weight of the bag and the strength of its handles. Lightweight plastic thank you lootbags pair best with thin, flexible ribbons measuring around 1/4 inch to 3/8 inch in width. Using a heavy, wide ribbon on a flimsy plastic bag can cause the bag to sag or tear. Conversely, sturdy kraft paper bags or non-woven fabric bags can easily support wider, more substantial ribbons of 1/2 inch to 1 inch. The wider ribbon complements the structural scale of paper bags, creating a balanced and visually appealing package.
To calculate the ideal ribbon length for each bag, you can use a simple measurement rule to avoid wasting material. Measure the width of the bag or the distance between the attachment holes, multiply this number by two, and then add 12 to 15 inches (approximately 30 to 38 centimeters) to account for the loops and tail ends. For example, a standard 6-inch wide lootbag typically requires a 24-inch piece of ribbon to tie a comfortable, symmetrical bow with elegant tails. It is always wise to cut a single test piece and tie a trial bow before cutting your entire spool of ribbon.
Step-by-Step Guide to Tying a Secure Bow
Tying a symmetrical, tight bow that maintains its shape during handling requires a systematic approach. Before you begin, ensure your ribbon is cut to the correct length and your hands are clean and dry to avoid staining delicate fabrics.

First, prepare the ribbon by threading it through the bag’s handles or pre-punched holes. To create a secure foundation, tie a locking base knot. Instead of a standard single overhand knot, which can easily loosen, use a surgeon’s knot. To do this, pass the working end of the ribbon through the loop twice instead of once before pulling it tight. This double wrap creates extra friction against the ribbon fabric, holding the base securely in place while you transition to forming the loops.
Next, form two even loops, often referred to as “bunny ears,” using both ends of the ribbon. Cross the left loop over the right loop to create a central opening underneath. If you are using single-sided satin ribbon, pay close attention to the orientation of the fabric; ensure the shiny side faces outward as you fold the loops to maintain a consistent, high-quality appearance.
Feed the left loop down and through the central opening, then pull both loops in opposite directions to form the bow. As you tighten the central knot, place your thumb firmly over the center to maintain tension and prevent the base knot from slipping. Gently pull the loops and the tail ends alternately to adjust their size until the bow is perfectly symmetrical and proportional to the lootbag.
Once you are satisfied with the shape, give the loops a firm, final tug to lock the central knot. The knot should be tight and compact, but avoid pulling so hard that you crush or distort the ribbon fibers.
Finally, trim the tail ends to give the bow a polished, professional finish. Use sharp fabric scissors to make a clean cut at a 45-degree angle. Alternatively, you can fold the end of the tail vertically and cut diagonally upward from the fold to the outer edge, creating a classic V-shape or swallowtail. Clean, angled cuts not only look beautiful but also help minimize immediate fraying.
Techniques for Attaching and Reinforcing the Bow
Once your bow is tied, anchoring it properly to the lootbag ensures it will survive transport in vehicles or active handling by excited guests. The optimal attachment point depends entirely on the design of your thank you lootbags. For bags with handles, tying the ribbon directly around the base of one handle or looping it through both handles helps distribute the weight evenly and keeps the bag closed. For bags with pre-punched holes, thread the ribbon from the inside of the bag outward before tying, which keeps the structural knot hidden on the inside and the decorative bow displayed on the outside.
In warm and humid tropical climates, adhesives can soften, and knots can naturally expand and loosen. To prevent your bows from shifting or sliding down the bag, apply a discreet reinforcement material. Placing a small, high-tack glue dot or a piece of strong double-sided tape directly behind the central knot of the bow works exceptionally well. Press the knot firmly against the bag’s surface for five seconds to activate the adhesive bond. This simple step keeps the bow perfectly centered and prevents it from spinning or drooping.
If you are working with flat plastic or solid paper bags that do not have pre-existing holes or handles, you can use alternative attachment solutions. Small, decorative wooden pegs or mini binder clips can secure a pre-tied bow to the folded top of the bag, adding a charming, rustic touch. Alternatively, you can pre-tie your bows in batches and attach them directly to the front of the bags using a strip of strong double-sided foam tape or a dab of low-temperature hot glue, provided the bag material can withstand the heat.
Regardless of the attachment method you choose, always verify that the reinforced bow does not obstruct the functionality of the bag. Guests should be able to easily open, close, and carry their thank you lootbags without accidentally untying the decorative bow or tearing the bag material.
Troubleshooting Common Bow Issues
Even with careful preparation, you may encounter a few common issues when assembling your lootbag bows. Fortunately, most of these problems can be resolved with quick adjustments.
If your bow loops look asymmetrical or the ribbon sections appear twisted, the issue usually stems from uneven tension during the tying process. To correct this, untie the loops back down to the base knot. Flatten the ribbon completely with your fingers, ensuring the fabric grain runs parallel without any twists, and re-tie the loops slowly. Pulling the tail ends downward while simultaneously tightening the loops helps keep the bow upright and symmetrical.
Slipping knots are a frequent issue when working with exceptionally smooth materials like polyester satin or organza. If your knots refuse to stay tight, try switching to a more secure knot type, such as a double-knot base, or apply a tiny drop of clear fabric glue inside the central knot before pulling it tight. For a quick, non-liquid solution, lightly dusting your fingertips with a small amount of cornstarch can improve your grip and prevent the ribbon from sliding while you tie.
Creases and wrinkles can ruin the look of an otherwise beautiful bow, especially if the ribbon has been stored tightly on a spool or packed away in a box. To restore a smooth, crisp appearance, you can remove wrinkles using safe, low-heat methods. Gently pull the ribbon across the warm barrel of a hair dryer, or run a flat hair iron on its lowest heat setting along the length of the ribbon before tying. Always test a small scrap of your ribbon first, as synthetic fibers can melt easily if the heat is too high.
Frequently Asked Questions (FAQ)
Can I use wired ribbon for lootbag bows?
Wired ribbon is highly effective for creating large, dramatic shapes because the thin wire along the edges allows you to sculpt the loops. However, it is generally less suitable for tying tight, compact knots on smaller thank you lootbags. The wire can make the knot bulky and difficult to tighten securely. If you want to use wired ribbon, it is often better to pre-tie the bows separately and attach them to the bags using twist ties, glue dots, or decorative clips.
How do I prevent ribbon ends from fraying?
The best method for preventing fraying depends on the ribbon material. For synthetic ribbons like polyester satin and grosgrain, you can carefully seal the cut edges using a lighter or a match. Hold the flame near the edge of the ribbon for a fraction of a second; the heat will melt the synthetic fibers together, creating a clean, sealed edge. For natural fibers like cotton, apply a very thin line of clear fabric glue or specialized fray-check liquid along the cut edge and allow it to dry completely.
What is the best way to store lootbags with attached bows?
To protect your decorative bows from being crushed or flattened before your event, store the completed thank you lootbags upright inside shallow, sturdy plastic bins or cardboard boxes. Avoid stacking the bags on top of one another, as the weight will deform the loops. If you must layer them, place a sheet of soft tissue paper between each layer to cushion the bows, or hang the bags by their handles on a clothes rack in a cool, dry room.

Community discussion
Share your experience or ask a question. Comments are reviewed before publication.