
A beautifully tied bow elevates any gift from a simple gesture to a memorable presentation. Blue ribbon, with its rich spectrum from soft pastel sky to deep royal navy, brings a sense of calm, sophistication, and timeless elegance to gift wrapping and home decor. Whether you are preparing a gift for a special occasion in the Philippines, decorating a festive table centerpiece, or adding a personal touch to a handmade craft, mastering the art of the bow ensures your presentation looks polished and professional.
In tropical climates where high humidity can soften certain materials, choosing the right ribbon and technique is essential to prevent your bows from drooping. By understanding how different fabrics behave and learning a few structured tying methods, you can create crisp, symmetrical bows that maintain their shape even in warm weather. This guide walks you through selecting materials, preparing your workspace, and executing both classic and boutique-style bows with ease.
Selecting the Right Blue Ribbon Material and Width
The foundation of an elegant bow lies in the material you choose. Satin ribbon is a classic favorite, prized for its smooth, glossy finish. Double-faced satin, which features a polished sheen on both sides, is highly recommended for beginners because you do not have to worry about keeping the correct side facing outward during the twisting and tying process. However, in humid environments, lightweight satin can sometimes lose its body and drape heavily.
Products mentioned in this guide
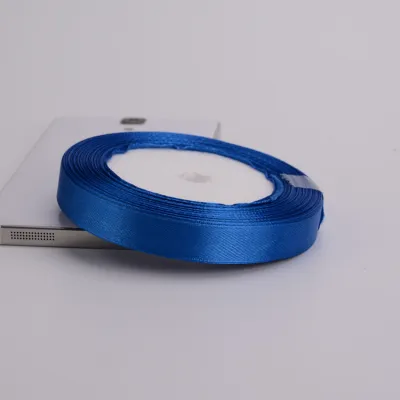
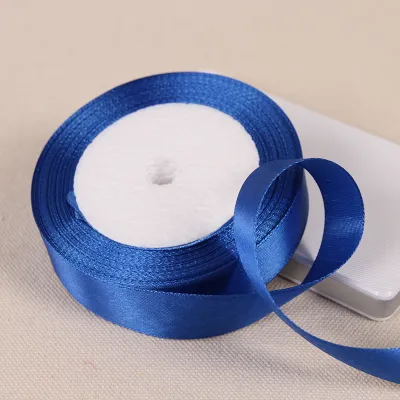
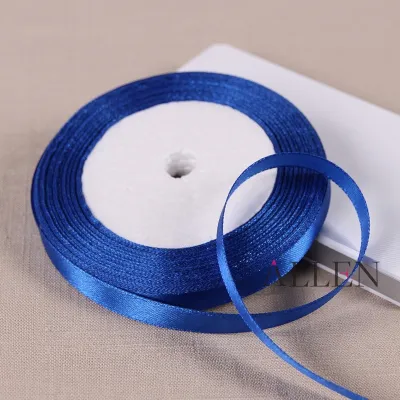
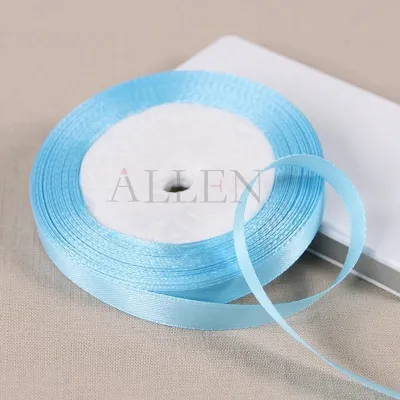
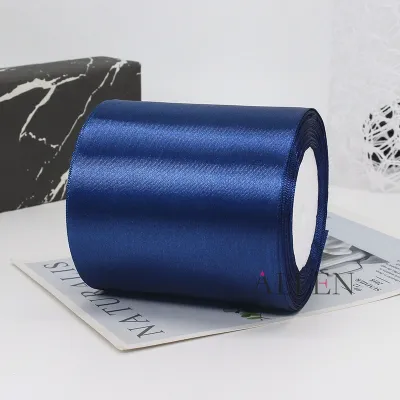
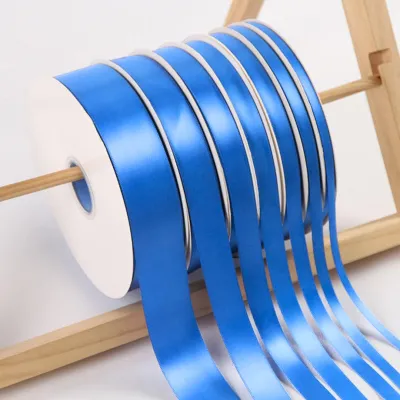
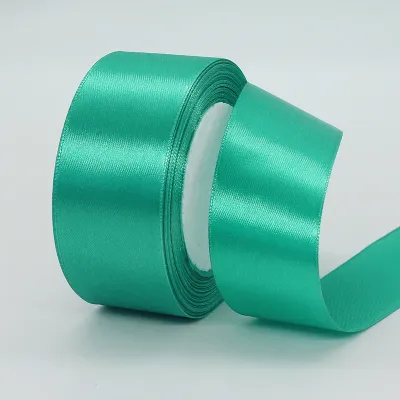
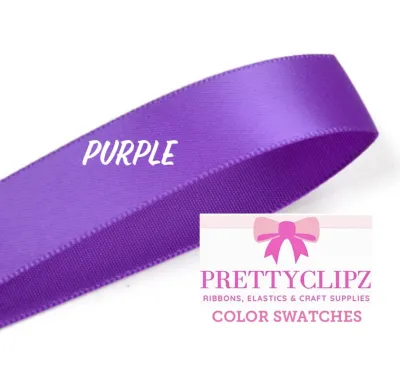
Prices are valid at publication and may change. Please refer to the product page for the latest price.
Grosgrain ribbon offers a sturdier alternative. Characterized by its ribbed texture and matte finish, grosgrain provides excellent grip, making it incredibly easy to tie tight, secure knots that will not slip. The inherent stiffness of grosgrain helps loops stand upright, making it an excellent choice for structured boutique bows or heavy gift boxes. Organza, a sheer and lightweight fabric, adds a delicate, airy touch, though its slippery texture requires a firm hand to secure.
Matching the ribbon width to your gift is crucial for visual balance. For small jewelry boxes, a narrow ribbon measuring 6mm to 12mm keeps the presentation delicate. Medium-sized gifts, such as standard book boxes, pair ideally with ribbon widths between 25mm and 38mm. For large hampers, wreaths, or dramatic decorative displays, opt for wide ribbons of 50mm or more to ensure the bow is not dwarfed by the object it adorns.
Color consistency and finish also play a vital role. When working with blue ribbon, consider the undertones of your wrapping paper. A bright royal blue ribbon pops dramatically against crisp white or metallic silver paper, while a dusty slate blue pairs beautifully with rustic brown kraft paper.
Essential Tools and Preparation Steps
Achieving a professional finish requires the right tools and a clean workspace. Before you begin cutting your blue ribbon, gather a pair of dedicated, sharp fabric scissors. Dull household scissors will chew through the delicate fibers of satin or organza, leaving jagged, frayed edges that instantly detract from the elegance of your bow.

In addition to scissors, keep a few structural aids nearby. Floral wire or thin pipe cleaners are invaluable when crafting larger, multi-loop bows, as they allow you to bind the center tightly without crushing the fabric loops. Double-sided tape is another useful tool, helping to secure the ribbon flat against the gift box before you tie the final bow, preventing the bands from sliding around as you work.
Preparation also involves treating the ribbon itself. If your ribbon has been stored on a tight spool or folded in a drawer, it may have developed unsightly creases. To restore its smooth, luxurious drape, you can gently iron the ribbon on a very low heat setting. Always place a thin cotton cloth between the iron and the ribbon to protect the synthetic fibers from melting.
Tying a Classic Elegant Bow: Step-by-Step
The classic bow is the most versatile technique, perfect for rectangular gift boxes and flat packages. To begin, lay your ribbon flat across the top of the box, wrap it around the bottom, cross the ends, and bring them back to the top. Tie a simple, single knot in the center of the box, pulling it snug but not so tight that it warps the cardboard underneath.
Next, fold one of the tails to create your first loop, holding the base of the loop securely between your thumb and forefinger. Take the remaining flat tail and wrap it over and around the base of the first loop. As you wrap, you will create a small opening or tunnel at the base of the knot. Push the middle section of the second tail through this opening to form the second loop, being careful not to pull the entire tail all the way through.
Once both loops are formed, insert your index fingers into each loop and pull them gently in opposite directions to tighten the central knot. To adjust the symmetry, hold the central knot firmly while gently pulling on a loop to shrink it, or pulling on its corresponding tail to enlarge it, repeating this on both sides until balanced.
To keep the ribbon flat and prevent unwanted twists, pay close attention to how the ribbon folds as you pass it through the central knot. If you are using single-faced satin, ensure the shiny side faces outward on both loops. If a twist occurs, loosen the center slightly, smooth out the twisted section with your fingers, and then retighten the bow.
Crafting a Full Multi-Loop Boutique Bow
For occasions that demand a more dramatic, high-volume presentation, a multi-loop boutique bow is the ideal choice. To start, do not cut the ribbon from the spool immediately; working directly from the roll allows you to adjust the size of the bow dynamically without running out of material.
Begin by measuring a tail of your desired length, then fold the ribbon over to create your first loop, pinching the base tightly. Twist the ribbon at the pinch point so the right side of the fabric faces outward, then fold it in the opposite direction to create a second loop of equal size, forming a basic figure-eight shape.
Continue this process, stacking loops on top of each other. For a classic boutique look, create three to four loops on each side, making each subsequent pair of loops slightly smaller than the previous pair to build a beautiful, tiered depth. Once you have achieved the desired fullness, hold the pinched center firmly. Wrap a piece of fine floral wire tightly around the center pinch point, twisting it securely at the back to lock all the loops in place.
To finish the center and hide the wire, cut a short, separate piece of the blue ribbon. Fold it lengthwise into thirds to create a clean, narrow band, wrap it around the wired center of the bow, and secure it at the back with a small dab of fabric glue.
Finishing the Tails and Troubleshooting Common Issues
The way you finish the tails of your bow can dramatically alter its overall appearance. Instead, opt for an elegant angled cut or a classic swallowtail (inverted V-shape). To make an angled cut, hold the ribbon tail flat and cut upward at a clean 45-degree angle. For a swallowtail, fold the ribbon tail in half lengthwise, then cut at an angle starting from the folded edge up to the outer corner; when unfolded, you will have a clean, symmetrical V-shape.
Even with careful preparation, you may encounter structural issues during the tying process. A common problem is a loose central knot that allows the loops to sag or slip. If your knot feels unstable, try wrapping the ribbon around the box twice before tying the initial knot, which increases friction and holds the tension.
If your loops remain asymmetrical, the issue may lie in the tension of your pull. Always pull the loops outward horizontally rather than upward to lock the knot in place. For long-term decorative displays, consider securing the final shape with a tiny, hidden stitch of blue thread through the back of the knot, or apply a single drop of clear fabric glue to keep the loops from shifting.
Creative Applications for Blue Ribbon Bows
While rectangular gift boxes are the traditional canvas for beautiful bows, blue ribbon can enhance a wide variety of shapes and objects. For cylindrical containers, such as wine bottles or poster tubes, wrap the ribbon around the body of the cylinder and tie a classic bow at the neck, allowing the long tails to drape elegantly down the side. For gift bags, thread the ribbon through the handle holes and tie a full boutique bow at the front to transform a simple bag into a luxury package.
Blue bows also serve as stunning accents for floral arrangements and home decor. A deep navy blue satin bow adds a sophisticated contrast to fresh green foliage, white lilies, or dried eucalyptus wreaths.
You can easily adapt the scale and material of your bows to suit different seasonal displays. During festive seasons, a vibrant royal blue ribbon with a subtle metallic edge brings a modern, cool-toned warmth to holiday decorations. In contrast, a soft pastel blue organza bow is highly suited for spring celebrations, baby showers, or outdoor garden parties, offering a light, breezy aesthetic that complements the natural surroundings.
Frequently Asked Questions (FAQ)
How do you keep ribbon bows from fraying at the edges?
To prevent the cut edges of your blue ribbon from fraying over time, you can apply a tiny amount of clear fabric sealant or liquid fray check along the raw edge. For synthetic ribbons made of polyester or nylon, a popular and durable method is heat sealing. Gently pass the very edge of the cut ribbon near—but not directly into—the flame of a lighter or candle for a fraction of a second. The heat will melt the synthetic fibers slightly, fusing them together into a clean, solid edge. However, avoid heat sealing natural fibers like cotton, silk, or linen, as they will burn rather than melt, leaving unsightly black char marks on your beautiful blue ribbon.
What is the most effective way to store leftover blue ribbon?
The most effective way to store leftover blue ribbon is to roll it neatly back onto its original spool or around a clean piece of cardboard, securing the loose end with a straight pin or a small piece of low-tack painter’s tape. Avoid folding the ribbon, as this creates sharp, permanent creases that are difficult to iron out later. To preserve the vibrant blue color and prevent fading, store your ribbon collection in a dark, dry drawer or a plastic storage bin. Keeping the ribbons away from direct sunlight and high tropical humidity prevents the dyes from breaking down and protects the fabric from developing musty odors or mildew.

Community discussion
Share your experience or ask a question. Comments are reviewed before publication.