
Organza pouches are a staple of elegant gift-giving in the Philippines, frequently chosen for wedding favors, baptismal souvenirs, and holiday packages. Their sheer, lightweight texture offers a beautiful glimpse of the treasures inside, whether you are gifting handmade soaps, delicate jewelry, or local artisanal sweets. However, because organza is incredibly smooth and slippery, securing these pouches with a polished, professional-looking bow can be surprisingly challenging. A loose, lopsided knot can quickly make a thoughtful gift look rushed.
To achieve a flawless presentation, you must understand how to manage slippery fabrics, choose the right ribbon dimensions, and master precise tying techniques. By selecting the correct ribbon materials, preparing your tools to prevent fraying, and practicing structured knots, you can transform a simple organza bag into a stunning, high-end gift package. This guide provides step-by-step instructions and practical troubleshooting tips to elevate your wrapping technique.
Selecting the Best Ribbon Width and Material for Organza
Choosing the right ribbon is the first step in creating a balanced and visually appealing gift presentation. Because an organza pouch is naturally translucent and delicate, the ribbon you pair with it should complement its texture rather than overwhelm it. You can achieve this by focusing on texture contrast, appropriate scale, and edge finishes.
Products mentioned in this guide
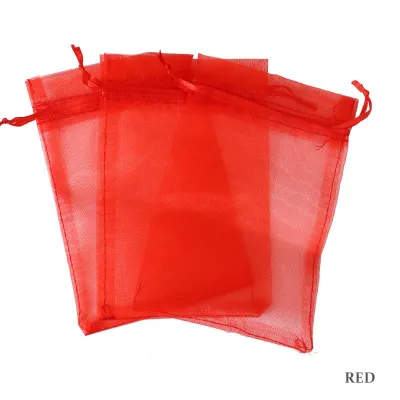
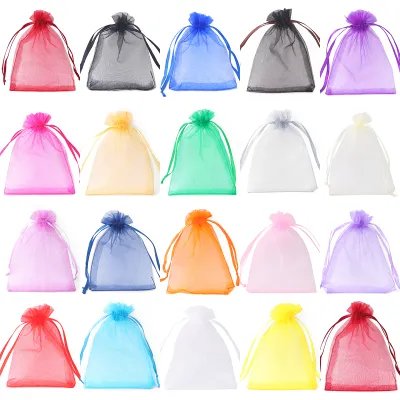
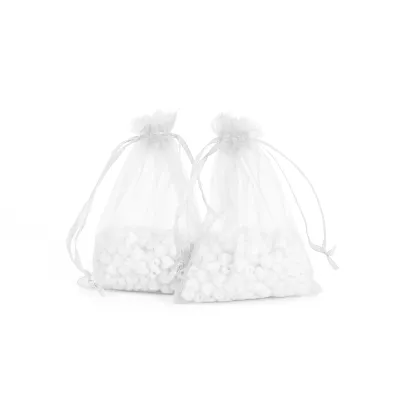
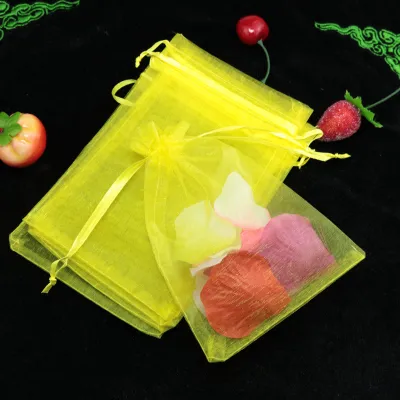
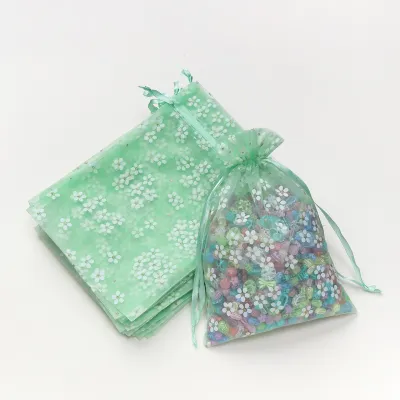
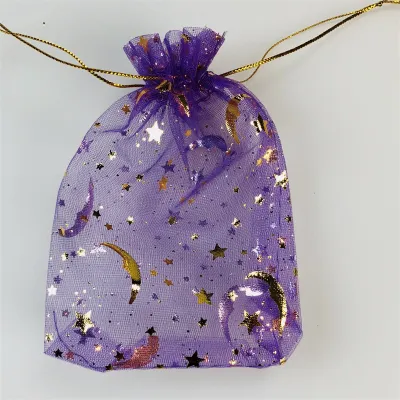
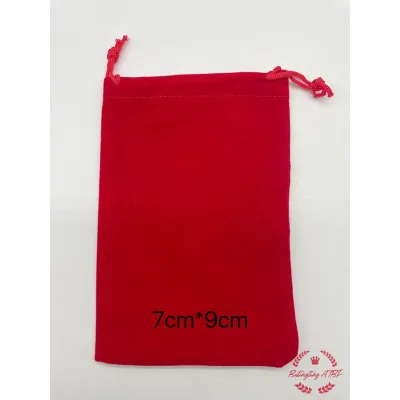
Prices are valid at publication and may change. Please refer to the product page for the latest price.
Matching Ribbon Materials to Organza
When pairing ribbons with organza, you generally want to choose between creating a striking texture contrast or maintaining a soft, monochromatic harmony.
- Satin Ribbon: Double-faced satin ribbon is the most popular choice for a luxurious contrast. The high-gloss, smooth finish of satin reflects light beautifully against the matte, sheer texture of the organza pouch. This combination adds weight and structure to the top of the bag, making the entire package feel more substantial.
- Sheer Organza Ribbon: If you prefer an ethereal, delicate look, choose a matching organza ribbon. This creates a cohesive, monochromatic design where the ribbon blends seamlessly with the pouch fabric. It is an excellent choice for minimalist packaging, bridal showers, or lightweight jewelry gifts.
- Grosgrain Ribbon: For a more rustic or casual presentation, grosgrain ribbon offers a ribbed texture that provides excellent grip. The ridges on grosgrain create natural friction against the smooth organza, making it much easier to tie a knot that stays secure without slipping.
Selecting the Right Ribbon Width
To maintain visual balance, the width of your ribbon must match the overall scale of your organza pouch. Using a ribbon that is too wide will crush the pouch neck and hide the gift, while a ribbon that is too narrow can look sparse and cheap. Use this general framework to select the correct width:
- Small Pouches (7×9 cm to 9×12 cm): These sizes are commonly used for delicate jewelry, native pearl earrings, or small gemstones. Pair them with narrow ribbons measuring 3 mm to 6 mm (1/8 to 1/4 inch) in width to keep the proportions delicate and neat.
- Medium Pouches (10×15 cm to 13×18 cm): Ideal for standard-sized items like artisanal soaps, essential oil bottles, or small jars of local delicacies. Use medium-width ribbons measuring 10 mm to 15 mm (3/8 to 5/8 inch).
- Large Pouches (17×23 cm or larger): Often used for larger cosmetics, baked goods, or handcrafted items. These bags require wider ribbons measuring 20 mm to 25 mm (3/4 to 1 inch) to properly gather the heavy fabric and create a visible, balanced bow.
Estimating Ribbon Length
Before cutting your ribbon, estimate the required length to avoid wasting material or running out mid-tie. A reliable formula is to measure the flat width of your gathered pouch neck, multiply that number by four, and then add 15 to 20 centimeters to account for the loops and tails. For example, if your gathered pouch neck is 10 centimeters wide, you will need approximately 55 to 60 centimeters of ribbon. It is always wiser to cut an extra 10 centimeters of ribbon for adjustments and final trimming than to struggle with a piece that is too short to tie comfortably.
Checking the Edge Finish
When purchasing ribbon rolls, which typically start around ₱25 to ₱50 at local craft stores, pay close attention to the edge finish. Unwired ribbons drape softly and naturally, making them ideal for smaller, delicate pouches. Wired ribbons contain a micro-fine wire along both edges, allowing you to sculpt, bend, and maintain voluminous bow shapes. While wired ribbons are excellent for larger gift bags, they can sometimes weigh down very small, lightweight organza pouches, so choose your edge style based on the bag’s scale.
Preparing Your Tools and Preventing Ribbon Fraying
Clean, crisp edges are essential for a professional gift presentation. Synthetic ribbons like satin, polyester, and nylon are prone to rapid unraveling once cut, especially in humid tropical climates where handling can quickly fray loose fibers. Preparing the right tools and sealing your ribbon ends correctly will ensure your bows remain pristine.

Essential Tools for Ribbon Preparation
Before you begin, gather the following basic tools on a clean, flat workspace:
- Sharp Fabric Scissors: Dedicated fabric shears or brand-new craft scissors are crucial. Dull household scissors will chew through ribbon fibers rather than slicing them, causing immediate fraying before you even begin tying.
- Flexible Measuring Tape or Ruler: Essential for measuring consistent ribbon lengths and tail cuts.
- Fray-Prevention Tools: Commercial fabric sealant (fray check liquid) or a small lighter for heat-sealing synthetic fibers.
Safe Methods for Sealing Ribbon Edges
To prevent synthetic ribbons from unraveling during the tying process, you must seal the cut edges.
Method 1: Commercial Fray Sealant (Safest) Applying a commercial fray check liquid is the safest and most reliable method for all ribbon types. Using the applicator tip, place a microscopic bead of the liquid along the freshly cut edge of the ribbon. Allow it to dry completely for 2 to 3 minutes before handling. Always perform a quick trial test on a small scrap piece of ribbon first; some liquid sealants can leave a slightly dark or stiff residue on light-colored satin, so verifying the finish beforehand is essential.
Method 2: Heat Sealing (Synthetic Fibers Only) If you are working with synthetic ribbons like polyester satin or nylon and need a quick solution, you can use a lighter to melt the edges. To do this safely, work in a well-ventilated area free of drafts, and keep all flammable materials and children away from your workspace. Hold the cut edge of the ribbon near—but not directly in—the blue base of the lighter flame for a fraction of a second. The heat will melt the plastic fibers together, creating a clear, hard bead that stops fraying.
Warning: Never attempt to heat-seal natural fibers such as cotton, linen, jute, or real silk. Natural fibers will catch fire, burn, and turn to ash rather than melting. Always check the manufacturer’s fiber content label on your ribbon spool before applying heat.
Customizing Your Pouch Drawstring
Most mass-produced organza pouches come with a cheap, thin polyester cord drawstring. If you want a truly customized, premium look, you can replace this cord entirely with your decorative ribbon. Gently pull the existing cord out of the pouch’s casing channel. Attach a small safety pin or a craft bodkin to the end of your new, thin ribbon. Thread the pin through the casing channel, sliding the fabric along until the pin emerges from the other side. Pull the ribbon through evenly, and you will have a fully integrated, matching ribbon drawstring.
Tying a Secure Classic Bow on a Drawstring Pouch
Because organza and satin are both exceptionally smooth, tying a classic bow that stays centered and tight requires specific tension control. Follow these step-by-step instructions to tie a secure, symmetrical bow directly onto the neck of your pouch.
Step 1: Gather and Prep the Pouch
Place your gift inside the organza pouch, ensuring it sits flat at the bottom. Pull the existing drawstrings tight to close the bag completely. Using your fingers, manually adjust the gathered fabric at the neck so the pleats are distributed evenly around the opening. This creates a neat, symmetrical base for your decorative ribbon.
Step 2: Position the Ribbon and Tie the Base Knot
Center your cut ribbon piece behind the gathered neck of the pouch. Bring both ends to the front, ensuring they are of equal length. Cross the left strand over the right strand, tuck it under, and pull it through to create a standard half-hitch knot.
Because satin slides easily against organza, a single knot will often loosen immediately. To counter this, tie a double half-hitch knot by looping the working end through the center opening a second time before pulling it tight. This second loop adds crucial friction, locking the base knot in place. If the packaging is intended to be permanent, you can also apply a microscopic dot of clear fabric glue directly inside the center of the knot, pressing it firmly for five seconds to anchor it. Always test your fabric glue on a scrap piece of ribbon first to ensure it does not bleed through or discolor the fabric.
Step 3: Form the Bow Loops
To keep your bow looking neat and flat, use the “bunny ear” method, which allows for excellent control over ribbon twisting:
- Fold both loose ends of the ribbon into two equal-sized loops (the "bunny ears"). Ensure the shiny, finished side of the ribbon faces outward on both loops.
- Cross the right loop over the left loop to create a small triangular opening at the base, just above your initial knot.
- Tuck the right loop down through that opening.
- Pull both loops outward horizontally to tighten the bow.
As you pull, pay close attention to the ribbon’s orientation. If a loop begins to twist, stop and flatten the ribbon between your fingers before pulling the knot completely tight. Keeping the ribbon flat ensures a clean, professional finish.
Step 4: Adjust and Balance the Bow
Once the bow is formed, it will likely need some adjustment to achieve perfect symmetry. Hold the center knot securely with one hand to maintain tension. With your other hand, gently pull the loops to adjust their size, or pull the tails to shorten the loops.
Always adjust the bow by pulling gently from the center of the loops rather than pulling the very ends of the tails. Pulling the tails directly will over-tighten the center knot, which will crush the delicate organza fabric of the pouch and distort its shape. Aim for loops that are equal in size and tails that drape elegantly downward.
Elevating Your Presentation with Advanced Bow Styles
For high-end gifts, corporate events, or premium wedding souvenirs, standard bows can sometimes look too simple. You can elevate your packaging by mastering intermediate bow-tying techniques that add volume, drama, and perfect symmetry to your organza pouches.
Creating a Full Double-Loop Bow
A double-loop bow adds luxurious volume and a tiered, professional appearance that makes any gift look significantly more expensive. This style works best with medium to wide satin or sheer organza ribbons.
- Begin by tying your secure double half-hitch base knot around the gathered neck of the pouch as detailed in the classic bow instructions.
- Instead of forming single loops, fold the ribbon to create a pair of loops on each side, holding them together between your thumb and forefinger.
- Cross the double loops over each other, tuck one set through the central opening, and pull them through gently.
- Before tightening, arrange the loops so that the inner set is roughly 20% smaller than the outer set. This creates a beautiful, tiered, three-dimensional effect.
- Gently tighten the center knot. Because a double-loop bow contains more ribbon bulk at its center, avoid pulling with excessive force. Excess tension will crush the gathered organza neck, ruining the soft, airy drape of the pouch.
Using a Fork for Perfectly Symmetrical Mini Bows
Tying neat, tiny bows on miniature organza pouches (such as 7×9 cm jewelry bags) can be incredibly frustrating. Your fingers can easily feel too bulky to manipulate the tiny ribbon strands. A standard four-tine dining fork acts as a perfect miniature loom to create flawless, uniform mini bows every time.
- Hold a standard dining fork flat. Cut a 15-centimeter piece of thin ribbon (3 mm to 6 mm wide).
- Weave the ribbon horizontally across the front of the fork tines.
- Take the left end of the ribbon, wrap it around the back of the fork, and thread it forward through the center slot (between the second and third tines).
- Take the right end of the ribbon and thread it backward through the same center slot, below the horizontal ribbon band.
- Tie these two ends together in a tight, secure double knot at the back of the fork. This knot will form the center of your mini bow, while the horizontal wraps form the loops.
- Gently slide the finished bow off the fork. Trim the tails at an angle and seal the ends.
- To attach this pre-made mini bow to your organza pouch, apply a tiny dab of fabric glue to the back of the bow's center knot and press it directly onto the pouch's existing drawstring knot. Alternatively, tie it on using a thin, discreet craft wire or matching thread.
Adding Finishing Touches and Troubleshooting Common Issues
Once your bow is tied, a few final styling steps and quality checks will ensure your gift looks immaculate and functions perfectly for the recipient.
Professional Tail Trimming
Never leave your ribbon tails with raw, straight-cut ends, which look unfinished and invite fraying. Instead, use one of these two classic professional cuts:
- The Angled Cut: Cut the ribbon tail at a sharp 45-degree angle. This is a clean, modern look that naturally helps prevent the fabric threads from unraveling.
- The Swallowtail (Inverted V-Cut): Fold the ribbon tail in half vertically. Cut at a 45-degree angle starting from the folded edge and cutting upward toward the outer open edge. When you unfold the ribbon, you will have a perfect, symmetrical chevron cut. This style is highly elegant and traditional.
Incorporating Complementary Elements
To personalize your gift presentation, try sliding decorative elements under the ribbon’s base knot before you tie the final bow.
- Gift Tags: Slide a small kraft paper tag or a personalized monogram card onto the ribbon.
- Botanicals: Tuck a small sprig of dried lavender, eucalyptus, or local dried flowers (such as statice or gypsophila) into the knot.
- Tropical Climate Note: If you are preparing gifts in hot, humid climates, ensure your dried botanical elements are completely cured and free of moisture before assembly. Storing your completed pouches in an airtight container with a food-safe silica gel packet will prevent the dried flowers from absorbing humidity and developing mold before the gift is opened.
Troubleshooting Checklist
If your ribbon presentation isn’t looking quite right, use this quick troubleshooting guide to fix common issues:
- The Bow Looks Lopsided: If one loop is larger than the other, do not untie the whole bow. Hold the center knot firmly with one hand to lock it. Use your other hand to gently pull the loop of the opposite side's tail to balance the sizes, then re-tighten by pulling both loops.
- The Knot Keeps Slipping Open: If your satin ribbon is too slippery to hold its shape, undo the bow and tie a more secure double half-hitch base knot. Alternatively, place a tiny strip of clear double-sided craft tape inside the fold of the base knot before pulling it tight; this adds invisible friction that holds the knot secure.
- The Ribbon is Heavily Creased: If your ribbon rolls have been crushed or wrinkled, do not use a high-heat iron directly on synthetic ribbons, as they will melt instantly. Instead, place a clean, dry cotton cloth over the ribbon and run a low-heat steam iron over it. Alternatively, pull the ribbon slowly through a hair straightener flat iron set to its lowest heat setting. Always test a small end section first to verify the heat level is safe.
Final Functionality Check
Before you display or deliver your gift, perform one final verification step: check that the pouch can still be opened easily. Ensure your decorative knot or glue application has not permanently sealed the mouth of the bag shut. The recipient should be able to untie the bow easily, or slide the ribbon loop off the neck smoothly, to access their gift without having to cut the ribbon or tear the delicate organza fabric.
Frequently Asked Questions (FAQ)
How do I keep slippery ribbons from untying on organza?
The lack of friction between smooth polyester satin and sheer organza is the primary cause of slipping. To prevent this, you can tie a double half-hitch for your base knot to increase friction, or use a textured ribbon like grosgrain or cotton for the base tie, layering a decorative satin bow over it. For a permanent hold on favor displays, apply a tiny, hidden drop of water-soluble fabric glue or a single, discreet thread stitch directly through the center of the knot to lock it in place.
Can I wash an organza pouch with the ribbon attached?
It is highly recommended to remove any decorative ribbons before washing an organza pouch. Many synthetic ribbons, especially deep reds, blues, or vibrant pinks, can bleed dye when exposed to water, which will permanently stain the sheer organza fabric. Additionally, washing can cause ribbons to shrink, lose their glossy finish, or fray. If the ribbon is permanently glued or sewn to the pouch, spot-clean the bag gently with a damp, cool cloth instead of submerging it in water.

Community discussion
Share your experience or ask a question. Comments are reviewed before publication.