
Elevating a wedding gift presentation relies heavily on the details, and learning how to tie ribbons and bows on paper bags for wedding gifts is an excellent way to achieve a polished, high-end look. By combining structured paper bags with carefully selected ribbons, you can transform standard packaging into a memorable keepsake that complements the wedding theme. In tropical climates like the Philippines, where high humidity can soften paper fibers and weaken certain adhesives, mastering secure tying techniques ensures your gift remains intact and beautiful from the ceremony to the reception table.
Choosing the Right Ribbon and Paper Bag Combination
Selecting the right materials requires balancing the weight of the paper bag with the texture and width of the ribbon. For small to medium-sized paper bags, a ribbon width of 15mm to 25mm is generally proportional and easy to handle. Larger bags can accommodate wider ribbons, such as 38mm or 50mm, which provide the necessary visual weight to balance a larger surface area. If the bag features thick rope handles, choose a ribbon that can wrap around or tie alongside them without adding excessive bulk that might make the handles uncomfortable to hold.
The texture of the paper bag should guide your ribbon selection to create a cohesive tactile experience. Matte kraft paper bags, often used for rustic or outdoor weddings, pair exceptionally well with natural fibers like cotton, jute burlap, or textured grosgrain ribbons. For glossy or high-GSM (grams per square meter) white cardstock bags, smooth satin or sheer organza ribbons offer a sophisticated contrast. Always test the combination beforehand; a heavy, stiff ribbon can cause a lightweight paper bag to sag or fold under the weight of the bow.
Products mentioned in this guide
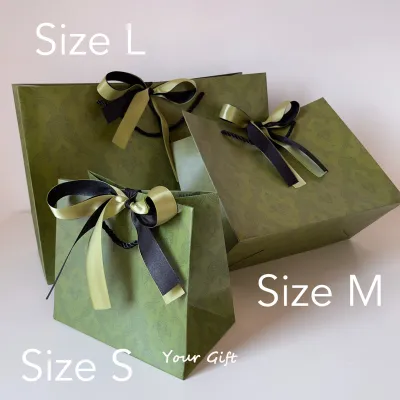

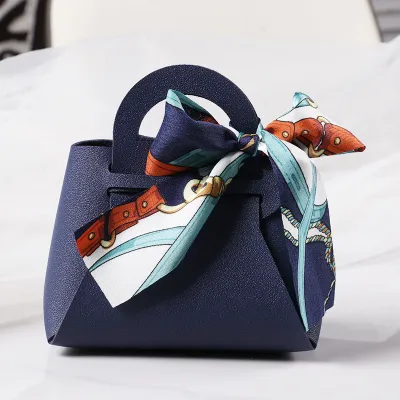
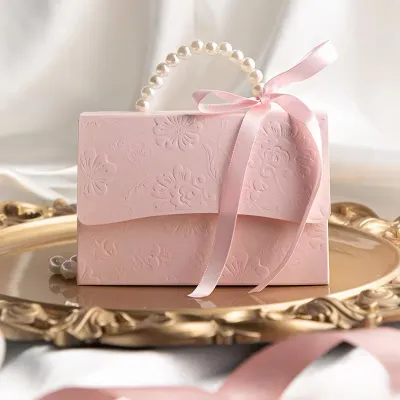
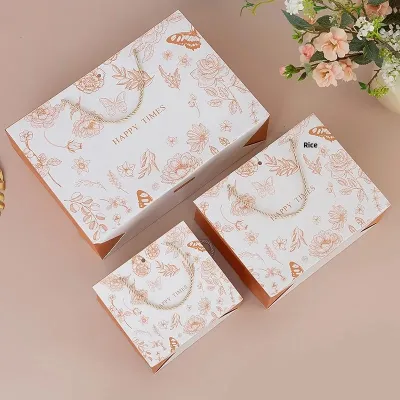
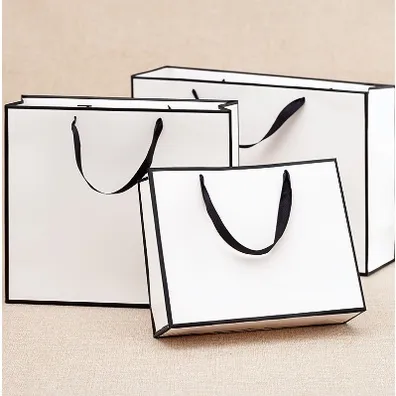
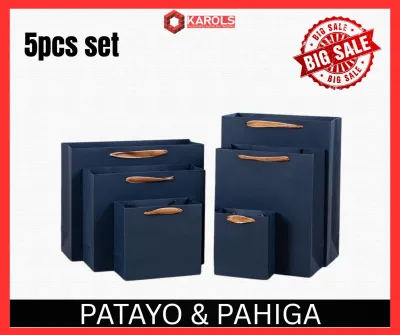

Prices are valid at publication and may change. Please refer to the product page for the latest price.
Color coordination is equally vital for aligning your gift with the wedding’s design palette. Neutral bag colors like ivory, kraft brown, or white serve as versatile canvases for vibrant jewel tones, soft pastels, or classic metallic ribbons. If the wedding features a specific color scheme, matching the ribbon to the bridal party attire or floral arrangements adds a thoughtful, personalized touch. Consider how the ribbon’s sheen interacts with the bag’s finish under reception lighting, ensuring the overall presentation looks deliberate and refined.
Essential Tools and Materials for Gift Wrapping
Before beginning the assembly process, gather all necessary tools to ensure clean cuts and secure attachments. Having the right equipment on hand prevents delays and minimizes material waste during preparation.

Keep spooled ribbons on hand rather than pre-cut pieces, as this allows you to measure and cut custom lengths directly on the bag, reducing waste. For budgeting, high-quality spools can be sourced from local stationery suppliers or online marketplaces for around ₱50 to ₱150 depending on the material and length.
Use a pair of dedicated, sharp fabric scissors. Standard paper scissors often dull quickly and can chew through delicate ribbon fibers, leaving unsightly frayed edges.
Prepare fixing aids such as double-sided tape, clear glue dots, or a standard single-hole paper punch. A hole punch is particularly useful for creating clean threading points on thick cardstock bags, while low-tack double-sided tape helps hold ribbon loops in place temporarily during the tying process.
Step-by-Step Guide to Attaching Ribbons to Paper Bags
Attaching ribbons securely to paper bags requires a methodical approach to prevent slipping, especially when guests carry the gifts. The handle-wrapping technique is a popular method that covers raw edges while securing the ribbon directly to the bag’s existing handles. Start by securing one end of the ribbon to the base of the handle with a small dab of adhesive or a tight knot. Wrap the ribbon tightly around the handle in a spiral pattern, ensuring even spacing and overlapping the edges slightly to hide the underlying material. Once you reach the opposite end, secure it firmly, leaving enough excess ribbon to tie a decorative bow at the base.
For bags without handles, or to add a decorative band around the center, the cross-body tying method is highly effective. Wrap a long length of ribbon horizontally around the middle of the bag, crossing it over at the back, and bringing the ends to the front. If the paper bag is made of thick cardstock, use a paper hole punch to create two parallel holes near the top collar of the bag. Thread the ribbon from the inside out through these holes, which keeps the bag closed securely while providing a stable anchor point for your bow.
When using adhesives to secure ribbons directly to paper surfaces, it is crucial to identify the correct stop conditions to avoid damage. Liquid craft glues can easily saturate thin paper bags, causing the paper to warp, wrinkle, or leave dark stains on both the paper and the ribbon. Limit adhesive use to small, dry glue dots or high-quality double-sided tape applied sparingly to hidden areas, such as the inside collar of the bag or underneath the knot of the bow. If you observe any bleeding or discoloration during a test run, transition entirely to mechanical tying methods that do not rely on chemical adhesives.
How to Tie Classic and Decorative Bows
The style of bow you choose sets the tone for the wedding gift presentation. Whether you prefer a clean, minimalist look or a lush, dramatic statement, mastering these two core styles will cover all your wrapping needs.
The Classic Loop Bow
The classic loop bow is a timeless choice that works beautifully on almost any size of paper bag. To begin, fold the ribbon to create two equal-sized loops, holding one in each hand. Cross the right loop over the left loop, then tuck it under and through the center opening that forms at the base. Pull both loops gently to tighten the knot, keeping the tension even to ensure the center knot remains neat and square.
Once the basic structure is formed, adjust the loop sizes and tail lengths to achieve perfect visual symmetry. Hold the center knot firmly with one hand while gently pulling the loops or tails with the other to resize them. For a balanced look, the tails should be slightly longer than the width of the loops, draping naturally downward without dragging beneath the bottom of the paper bag.
To prevent the ribbon from twisting or showing its matte underside—especially common with single-sided satin ribbons—always keep the shiny side facing outward as you fold and cross the loops. If you notice a twist forming in the center knot, untie the step and twist the ribbon flat before pulling the knot tight. This simple adjustment ensures a smooth, professional finish that catches the light beautifully.
The Elegant Multi-Loop Bow
For larger paper bags or high-end wedding gifts, a multi-loop bow adds a luxurious, dimensional element. Start by creating a series of continuous, accordion-style loops from a single spool of ribbon, stacking them on top of one another until you have three to five loops on each side. Pinch the exact center of the stacked loops tightly to create a neat gather. Secure this center point firmly using a short piece of thin floral wire or a small, clear zip tie, pulling it as tight as possible to flare the loops outward.
Once the center is secured, use your fabric scissors to trim the ribbon tails into decorative shapes. A diagonal cut at a 45-degree angle offers a clean, modern look, while a swallowtail cut (created by folding the ribbon tail in half vertically and cutting upward at an angle toward the outer edge) provides a classic, formal finish. Ensure both tails are trimmed to equal lengths to maintain visual balance.
To finish the multi-loop bow, conceal the wire or zip tie at the center. Wrap a short, matching piece of ribbon around the center binding, securing it at the back with a small glue dot or a tight knot. This decorative accent hides the structural elements completely, making the bow look as though it was intricately tied by hand directly onto the paper bag.
Finishing Touches and Quality Checks
Before presenting the wedding gift, perform a thorough quality check to ensure the packaging is both beautiful and functional. Inspect the bow from multiple angles to verify that the loops are symmetrical, the ribbon lies flat without unwanted twists, and there is no visible adhesive residue or pencil marks on the paper bag. Clean up any stray glue strings or loose threads with your scissors to maintain a pristine appearance.
Next, test the structural integrity of the presentation. Gently lift the bag by its handles to ensure the ribbon attachment does not slip or interfere with the grip. If the gift inside is heavy, verify that the ribbon does not put undue stress on the paper bag’s seams or handle holes, which could lead to tearing during transport. If necessary, reinforce the inside bottom of the bag with a small piece of cardboard to distribute the weight more evenly.
Finally, consider integrating complementary accents to personalize the presentation. Thread a custom wedding favor tag onto the ribbon before tying the final knot, or tuck a small sprig of dried lavender, eucalyptus, or local tropical flora behind the center knot of the bow. These small additions add texture and a subtle fragrance, elevating the gift-giving experience and making your presentation stand out on the wedding gift table.
Frequently Asked Questions (FAQ)
How do I prevent satin ribbons from fraying at the edges?
To keep satin ribbons looking sharp and clean, apply a small amount of fray check liquid or clear nail polish along the freshly cut edges. Allow the liquid to dry completely before handling the ribbon to prevent transfer onto the paper bag. Alternatively, for synthetic ribbons like polyester satin, you can use a heat-sealing method by carefully passing the cut edge near a small flame for a fraction of a second to melt and seal the fibers; always perform this in a well-ventilated area away from flammable materials. For very wide or delicate ribbons, folding the edge over by a few millimeters and securing it with a tiny dot of fabric glue or a single stitch provides a clean, non-heat-based alternative.
Can I reuse the ribbons and bows after the wedding?
Yes, ribbons and bows can easily be salvaged for future use if you avoid using permanent, high-strength glues directly on the fabric. Instead, rely on removable double-sided tape, safety pins, or simple tie-on methods that allow the recipient to untie and slide the ribbon off the paper bag without tearing the fibers. Once detached, store the ribbons flat or loosely rolled around a cardboard tube in a dry, dark drawer to prevent creasing, dust accumulation, and color fading from exposure to sunlight.

Community discussion
Share your experience or ask a question. Comments are reviewed before publication.