
Quilling, or paper filigree, is a beautiful way to add three-dimensional texture to scrapbooks, greeting cards, and journal pages. By rolling thin strips of paper around a specialized tool, you can create intricate coils and pinch them into delicate shapes like petals, leaves, and geometric borders.
For beginners in the Philippines, working with paper crafts requires a small adjustment for the tropical climate. High humidity can soften paper strips and affect how quickly your adhesive cures, making proper technique and tool selection essential. Mastering the quilling tool is the first step toward creating durable, professional-looking embellishments that won’t unravel or warp over time.
Essential Tools and Materials for Quilling
Before starting your first project, gathering the correct supplies will save you time and prevent frustration. The primary instrument you will need is a quilling tool, which generally comes in two distinct styles: the slotted tool and the needle tool.
Products mentioned in this guide
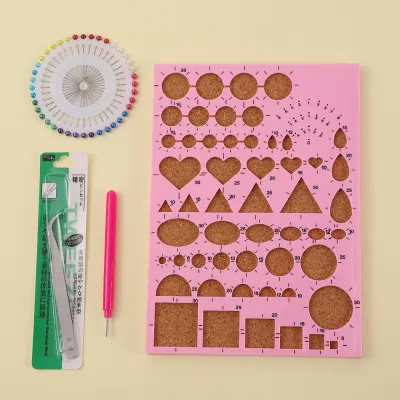
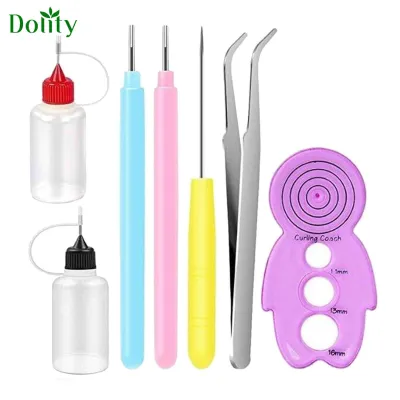
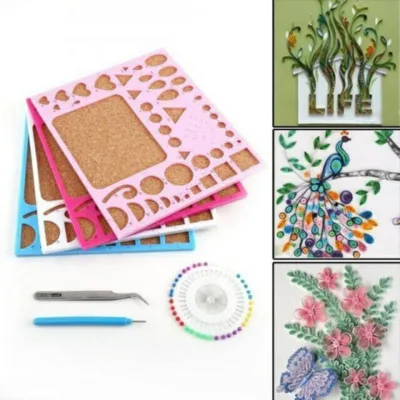
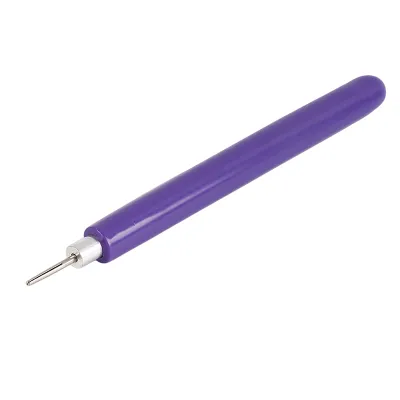
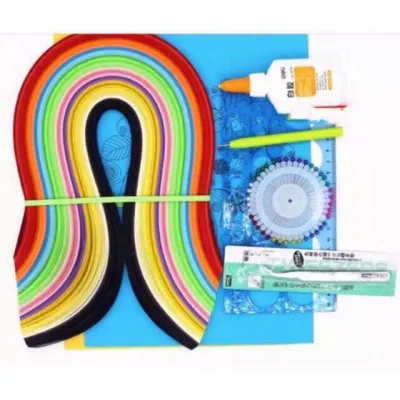
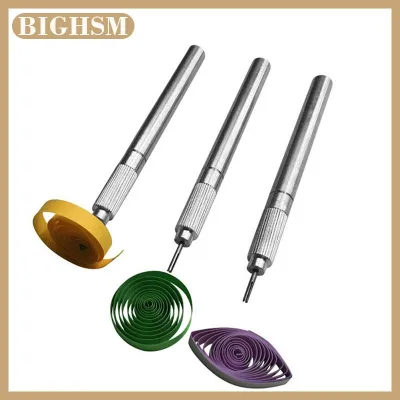
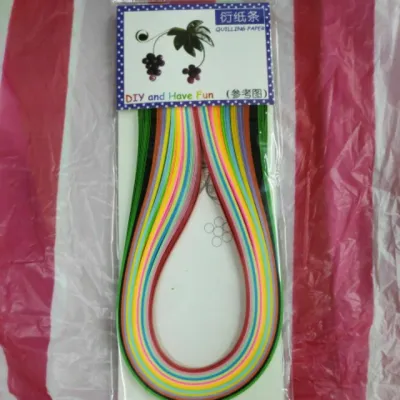
Prices are valid at publication and may change. Please refer to the product page for the latest price.
A slotted quilling tool features a small metal tip with a fine slit cut down the center. This slot holds the end of the paper strip securely as you roll, making it highly recommended for beginners who are still developing their hand-eye coordination. The only trade-off is that the slot leaves a tiny, visible crimp in the very center of your finished coil.
A needle tool, by contrast, consists of a smooth, tapered metal rod without any slot. You must manually wrap the paper around the needle tip to start the coil. While this requires more finger dexterity, it produces an exceptionally tight, nearly invisible center hole, which is preferred for advanced, delicate designs.
The paper strips themselves are crucial to your success. Standard quilling strips are typically 3mm, 5mm, or 10mm wide, with 3mm and 5mm being the most common sizes for scrapbooking because they lie relatively flat on a page without adding excessive bulk. Look for paper with a weight between 80 gsm and 120 gsm; lighter paper tears easily under tension, while heavier cardstock is stiff and resists smooth curving. Pay attention to the grain direction of the paper, as rolling against the grain can cause creasing and cracking along the outer edges of your coil.
To complete your toolkit, you will need a precision-tip adhesive bottle, fine-tipped tweezers, and a circle sizing board to ensure consistency across your layouts.
How to Hold and Load the Quilling Tool
Proper hand positioning and paper alignment are the foundations of clean, uniform quilling. To begin, hold the quilling tool in your dominant hand much like you would hold a pen or pencil. Your thumb and index finger should grip the handle close to the metal tip, allowing you to rotate the tool smoothly between your fingertips.

Your non-dominant hand acts as the tension guide. Hold the paper strip gently between your non-dominant thumb and index finger, about two to three inches away from the tool. This dual-hand grip gives you complete control over the rotation speed and the tightness of the roll, reducing hand fatigue during longer crafting sessions.
To load a slotted tool, slide one end of the paper strip into the metal slot until it is flush with the top of the metal tip. Ensure the paper is perfectly perpendicular to the tool. If the strip is tilted even slightly when you begin, the paper will spiral upward or downward as you roll, resulting in a jagged, uneven coil that is difficult to flatten or glue down.
If you are using a needle tool, dampen the tip of your non-dominant index finger slightly to help grip the paper. Wrap the very edge of the strip around the needle tip, pressing it firmly with your thumb to create a crease. Once the first wrap is secure, you can begin rotating the needle, using your thumb to keep the paper pressed flat against the metal shaft.
Step-by-Step: Rolling Your First Paper Coil
With your paper securely loaded, you are ready to roll your first basic coil. Begin rotating the quilling tool toward your body, using your dominant thumb and index finger to spin the handle. As the tool turns, guide the paper strip with your non-dominant hand, keeping a light but steady tension on the paper.
Maintaining consistent tension is the key to a professional finish. If you pull too hard, you risk snapping the paper strip or making the coil so tight that it cannot expand. If your grip is too loose, the inner layers of the coil will slip, creating gaps and an uneven density. The paper should wrap smoothly around the tool tip, layer upon layer, like a tiny roll of tape.
As you approach the end of the strip, slow down your rotation. You will know the coil is fully rolled when the entire length of the paper is wrapped around the tool, leaving only a tiny tail of about half an inch. Stop rotating and hold the coil firmly between your fingers for a second to let the paper fibers adjust to their new curved shape.
To remove the coil, gently slide it straight up and off the metal tip of the tool. Be careful not to pull it off at an angle, which can distort the center. If you want a tight coil, keep it pinched between your fingers, apply a microscopic dot of glue to the inside of the loose tail using a toothpick or precision tip, and press the tail flat against the side of the coil for a few seconds until it bonds.
If you want a loose coil, place the rolled paper into one of the circles on your sizing board before gluing. Let go of the coil and watch it unravel naturally until it fills the circular space. Once it stops expanding, use your tweezers to lift the center slightly if needed, apply a small dot of glue to the outer tail, and press it against the adjacent loop to secure the shape.
Shaping Basic Coils for Scrapbooking Layouts
Once you have mastered the basic loose coil, you can transform it into a wide variety of expressive shapes perfect for scrapbooking layouts. The structural difference between a tight coil and a loose coil determines how easily it can be shaped. Tight coils are rigid and excellent for centers of flowers or structural borders, while loose coils have internal space that allows the paper loops to shift when pinched.
To create a classic teardrop shape, hold a loose, glued coil between the thumb and index finger of one hand. Use your other hand to pinch one side of the coil firmly into a sharp point. This shape is highly versatile and serves as the perfect petal for simple flowers or the base for small leaves.
For a marquise or eye shape, pinch the loose coil simultaneously on two opposite sides. This creates a symmetrical, pointed oval that is ideal for realistic foliage, butterfly wings, or decorative borders. You can also twist the pinched ends in opposite directions to create a dynamic, curved leaf shape that adds movement to your pages.
To form a square or diamond, start by making a marquise shape, then rotate the coil ninety degrees and pinch the remaining rounded sides. These geometric shapes can be tiled together to create intricate mosaic patterns or vintage-style borders along the edges of your scrapbook pages. When arranging these shapes on your layout, apply a very thin layer of glue to the underside of the coils and press them gently onto your cardstock, ensuring they dry flat under the local humidity.
Common Beginner Mistakes and How to Fix Them
Quilling is a tactile craft, and it is entirely normal to encounter a few minor setbacks when starting out. One of the most common issues is paper tearing during the rolling process. This usually happens when you apply too much pulling force with your non-dominant hand or if you try to slide the coil off a slotted tool too quickly. To prevent this, relax your grip slightly and let the rotation of the tool do the work, ensuring the paper glides smoothly without resistance.
Another frequent frustration is glue seepage, which can leave shiny, sticky residue on your scrapbook pages or cause the delicate paper coils to wrinkle and warp. Because the tropical climate in the Philippines can prolong the drying time of standard white craft glues, it is vital to use adhesive sparingly. Instead of squeezing glue directly from the bottle onto the coil, place a small puddle of glue on a scrap piece of plastic and use a toothpick to transfer a micro-dot to the paper tail. This ensures a clean, fast-drying bond without excess moisture.
Finally, you may notice your coils developing uneven, cone-like centers or jagged edges. This distortion occurs when the paper strip is not kept perfectly perpendicular to the tool during rolling, or if the coil slips off-center as you slide it off the tip. To correct this, always check that your paper is aligned straight in the slot before your first turn, and use your non-dominant thumb as a flat guide wall along the side of the coil as you roll.
Frequently Asked Questions (FAQ)
Can I use regular craft paper instead of pre-cut quilling strips?
Yes, you can create your own quilling strips from regular craft paper, but you must pay close attention to the paper’s weight and grain. Standard printer paper (around 70 to 80 gsm) or lightweight construction paper works well, whereas heavy cardstock (over 200 gsm) is too stiff and will crack or crease when rolled into tight coils. To find the grain direction, gently bend the paper horizontally and vertically; the direction that offers the least resistance is the grain. Always cut your strips parallel to this grain to ensure smooth, round curves. To cut custom strips, place your paper on a self-healing cutting mat, measure your desired width (such as 5mm) with a metal ruler, and cut clean, straight lines using a sharp utility knife or a rotary paper trimmer.
Which tool is better for beginners: slotted or needle?
For absolute beginners, the slotted quilling tool is undoubtedly the better choice. The slot holds the paper securely in place, allowing you to focus entirely on learning how to control tension and rotate the tool without worrying about the paper slipping out of your fingers. This helps build muscle memory and confidence quickly. Once you are comfortable rolling uniform coils and want to elevate your scrapbooking projects with highly detailed, professional-grade designs, you can transition to a needle tool. The needle tool requires more practice to master but eliminates the center crimp, resulting in a flawless, tightly wound center that looks exceptionally delicate on finished pages.

Community discussion
Share your experience or ask a question. Comments are reviewed before publication.