
Using personalized stamps in your bullet journal is an efficient and creative way to establish consistent layouts, track habits, and add custom headers without needing advanced drawing skills. To get started, you need to select a stamp material that fits your workflow, pair it with an ink pad that matches your journal’s paper weight, and master a simple, even-pressure stamping technique. By combining these custom designs with washi tape and stickers, you can build a cohesive, personalized planning system that stands up to daily use.
In tropical climates like the Philippines, where high humidity can affect how ink dries on paper, choosing the right combination of tools is essential to prevent smudging and bleeding. Whether you want to stamp a custom weekly tracker, a personalized name header, or decorative borders, understanding the interaction between your stamp, ink, and paper will ensure clean, crisp results every time. This guide will walk you through the essential tools, step-by-step techniques, layout designs, and troubleshooting tips to help you master the art of stamping in your bullet journal.
Essential Tools and Materials for Stamping
To begin your stamping journey, you must first understand the physical tools involved. Personalized stamps generally come in two primary materials: clear photopolymer and traditional red or grey rubber. Clear polymer stamps are highly favored by bullet journal enthusiasts because they are completely transparent. This transparency allows you to look directly through the stamp and your acrylic block, making it simple to align your design with the dot grid of your journal. Polymer stamps are also highly flexible, though they can degrade faster if exposed to harsh chemicals or direct sunlight over time.
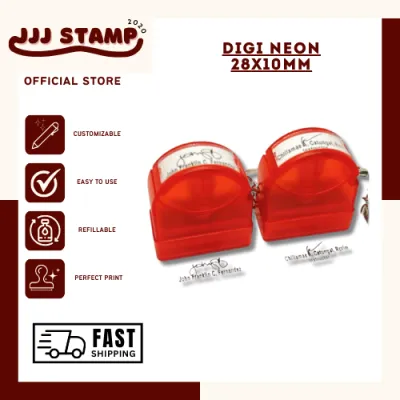
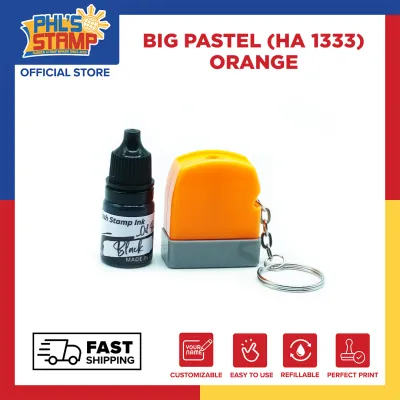
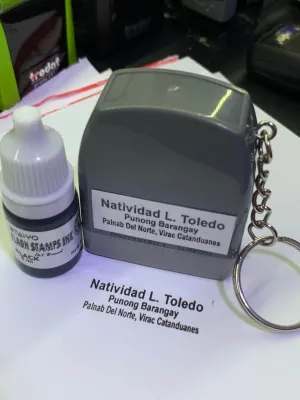
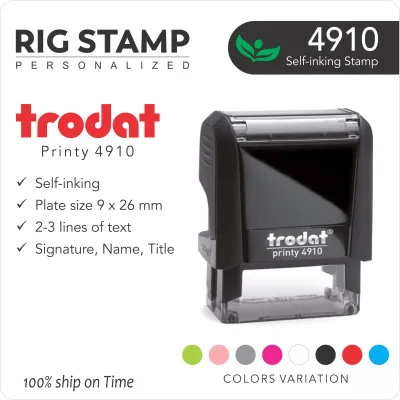
Products mentioned in this guide
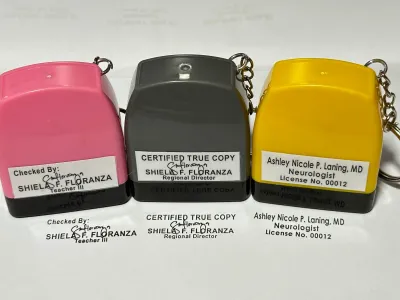
![TRODAT PRINTY T926 [W/ FREE 5ML INK] PERSONALIZED SELF-INKING STAMP!!!](https://img.lazcdn.com/g/p/654ebcedc683c7037420e520be29719f.png_400x400q80.png_.webp)
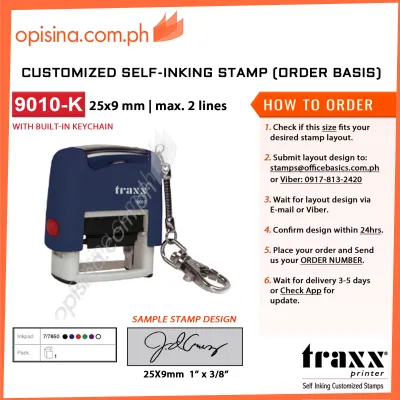
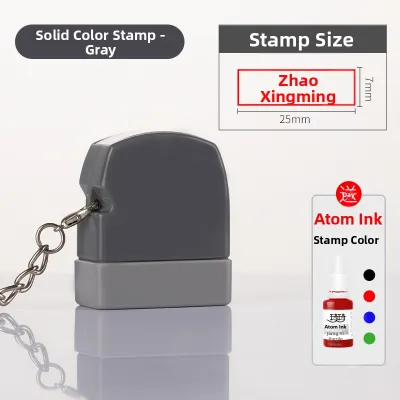
Prices are valid at publication and may change. Please refer to the product page for the latest price.
Traditional rubber stamps, often mounted on wooden blocks or cling foam, offer exceptional durability and deep etching. The deep crevices of a rubber stamp mean you are less likely to accidentally transfer excess ink from the background onto your paper. However, because rubber is opaque, precise alignment requires more practice or the assistance of a stamp positioning tool. Rubber stamps are highly resilient and work well with a wider variety of ink types, including solvent-based inks that might damage delicate polymer.
Choosing the right ink pad is the next critical step, especially when considering the paper weight of your bullet journal. Most standard journals feature paper weights ranging from 80 GSM to 160 GSM. Dye-based inks are thin, water-based, and dry very quickly because they soak directly into the paper fibers. While this rapid drying is convenient in humid tropical climates, dye inks are highly prone to ghosting (showing through the other side) or bleeding on paper thinner than 120 GSM.
Pigment-based inks, on the other hand, contain finely ground color particles suspended in a thicker liquid. This ink sits on top of the paper fibers rather than soaking deep into them, making pigment ink highly resistant to bleeding and ghosting, even on thinner pages. The trade-off is a significantly slower drying time, which can lead to accidental smudging if you turn the page too quickly. Watermark or embossing inks are sticky, slow-drying clear inks used primarily as an adhesive for embossing powders, which are then melted with a heat tool to create a raised, glossy texture.
To use clear polymer or unmounted rubber stamps, you will need a clear acrylic stamping block. These blocks come in various sizes and often feature grid lines that align perfectly with your journal’s dot grid. Select a block that is slightly larger than your stamp design; using a block that is too large can make it difficult to apply even pressure, while a block that is too small will cause the edges of your stamp to curl. Storing your ink pads upside down when not in use is also a helpful practice, as it keeps the ink pooled at the surface of the pad for easier application.
Finally, a stamping mat is an invaluable accessory for achieving clean impressions. Bullet journals are bound books, and the unevenness of the pages, binding, and cover can create hard or soft spots beneath your active page. Placing a firm yet slightly yielding foam stamping mat or a smooth piece of chipboard directly under the page you are stamping provides a flat, stable surface. This simple addition ensures that the entire surface of the stamp makes contact with the paper simultaneously, preventing patchy or incomplete transfers.
Step-by-Step Guide to Stamping in Your Bullet Journal
Achieving a flawless stamp impression requires a systematic approach, starting with preparing your tools. New photopolymer stamps often have a microscopic residue left over from the manufacturing process, which can cause ink to bead up rather than coat the surface evenly. To prime a new stamp, gently rub the stamping surface with a clean white pencil eraser, or ink the stamp and press it onto scrap paper several times until the ink clings to the material in a solid, unbroken layer.

When applying ink to your stamp, always bring the ink pad to the stamp rather than pressing the stamp down into the pad. Place your stamp face-up on a flat surface, hold the ink pad in your hand, and gently tap the pad across the stamp design. This tapping motion allows you to monitor exactly how much ink is being deposited. Avoid pressing the ink pad down with heavy force, as this pushes ink into the deep recesses of the design, leading to messy borders and blurred details when pressed onto your journal page.
Positioning your stamp accurately is straightforward when using clear polymer. Mount the stamp onto your acrylic block, aligning its straight edges with the grid lines etched into the acrylic. Hold the block slightly above your journal page, using the dot grid of your paper to align the design horizontally and vertically. If you are using an opaque rubber stamp, you can use a stamp positioning tool—a hinged plastic device that holds your journal in place and allows you to test the stamp placement on a clear sheet before committing to the actual page.
Once aligned, lower the stamp onto the paper in a single, smooth motion. Do not rock the stamp back and forth or tilt the acrylic block, as this shifting movement causes the stamp to slide, resulting in a double image or a blurred shadow effect. Instead, place your fingers in the center of the acrylic block and apply firm, downward pressure. Gradually move your pressure outward to the edges of the block to ensure every part of the design transfers, keeping the block perfectly flat against the page.
To finish the impression, lift the stamp straight up in one quick, vertical motion. Avoid peeling the stamp off from one side, which can stretch the paper or cause the trailing edge of the stamp to smudge the wet ink. Immediately inspect the impression; if you are using a slow-drying pigment ink, allow the page to sit open for several minutes, or use a hand fan to speed up the drying process in humid environments before touching the design or closing your journal.
Designing Layouts with Personalized Stamps
Integrating personalized stamps into your bullet journal layouts requires a balance between decorative appeal and functional utility. One of the most practical uses for custom stamps is creating headers for your daily, weekly, or monthly spreads. A stamp featuring days of the week, habit tracker grids, or custom icons ensures that your layouts remain uniform throughout the year, saving you the time it takes to hand-draw these repetitive elements. You can also use decorative frame stamps to highlight important notes, quotes, or task lists, drawing the eye directly to key sections of your page.
Creating repetitive border patterns is another excellent way to frame your spreads. By repeating a small, geometric, or floral stamp along the outer edges of your pages, you can establish a cohesive theme without cluttering the center of your layout. When building these patterns, use the dot grid of your journal as a guide to maintain consistent spacing between each impression.
To maintain a clean and readable journal, you must balance these stamped elements with your handwritten text. A page crowded with bold, dark stamps can quickly become visually overwhelming and difficult to navigate. Aim to leave at least thirty to forty percent of your page as white space—empty areas that allow your eyes to rest. Position your functional stamps, such as trackers or headers, first, and then fill in your tasks and notes before deciding if any additional decorative stamps are necessary.
You can also adjust the visual weight of your stamps by controlling the density of the ink. For a bold, high-contrast look, use a fresh, fully inked pad in dark charcoal or black. If you prefer a softer, more subtle background effect that you can write directly over, try the “second-generation stamping” technique. To do this, ink your stamp, press it once onto a piece of scrap paper to remove the excess ink, and then immediately press it onto your journal page without re-inking. This produces a muted, faded impression that adds texture and structure without competing with your handwriting.
Combining Stamps with Washi Tape and Stickers
Combining personalized stamps with washi tape and stickers allows you to create rich, multi-dimensional layers in your bullet journal. A highly effective technique is stamping directly onto matte washi tape. Because standard washi tape often has a slightly waxy or plastic-coated surface, water-based dye inks will bead up and smear. To stamp on washi tape successfully, select a matte, paper-based tape and use a permanent, solvent-based ink or a fast-drying pigment ink. This allows you to create custom labeled tape strips for headers, dates, or decorative borders that you can easily reposition.
Alternatively, you can stamp your designs onto plain sticker paper or kraft paper sheets, cut them out, and paste them into your journal. This method is particularly useful if you are working with a journal that has thin paper prone to bleeding. By stamping onto a separate, thicker sticker sheet first, you completely eliminate the risk of ink ruining the reverse side of your journal page, while also giving your layout a tactile, layered appearance.
Coordinating your ink colors with your existing washi tape and sticker collection is essential for a unified aesthetic. If you are using a sticker set with warm, earthy tones, pair them with warm brown, terracotta, or olive green ink pads rather than a harsh, stark black. For cool-toned layouts featuring blue or purple washi tape, select slate grey or navy blue inks. Keeping a small color swatch card in the back of your journal helps you quickly match your ink pads to your decorative stationery before applying them to your active spreads.
Stamps are also excellent tools for filling awkward gaps in your layouts or creating subtle background textures. If you have placed several stickers on a page and find that the composition feels disconnected, you can use small, low-density stamps—such as tiny dots, stars, or light grid patterns—to bridge the spaces between the stickers. Stamping a light, textured background pattern first and then layering a semi-transparent sticker or a strip of washi tape over it creates a professional, collage-like effect that ties the entire page together.
Troubleshooting Common Stamping Mistakes
Even with careful preparation, stamping mistakes can happen. If your stamp impressions are consistently patchy, with some areas showing solid color and others remaining blank, the issue is usually uneven pressure or a dirty stamp. Over time, dust, paper fibers, and dried ink can accumulate in the fine details of your stamp, preventing it from making full contact with the paper. Clean your stamp thoroughly and try using a stamping mat beneath your page to distribute pressure more evenly. If the impression is blurred or smudged, you are likely using too much ink or rocking the stamp during application; try tapping the ink pad more lightly and keeping your hand perfectly steady.
If you notice that your ink is feathering (spreading out along the paper fibers) or bleeding through to the other side of the page, your ink and paper are incompatible. Many popular bullet journals use paper that is highly absorbent, which pulls the moisture out of wet dye inks very quickly, causing bleeding. To resolve this, switch to a drier, oil-based or pigment-based ink pad. These inks sit on the surface of the paper rather than soaking through, providing a crisp edge even on thinner sheets.
To protect your journal from accidental ink transfer, always place a protective backing sheet directly behind the page you are working on. A simple sheet of heavy cardstock, a plastic pencil board, or a thick piece of scrap paper will catch any ink that bleeds through, preventing it from ruining the clean pages of your next spread. Additionally, keep a clean piece of scrap paper handy to place over freshly stamped designs when you close your journal, ensuring that any slow-drying ink does not transfer to the opposite page. If a mistake does occur, you can easily cover it up by stamping your design onto a separate piece of paper, cutting it out, and pasting it directly over the error.
Frequently Asked Questions (FAQ)
How do I clean my personalized stamps without damaging them?
To maintain the quality and longevity of your personalized stamps, clean them immediately after each use. For water-based dye inks, a gentle wipe with a damp, lint-free microfiber cloth or a soft sponge dipped in mild, soapy water is usually sufficient. Avoid using harsh chemical solvents, rubbing alcohol, or standard baby wipes, as these can dry out rubber and cause photopolymer stamps to become brittle, sticky, or yellowed over time. Once clean, pat the stamps dry with a lint-free towel and store them flat in a cool, dry place away from direct sunlight to prevent warping.
Why is my ink bleeding through my bullet journal pages?
Ink bleeding is typically caused by a mismatch between the wetness of your ink and the absorbency of your journal paper. Standard water-based dye inks are very fluid and easily penetrate the fibers of papers under 120 GSM. To prevent this, switch to a thicker pigment ink or a chalk-based ink, both of which dry on top of the paper surface rather than soaking in. Alternatively, you can place a thick scrap paper or a specialized blotter sheet directly behind your active page to absorb any excess moisture, or stamp your designs onto separate sticker paper first before pasting them into your layout.

Community discussion
Share your experience or ask a question. Comments are reviewed before publication.