
Adding a touch of shimmer to your creative projects can transform a simple layout into an eye-catching masterpiece. Whether you are organizing your weekly spreads in a bullet journal, designing custom greeting cards, or preserving memories in a scrapbook, metallic markers offer a unique way to make your designs stand out. However, finding the right marker involves more than just picking a pleasing color. In the Philippines, where high relative humidity and warm temperatures can influence how ink dries and how paper behaves, selecting the appropriate writing instrument requires a clear understanding of ink formulations, tip designs, and paper compatibility.
To achieve clean, vibrant results without frustrating smudges or ruined pages, you must match the technical specifications of your markers to your specific creative medium. Different projects demand different tools; a marker that glides beautifully over thick cardstock might bleed straight through a standard notebook page. By evaluating key factors such as opacity, drying speed, and tip flexibility, you can build a reliable collection of creative tools that perform consistently under local conditions. This guide provides a practical framework to help you navigate the diverse options available, ensuring your next creative endeavor is both successful and satisfying.
Understanding Metallic Marker Ink and Tip Types
The performance of any metallic marker is fundamentally determined by its ink formulation and the physical design of its tip. Understanding these components allows you to predict how a marker will behave on various surfaces and whether it can deliver the specific visual effects you desire.
Products mentioned in this guide
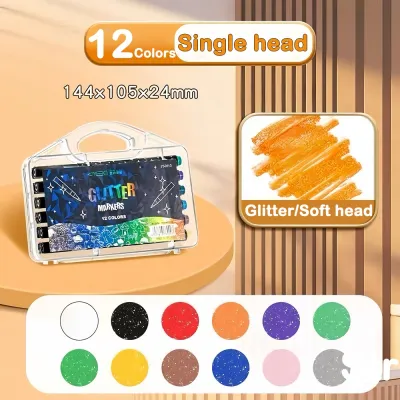
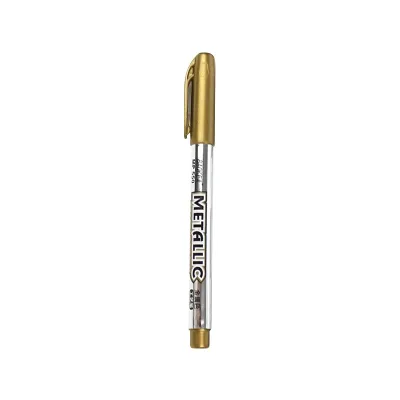
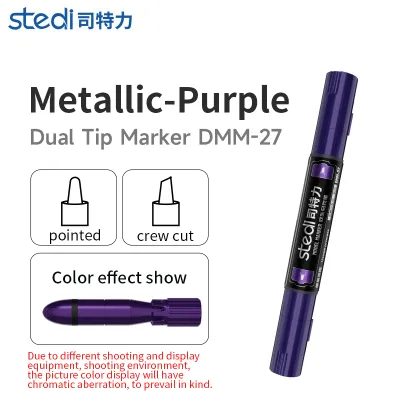
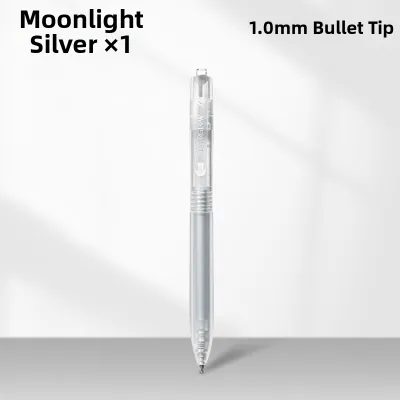
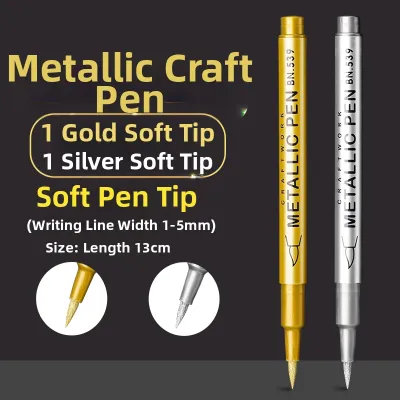
Prices are valid at publication and may change. Please refer to the product page for the latest price.
Metallic inks generally fall into two categories: pigment-based and dye-based. Pigment-based metallic inks contain tiny, suspended particles of reflective material, such as mica or metallic powder, which sit on top of the paper surface rather than soaking into it. This characteristic makes pigment-based inks highly opaque, allowing them to remain vibrant and visible even on dark or black paper. In contrast, dye-based metallic inks rely on soluble colorants that penetrate the paper fibers. While dye-based inks often dry faster and offer a smooth application on light-colored paper, they tend to lose their metallic luster and disappear when applied to dark backgrounds. For projects involving dark cardstock or black journal pages, verifying that a marker uses an opaque, pigment-based formula is essential.
The shape and material of the marker tip, or nib, dictate the style of strokes you can produce. Brush tips, made from flexible nylon or felt, behave like paintbrushes, allowing you to create variable line widths by adjusting your writing pressure. This flexibility makes them well-suited for modern calligraphy, brush lettering, and filling in larger illustrative areas. Fine tips and extra-fine plastic nibs provide a consistent, narrow line, making them a practical choice for detailed line work, intricate borders, and daily writing in compact journal grids. Bullet tips offer a sturdy, rounded point that delivers a uniform medium line, suitable for drawing shapes, coloring, and bold headings. Chisel tips feature an angled edge that allows for both broad strokes and thin lines, offering versatility for geometric designs and structured lettering.
Another critical distinction lies in the ink delivery system: valve-action versus standard felt-tip designs. Standard felt-tip metallic markers are ready to use immediately; the ink is pre-saturated in a fiber reservoir inside the barrel and flows naturally to the tip via capillary action. These markers are convenient for quick journaling sessions but may dry out faster over time. Valve-action markers, often referred to as paint markers, store their ink in a sealed internal chamber. To use them, you must shake the marker to mix the metallic pigments and press the tip down repeatedly on a scrap piece of paper to prime the valve and start the ink flow. While valve-action markers require more preparation and can deliver a wetter, heavier layer of ink, they generally offer high opacity and a long shelf life because the ink remains sealed until activated.
Matching Markers to Your Creative Projects
Every creative project has its own set of physical demands, meaning a marker that excels in one application might fall short in another. Matching the technical specifications of your writing instruments to your specific activity is an effective way to ensure clean, professional results.

For bullet journaling, the primary challenges are paper thickness and drying speed. Most standard bullet journal notebooks feature paper weights ranging from 80 GSM to 160 GSM. If you are working with lighter paper, heavy or wet inks will easily bleed through to the next page. To prevent this, look for water-based metallic markers with fine or medium bullet tips. Water-based formulas tend to sit gently on the paper and dry relatively quickly, reducing the risk of accidental smudging as you turn pages or write quickly. Flexible brush tips are also highly valued in journaling for creating elegant headers, but you should verify that the ink is formulated to dry rapidly to accommodate the fast-paced nature of daily planning.
Card making allows for more creative freedom with heavier materials, often utilizing dark, textured, or metallic cardstock. Because cardstock is typically much thicker than journal paper—often exceeding 200 GSM—you do not need to worry as much about bleed-through. Instead, your focus should be on maximum opacity and color payoff. Pigment-based, valve-action metallic markers are excellent for card making because they deposit a thick, lustrous layer of metallic particles that stands out brilliantly against dark backgrounds. Brush tips are particularly useful here, enabling you to write elegant calligraphy or add shimmering decorative borders along the edges of your cards.
Scrapbooking introduces a unique preservation requirement: archival quality. When you are mounting photographs and preserving handwritten memories for years to come, the chemicals in your stationery matter. Standard inks can contain acids that degrade paper and discolor photographs over time. When selecting metallic markers for scrapbooking, always check the product packaging for “acid-free” and “photo-safe” certifications. These indicators ensure that the ink will not react chemically with your photos or cause the surrounding paper to yellow and deteriorate. Additionally, having a mix of fine tips for detailed journaling and broader brush or bullet tips for decorative elements will give you the versatility needed to design dynamic scrapbook layouts.
Evaluating Paper Compatibility and Bleed-Through
Even a high-quality metallic marker can perform poorly if it is paired with incompatible paper. To avoid frustrating mistakes on your final projects, it is important to understand how different paper characteristics interact with metallic inks.
The weight of the paper, measured in grams per square meter (GSM), is a primary indicator of how well it can handle ink. Lightweight papers (under 100 GSM) are highly susceptible to ghosting—where the writing is visible from the back of the page—and bleed-through, where the ink actually penetrates the paper fibers to the other side. If you plan to use wet, highly opaque metallic markers, such as valve-action paint pens, you should ideally pair them with paper that is at least 120 GSM, though 160 GSM or thicker cardstock is recommended for heavy applications.
Surface texture and coatings also play a significant role in how metallic ink behaves. Smooth, coated papers, such as glossy cardstock or hot-pressed watercolor paper, allow metallic pigments to sit evenly on the surface, maximizing their reflective shine. However, because the ink cannot penetrate the coating easily, drying times will be significantly longer, and the risk of smudging increases. On the other hand, highly absorbent, uncoated, or textured papers, like cold-pressed watercolor paper or handmade cotton paper, will draw the liquid ink deep into the fibers. While this results in rapid drying, it can also cause the metallic particles to sink and lose their luster, leaving behind a duller, less reflective finish.
To ensure compatibility, always perform a simple test before starting a major project. Find a hidden area in your notebook, such as the very last page, or use a scrap piece of the exact paper you plan to use. Write a few sample strokes, observing how the ink flows, whether it feathers (spreads outward along the paper fibers), and how long it takes to dry completely. Turn the paper over to check for ghosting or bleed-through. This simple verification step takes only a few minutes but can save you from ruining an expensive journal or a carefully crafted project.
Essential Features to Verify Before Purchase
When shopping for metallic markers, reading the product labels and understanding technical specifications can help you avoid purchasing tools that do not meet your creative needs.
Drying time is a critical feature to verify, especially in the warm, humid climate of the Philippines. High humidity can slow down the evaporation of water-based solvents, keeping the ink wet on the page for longer. If you are left-handed, or if you prefer to work quickly, look for markers that explicitly advertise quick-drying or smudge-resistant properties. Testing a marker’s drying speed on a scrap piece of paper under your typical working conditions will help you determine how long you need to wait before touching the design or closing your journal.
If your creative projects are intended for long-term display, such as framed wall art, custom signage, or scrapbooks, lightfastness is another essential factor. Lightfastness refers to an ink’s resistance to fading when exposed to light over time. Many standard dye-based metallic inks will gradually lose their color and shimmer when subjected to sunlight. For projects that need to stand the test of time, look for pigment-based markers labeled as “lightfast,” “fade-resistant,” or “archival.”
Safety and environmental certifications are also important to check, particularly if you share your crafting space with children or work in poorly ventilated rooms. Look for non-toxic certifications, such as the AP (Approved Product) seal from the Art and Creative Materials Institute (ACMI), or compliance with international safety standards like EN71. These labels indicate that the markers do not contain harmful levels of toxic substances or heavy metals, making them safer for family crafting sessions and prolonged skin contact.
Navigating Purchases and Verifying Authenticity
Acquiring genuine, high-quality stationery requires some care, as the local market features a wide variety of sellers and product sources. Knowing where to shop and how to inspect your purchases ensures you receive reliable tools that perform as expected.
For a reliable experience, consider purchasing from authorized brand stores or established specialty stationery shops in the Philippines. These retailers maintain direct relationships with manufacturers, ensuring that the products are genuine and have been stored under appropriate temperature and humidity conditions. If you choose to shop on general online marketplaces or e-commerce platforms, look for sellers with official brand mall badges or high positive ratings. Take the time to read customer reviews, paying close attention to unboxing feedback, photos of the actual products, and comments regarding the ink flow and packaging quality.
When your markers arrive, perform a quick physical inspection before using them. Check the packaging for high-quality printing, clear labeling, and the presence of holographic security stickers or batch codes, which are common indicators of authentic products. Inspect the markers themselves for any signs of leakage, cracked caps, or dried ink around the nib. For valve-action markers, ensure the mixing ball inside rattles freely when shaken, as this indicates the ink is still fluid and has not dried out during storage or transit.
Frequently Asked Questions (FAQ)
How do I revive a dried-out metallic marker?
If a metallic marker seems dry, the restoration method depends on its design. For standard felt-tip markers, try storing them tip-down for 24 hours to allow any remaining ink to pool at the nib. For valve-action markers, consult the manufacturer’s instructions to re-prime the pen; this usually involves shaking the barrel thoroughly with the cap on, then gently pressing the tip down on a scrap piece of paper to open the valve and release fresh ink. Avoid adding water, rubbing alcohol, or other solvents to the nib unless explicitly recommended by the manufacturer, as unauthorized liquids can break down the delicate metallic pigments, clog the feed mechanism, or permanently ruin the tip. If a marker remains dry after proper priming and storage, the ink supply is likely depleted, and the marker should be replaced.
Can I use metallic markers on non-paper surfaces like plastic or glass?
Many metallic markers can be used on non-paper surfaces, but their permanence and appearance depend on the ink formulation. Before applying ink to non-porous materials like plastic, glass, metal, or ceramics, check the product label to verify multi-surface compatibility. To ensure proper adhesion, thoroughly clean and dry the surface to remove any dust, oils, or fingerprints. Keep in mind that on smooth, non-porous surfaces, water-based metallic inks can be easily scratched or wiped off once dry. If you require a permanent design on these materials, look for oil-based or multi-surface acrylic metallic markers, and consider applying a compatible clear sealant spray to protect your finished work from wear and moisture.

Community discussion
Share your experience or ask a question. Comments are reviewed before publication.