
Choosing the right molding clay depends on what you want to create, how much time you have, and whether you have access to specialized equipment like a kiln or a home oven. Different clays dry, cure, or remain pliable based on their chemical composition, which directly affects their durability, flexibility, and suitability for specific projects. Understanding these differences ensures your finished piece does not crack, melt, or remain permanently sticky under local tropical conditions.
Air-Dry Clay: Best for Beginners and Simple Sculptures
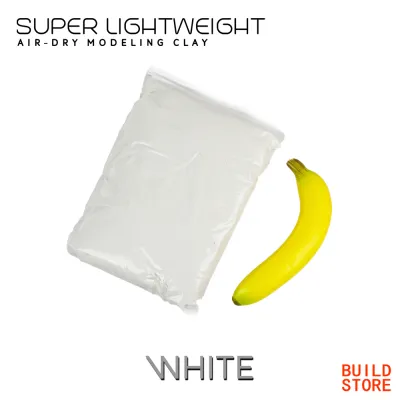
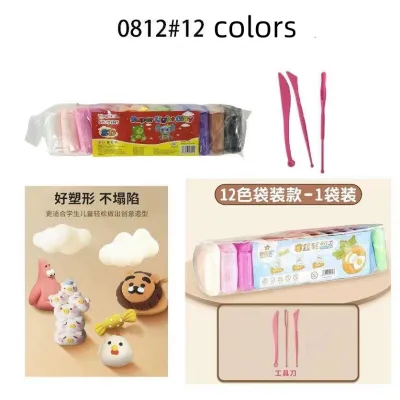
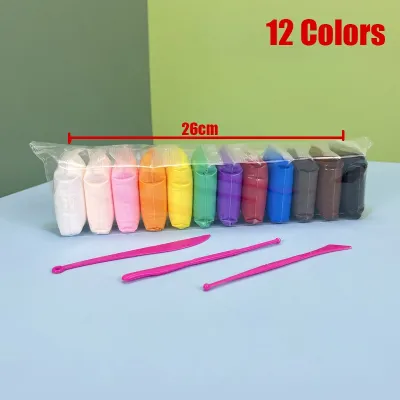
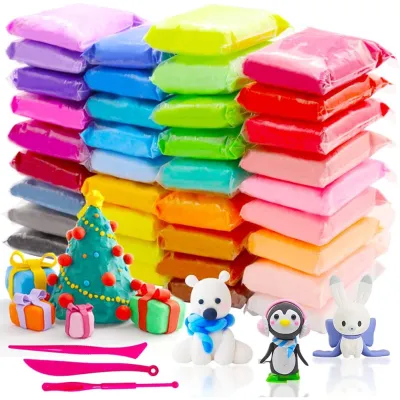
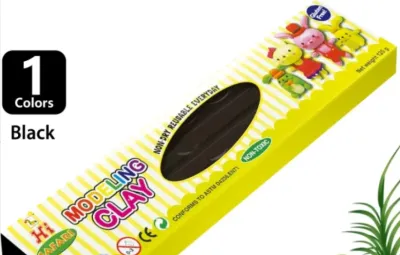
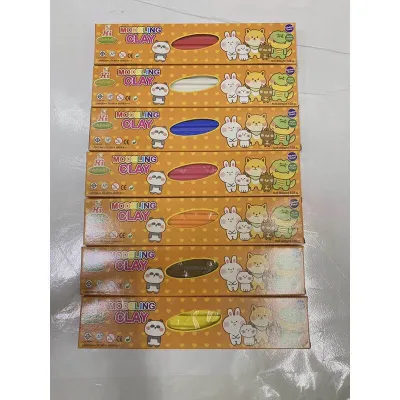
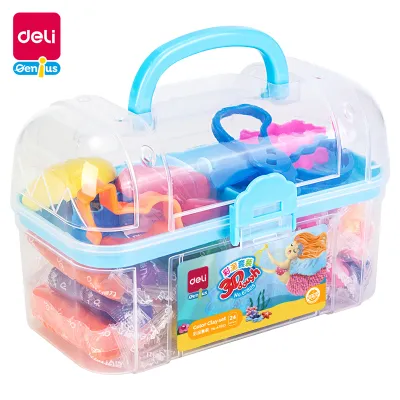
Air-dry clay is an accessible, user-friendly material that hardens at room temperature without requiring any baking or firing. This makes it an excellent choice for casual crafters, school projects, and simple decorative items. The clay is typically water-based, meaning it is easy to manipulate, smooth out with a damp finger, and clean up using only water.
The drying process relies entirely on the evaporation of water from the clay body. Depending on the thickness of your sculpture and the ambient humidity, drying can take anywhere from 24 hours to several days. In humid tropical climates, drying times are often extended, requiring patience and a well-ventilated drying area away from direct sunlight to prevent uneven drying and warping.
Products mentioned in this guide
Prices are valid at publication and may change. Please refer to the product page for the latest price.
While highly convenient, air-dry clay has distinct limitations that you must consider before starting a project. As the water evaporates, the clay shrinks slightly, which can lead to cracking if the piece is built around a rigid internal support or armature. Once dry, the material remains sensitive to moisture and is relatively fragile compared to oven-baked or kiln-fired alternatives.
To achieve a polished and durable finish, post-drying treatment is essential. Once the clay is completely dry, you can gently sand away rough edges and imperfections. Applying acrylic paint adds vibrant color, but you must seal the finished piece with a clear varnish or polyurethane sealant to protect it from ambient moisture and accidental water splashes. Unused clay must be stored in an airtight container with a damp paper towel to prevent it from hardening prematurely.
Polymer Clay: Ideal for Detailed Crafts and Jewelry
Polymer clay is a synthetic modeling material composed of polyvinyl chloride (PVC) resin and liquid plasticizers. Unlike water-based clays, it does not dry out when exposed to air, allowing you to work on intricate details over days or weeks without rushing. This stability makes it the go-to choice for making jewelry, miniatures, and highly detailed figurines.

Before sculpting, polymer clay requires conditioning, which involves kneading the material to warm it up and distribute the plasticizers evenly. This process makes the clay pliable and prevents it from crumbling during shaping. You can easily mix different colors of polymer clay together to create custom shades, gradients, or intricate patterns like canes.
To harden polymer clay, you must bake it in a conventional home oven or a dedicated toaster oven. It is critical to follow the manufacturer’s instructions regarding baking temperature and duration, as under-baking leaves the clay brittle, while over-baking can scorch the material and release harmful fumes. Using an independent oven thermometer helps verify that your oven maintains the correct temperature throughout the curing process.
Once properly cured, polymer clay is remarkably durable and retains a slight, resilient flexibility that prevents thin parts from snapping easily. This durability is why cured polymer clay is highly suitable for wearable items like earrings, beads, and charms. The cured surface can be sanded, buffed, drilled, or painted with compatible water-based acrylics.
Safety is a primary consideration when working with polymer clay. Because it requires heat to cure, young children should always be supervised during the baking process. Work in a well-ventilated room, and designate specific tools and baking sheets for crafting rather than mixing them with food-preparation utensils. Never use polymer clay to create functional surfaces that will come into direct contact with food or beverages.
Oil-Based Clay: Perfect for Prototyping and Reusable Modeling
Oil-based clay, often referred to as plastiline or plastilina, is formulated with oils, waxes, and clay minerals. Because oil does not evaporate like water, this clay never dries out or hardens when exposed to the air. It remains permanently pliable and reusable, making it an invaluable tool for artists who need to constantly refine their work.
This non-hardening characteristic makes oil-based clay ideal for specific professional applications. It is widely used in stop-motion animation for puppet armatures, in industrial design for prototyping vehicle bodies, and in mold-making processes where a temporary barrier or support is required. You can sculpt, smooth, scrape down, and rebuild the same block of clay indefinitely.
When selecting an oil-based clay for mold making, it is important to choose a sulfur-free formula. Sulfur can inhibit the curing process of certain liquid silicone rubbers, leaving your mold sticky and ruined. Checking the product specifications before purchasing ensures compatibility with your casting materials.
However, the inability to harden means oil-based clay is unsuitable for finished, permanent display pieces. It cannot be baked, fired, or painted with water-based mediums like acrylics, as the oils in the clay will repel the paint. The material can also soften or sag if exposed to high ambient temperatures, so storing your sculptures in a cool, dry place is necessary to maintain their shape.
Cleaning up after working with oil-based clay requires a different approach than water-based varieties. Since water alone will not dissolve the oils, you may need to use mild soap, rubbing alcohol, or specialized hand cleaners to remove residue from your hands and tools. Storing the clay in sealed containers or wrapping it in plastic wrap helps keep dust and debris from sticking to its tacky surface.
Ceramic and Water-Based Clays: For Pottery and Functional Ware
Ceramic clays are natural, earth-derived materials that require high-temperature firing in a specialized kiln to achieve permanent structural integrity. This category includes earthenware, stoneware, and porcelain. These clays are the standard choice for creating functional, everyday items such as mugs, bowls, plates, and outdoor planters.
The transformation from raw clay to finished ceramic is a multi-step process. After shaping the piece, it must dry completely to a “bone-dry” state before undergoing an initial bisque firing. A second firing is typically required to melt decorative glazes onto the surface, creating a glassy, non-porous barrier that makes the item food-safe and completely waterproof.
Working with ceramic clay requires careful planning due to significant shrinkage rates, which can range from 5% to 15% during the drying and firing stages. Crafters must also master the technique of “wedging” the clay to remove air bubbles, which can expand in the kiln and cause the piece to shatter. Glaze compatibility must also be verified to ensure the glaze expands and contracts at the same rate as the clay body.
Because of the need for a high-temperature kiln, ceramic clay is less suited for casual home crafting than air-dry or polymer options. Access to a pottery studio, community workshop, or professional firing service is usually necessary. The equipment, space, and cleanup requirements are substantial, making this a more committed hobby or professional pursuit.
How to Match Molding Clay to Your Project Needs
Selecting the right molding clay involves balancing your project goals with your available workspace and equipment. If your primary goal is to create functional kitchenware or durable outdoor pots, traditional ceramic clay is the only suitable option. For detailed, wearable crafts like jewelry that you want to cure quickly at home, polymer clay is the most practical choice.
If you are working with children, hosting a casual craft night, or creating simple decorative items without access to an oven, air-dry clay offers the easiest entry point. For temporary models, sculpting practice, or mold-making setups where you want to reuse the material repeatedly, oil-based clay is the logical selection.
| Clay Type | Hardening Method | Best For | Skill Level | Water Resistance |
|---|---|---|---|---|
| Air-Dry Clay | Air exposure (evaporation) | Simple sculptures, school crafts | Beginner | Low (requires sealant) |
| Polymer Clay | Home oven baking | Jewelry, miniatures, fine details | Intermediate | High (after curing) |
| Oil-Based Clay | Non-hardening | Prototyping, armatures, mold walls | All levels | High (repels water) |
| Ceramic Clay | High-temperature kiln firing | Pottery, functional kitchenware | Advanced | Complete (after glazing) |
Before purchasing a large quantity of any clay, it is wise to buy a small test batch to evaluate its handling characteristics under your local working conditions. Check product labels carefully to verify non-toxicity, drying times, and curing temperatures. Testing how a specific clay responds to your tools, paints, and sealants on a small scale will save time and prevent frustration on larger projects.
Frequently Asked Questions (FAQ)
Is molding clay safe for children to use?
Most modeling clays designed for school and recreational use are formulated to be non-toxic, but you should always check the packaging for recognized safety certifications. For young children, air-dry clays and non-hardening modeling clays are generally preferred because they do not require heat to cure. Avoid polymer clays or ceramic clays for unsupervised play, as polymer clay requires oven baking and ceramic clay can produce fine dust when dry. Always supervise children to ensure they do not ingest the clay or use crafting tools unsafely.
Can I make air-dry clay waterproof?
Air-dry clay cannot be made completely waterproof in the sense of being safe for continuous water submersion or food use, but you can make it highly water-resistant. To protect your finished piece from humidity and light moisture, apply several thin coats of an acrylic varnish, polyurethane sealer, or epoxy resin once the clay is completely dry. Ensure you cover the entire surface, including the base, to prevent moisture from seeping in and softening the clay. These sealed pieces should only be cleaned with a damp cloth and kept indoors.

Community discussion
Share your experience or ask a question. Comments are reviewed before publication.