
Starting your first scrapbooking project is an exciting way to preserve memories, but browsing craft stores or online marketplaces can quickly feel overwhelming. The secret to a successful layout lies in understanding the primary categories of scrapbook paper: sturdy cardstock, decorative patterned sheets, and delicate textured or translucent papers. Each of these materials serves a distinct functional or aesthetic purpose in your album. By learning how to identify their structural roles, verify archival labels like acid-free and lignin-free, and interpret weight and size specifications, you can confidently select the right materials for your project. This foundational knowledge ensures your creative designs remain beautiful and intact for years to come.
Core Scrapbook Paper Categories and Their Uses
Every scrapbooking layout is a balance of structure and decoration. To prevent your pages from warping under the weight of photos and embellishments, you must distinguish between the functional roles of solid, printed, and textured sheets. A common mistake for beginners is using too many busy patterns or choosing papers that are too thin to support their designs. By pairing heavy-weight solid bases with lighter decorative accents, you create a balanced visual hierarchy that highlights your photographs rather than cluttering the page.
Cardstock for Base Pages and Structural Support
Solid cardstock is the workhorse of the scrapbooking world, providing the essential foundation for almost every layout. This heavy-weight paper is primarily used as the base page of your album, but it also excels when cut into journaling cards, photo mats, or custom die-cut shapes. Because it lacks busy patterns, solid cardstock offers a clean, neutral border around your photos, helping them stand out against more colorful backgrounds.
Products mentioned in this guide
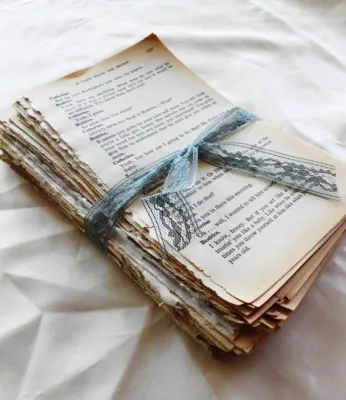
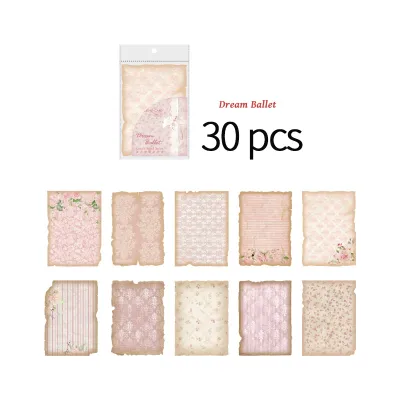
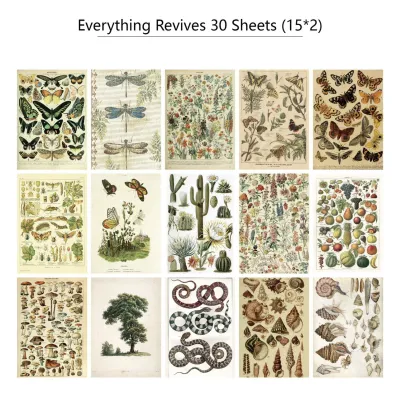
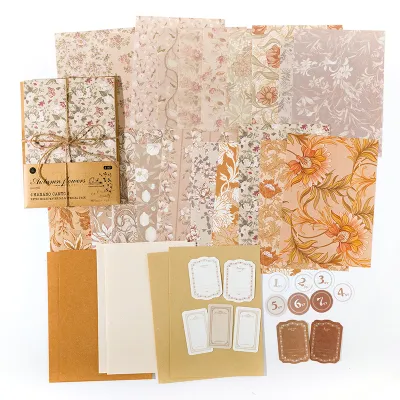
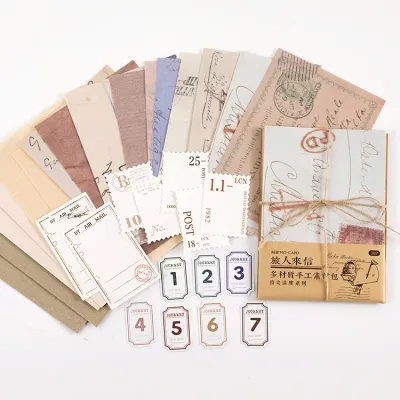
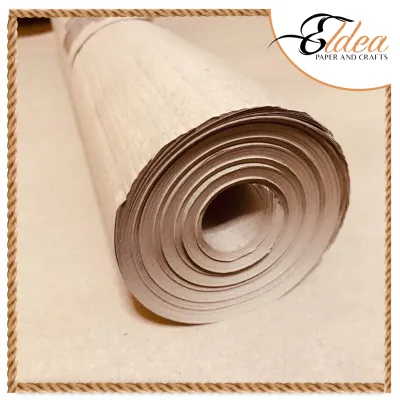
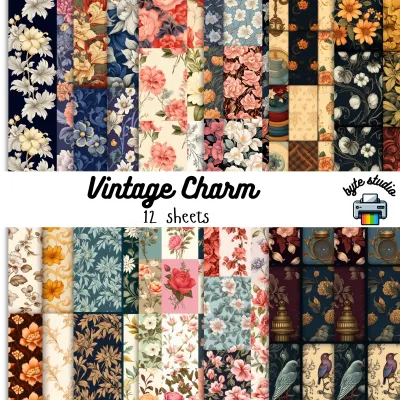
Prices are valid at publication and may change. Please refer to the product page for the latest price.
When selecting cardstock, always check the thickness and stiffness of the sheet to ensure it can support multiple layers of paper, heavy adhesives, and dimensional embellishments like buttons or ribbons. Thin cardstock may buckle or sag when wet glue is applied, which can ruin the flat presentation of your page. For structural bases, look for medium-to-heavy cardstock that feels rigid to the touch. If you plan to fold or score the paper for interactive elements like pockets or flaps, verify that the cardstock is pliable enough to bend without cracking along the seams.
Patterned Paper for Backgrounds and Accents
Patterned paper adds personality, color, and theme to your scrapbook layouts, but choosing the right print requires a strategic eye. Large-scale prints, such as bold floral designs or wide geometric stripes, work best as background sheets or large borders where they will not be completely covered by photos. In contrast, small-scale prints like tiny polka dots, subtle grids, or miniature motifs are ideal for smaller accents, photo matting, and journaling spots because they do not compete with your pictures.
Before purchasing patterned paper, verify whether the design is printed on one side (single-sided) or both sides (double-sided) of the sheet. Single-sided sheets are excellent for flat background pages where the reverse side will never be seen, and they are often easier to glue down flat. Double-sided papers offer excellent versatility, allowing you to coordinate your layout easily by flipping the paper over to reveal a complementary design. These double-sided sheets are particularly useful for folding techniques, torn-edge borders, and interactive page elements where both sides of the paper remain visible to the reader.
Textured and Vellum Papers for Layering
Specialty papers like textured cardstock and translucent vellum introduce physical depth and sophisticated visual layers to your scrapbook pages. Textured papers, which may feature embossed linen, canvas, or woodgrain finishes, catch the light beautifully and add a tactile element to your designs. However, these uneven surfaces can interact unpredictably with different adhesives and writing instruments. Some fine-tip pens may skip or bleed on heavily textured paper, so it is wise to test your writing tools on a scrap piece first to check for smoothness and drying speed.
Vellum, a semi-translucent paper with a smooth, frosted appearance, is perfect for softening busy backgrounds, creating elegant overlays, or printing delicate journaling. Because vellum is non-porous, standard liquid glues will often seep through or show as unsightly wet spots behind the paper. To secure vellum cleanly, check the instructions on your adhesive packaging to see if it is formulated for translucent materials, or use alternative fastening methods like brads, eyelets, or strategically placed photo corners.
Archival Quality: Checking for Acid-Free and Lignin-Free Labels
When creating a scrapbook, you are not just making a temporary craft; you are preserving memories for future generations. Standard papers, such as school construction paper or cheap writing pads, contain natural acids and an organic polymer called lignin. Over time, exposure to air and light causes these substances to break down, releasing acidic compounds that turn the paper yellow and brittle. More importantly, these acids can migrate to your photographs, causing irreversible fading, dark spots, and physical deterioration.

To protect your precious photos and memorabilia, always look for explicit manufacturer labels such as “acid-free,” “lignin-free,” or “archival safe” on the product packaging. These labels indicate that the paper has been chemically treated or manufactured from purified wood pulp to ensure it remains chemically stable over time. While standard craft paper without these labels is perfectly fine for temporary decorations, gift tags, or practice layouts, it should never come into direct contact with your irreplaceable photographs.
In tropical climates like the Philippines, high humidity and warm temperatures can accelerate chemical reactions and paper degradation. This environmental factor makes verifying archival quality even more critical for local crafters. When shopping at local craft stores or online marketplaces, examine the product description or physical packaging carefully. If a paper pack does not explicitly state its archival properties, reserve it for non-photo decorative elements or choose a certified alternative to ensure your hard work survives the humid climate intact.
Paper Weight and Size Specifications for Beginners
Understanding paper weight is crucial for matching your materials to your tools and album style. Paper weight is typically measured in grams per square meter (gsm) or pounds (lb), with higher numbers indicating thicker, heavier sheets. Lightweight papers (around 80 to 120 gsm) are easy to fold and tear but will warp easily under wet glue. Medium-weight papers (150 to 200 gsm) offer a great balance for patterned sheets, while heavy-weight cardstock (210 gsm and above) provides the rigid support needed for base pages.
Before purchasing your paper, you must also consider the physical dimensions of your scrapbook album. The most common standard sizes for scrapbooking are 12×12 inches and 8.5×11 inches, though smaller formats like 6×6 inches or A5 are increasingly popular for quick, travel-themed projects. Always measure your album’s plastic page protectors or sleeves before buying paper. Purchasing 12×12-inch paper for an 8.5×11-inch album means you will have to trim every single sheet, which can lead to unnecessary waste if you do not plan your cuts carefully.
Additionally, keep in mind that extremely thick cardstock can pose challenges for standard home crafting tools. Heavy-weight sheets may jam or dull the blades of lightweight paper trimmers, manual die-cutting machines, or decorative punches. Before attempting to cut intricate designs out of thick cardstock, verify your equipment’s maximum thickness capacity in its user manual. If you are working with thick materials, a heavy-duty rotary trimmer or a fresh blade in your craft knife will yield much cleaner edges without tearing the paper fibers.
Building a Starter Paper Kit for Your First Layout
When assembling your very first scrapbooking kit, it is easy to overspend on individual sheets that do not coordinate well together. To build a practical, cost-effective starter kit, aim for a balanced purchasing ratio of solid cardstock to patterned paper. A good rule of thumb for beginners is to acquire approximately three sheets of solid cardstock for every one sheet of patterned paper. This ratio ensures you have plenty of sturdy base pages and photo mats to balance out your decorative accents.
To take the guesswork out of color coordination, consider purchasing coordinated paper pads or paper collections. These curated packs are designed by professional artists to ensure that all the colors, patterns, and themes harmonize beautifully right out of the package. This eliminates the need for advanced color theory knowledge and prevents the visual clash that often happens when mixing random sheets. Many collections also include matching cardstock stickers or die-cut ephemera, making it simple to create a cohesive look across multiple pages.
As you shop, check local craft stores or online marketplaces for starter bundles, keeping in mind that prices in ₱ will vary based on the brand, paper weight, and sheet count. A basic 12×12-inch paper pad containing 24 to 48 sheets is often much more economical than buying individual open-stock sheets. Be sure to read customer reviews and product specifications to confirm the paper’s weight and archival status before finalizing your purchase, ensuring you get the best value for your budget.
Frequently Asked Questions (FAQ)
Can I use regular printer paper for scrapbooking?
Standard office printer paper is not recommended for scrapbooking because it lacks the necessary thickness and archival qualities. At roughly 70 to 80 gsm, printer paper is too thin to support photos, heavy adhesives, or embellishments without severe warping and wrinkling. Furthermore, standard printer paper is rarely certified acid-free or lignin-free, meaning it will likely yellow and degrade your photographs over time. It is best to reserve printer paper for sketching out your page layouts, creating cutting templates, or practicing folding techniques before working with your high-quality scrapbook sheets.
How do I store leftover scrapbook paper to prevent damage?
To maintain the quality of your leftover scrapbook paper, store it flat in a cool, dry environment away from direct sunlight. In humid climates, keeping your paper flat is essential to prevent the edges from curling or warping due to moisture in the air. Avoid storing paper vertically without proper support, as this can cause the sheets to bend permanently under their own weight. Keep your paper in its original packaging, in dedicated plastic storage sleeves, or in flat plastic drawers to protect it from dust, accidental spills, and fading caused by prolonged exposure to indoor lighting.

Community discussion
Share your experience or ask a question. Comments are reviewed before publication.