
Selecting the right small stickers for your bullet journal can transform a cluttered notebook into a highly organized, visually pleasing, and functional planner. Because bullet journaling relies on rapid logging and custom layouts, the stickers you choose must serve a clear purpose without bulk or mess. The ideal small stickers align perfectly with your journal’s grid, resist peeling in warm climates, and accept your favorite pen inks without smudging. By matching sticker materials, sizes, and styles to your specific layout needs, you can create a seamless journaling experience that keeps you motivated day after day.
To build a layout that works, you must first understand how different sticker materials interact with your journal’s paper. From ultra-thin transparent sheets to sturdy matte paper, each material offers distinct advantages and limitations depending on your writing tools and environmental conditions.
Understanding Small Sticker Materials and Finishes
Sticker materials generally fall into three categories: paper-based, clear polyethylene terephthalate (PET), and vinyl. Paper-based stickers are the most common and user-friendly option for bullet journaling. They are thin, highly flexible, and completely opaque, which allows them to blend smoothly onto the page. Because they are made of paper, they add minimal thickness to your notebook, preventing the dreaded “alligator mouth” effect where a journal becomes too bulky to close properly. Clear PET stickers, on the other hand, are made of a thin plastic film that offers complete transparency. They give illustrations a seamless, printed-on-the-page look, making them excellent for decorative borders and delicate floral accents. Vinyl stickers are the thickest of the three, offering high durability and water resistance, though their bulk makes them better suited for journal covers rather than daily layout pages.
Products mentioned in this guide
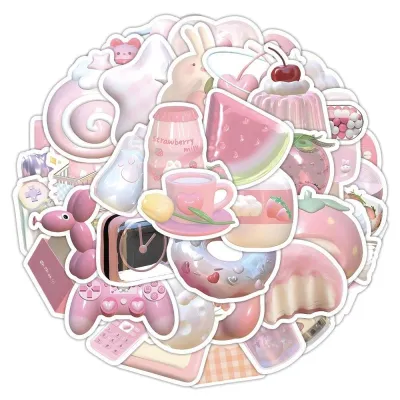

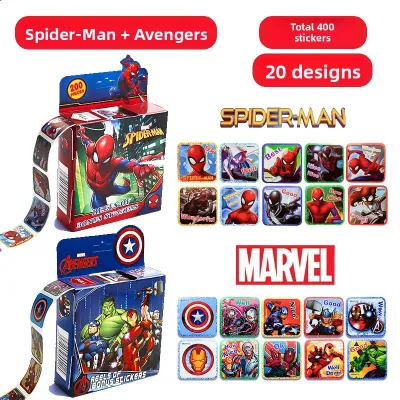
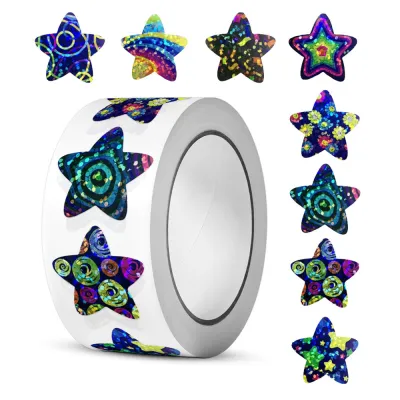
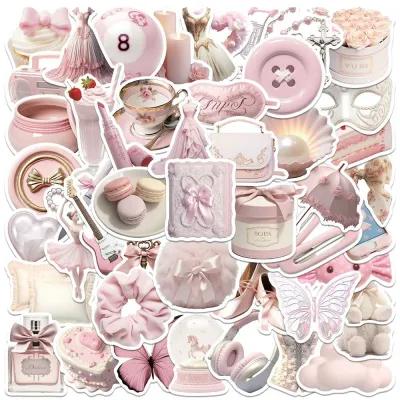
Prices are valid at publication and may change. Please refer to the product page for the latest price.
The finish of your small stickers directly dictates how they interact with your writing instruments. Matte finishes are highly porous, meaning they absorb ink quickly and allow you to write directly on top of them with standard gel pens, ballpoints, and even fountain pens. Glossy finishes have a slick, non-porous coating that repels water-based inks. If you attempt to write on a glossy sticker with a gel pen, the ink will likely bead up, pool, and smudge. Clear PET stickers share this non-porous characteristic, requiring specialized permanent markers or quick-drying pigment liners if you plan to add handwritten details over them.
Adhesive strength is another critical factor, especially in tropical climates like the Philippines, where high humidity can affect how glue behaves over time. Excess moisture in the air can cause low-quality adhesives to lose their grip, leading to curling edges and peeling stickers. Conversely, some permanent adhesives can bond too aggressively with thin journal paper, such as 52gsm or 68gsm sheets, making it impossible to reposition a misplaced sticker without tearing the page. When shopping, look for manufacturer specifications that indicate “repositionable,” “removable,” or “low-tack” adhesives if you prefer a forgiving application process, or opt for high-quality permanent adhesives if you want your layouts to remain pristine for years.
To ensure a successful pairing, perform an easy observable trial before committing to a full layout. Apply a sample sticker to a back page of your journal, write on it with your preferred pen, and wait ten seconds. Rub your finger over the ink to check the drying speed and smudge resistance. Additionally, leave the sticker in place for twenty-four hours to observe how the adhesive holds up against the local humidity and whether it causes the underlying paper to warp or buckle.
Matching Sticker Styles to Your Layout Needs
Your bullet journal layouts dictate the visual style and functionality of the stickers you should use. A minimalist layout, which prioritizes speed, clarity, and clean lines, benefit most from small functional icons and muted color palettes. Tiny icons representing daily tasks—such as a small envelope for emails, a coffee cup for breaks, or a simple exclamation point for high-priority items—keep your daily logs concise. Using stickers with clean typography and neutral tones ensures that your pages remain highly readable and free from visual clutter, allowing your handwriting to stand out.

Tracker and habit layouts require a highly structured approach where consistency is key. For these pages, uniform shapes like small checkboxes, stars, and color-coded dots are incredibly effective. These stickers should align precisely with standard grid dimensions to maintain a clean aesthetic. For instance, using 5mm round dot stickers allows you to track daily habits, such as water intake or sleep cycles, simply by placing a colored dot in the corresponding grid square. This saves you the time of drawing identical boxes every week and provides an instant, color-coded visual summary of your progress at a single glance.
Artistic and scrapbook layouts allow for more creative freedom, incorporating decorative elements that add visual depth and texture to your pages. For these spreads, look for small die-cut illustrations, vintage ephemera designs, and textured paper stickers. You can create beautiful, multi-dimensional effects by layering different materials. For example, placing a clear PET floral sticker over a torn piece of brown kraft paper sticker creates a rustic, layered look without adding excessive weight to your page. Mixing textures, such as matte paper with metallic foil accents, adds a touch of elegance to weekly headers and monthly cover pages.
Regardless of your preferred style, the key to a cohesive layout is balance. Avoid crowding too many decorative stickers into a functional space. Instead, use small stickers as focal points, anchors, or dividers that guide the reader’s eye naturally through the page’s content.
Key Selection Criteria Before Purchasing
Before purchasing small stickers, it is essential to evaluate their physical dimensions and production quality to ensure they integrate seamlessly with your journal. The most critical step is verifying size proportions. Standard bullet journals utilize a 5mm dot grid or square grid pattern. To maintain a neat layout, functional stickers should ideally measure between 4mm and 8mm. A sticker within this size range fits comfortably inside a single grid square or spans exactly two squares, preventing it from overlapping adjacent lines of text. Always measure your journal’s grid and compare it to the product dimensions listed by the manufacturer before making a purchase.
Cutting precision is another factor that determines how easy and enjoyable the stickers are to use. Stickers are generally produced as either kiss-cut sheets or individual die-cut pieces. Kiss-cut sheets are highly recommended for small stickers. On a kiss-cut sheet, the sticker shape is cut through the top adhesive layer while leaving the backing sheet intact. This allows you to peel tiny stickers off quickly and in sequence. Individual die-cut stickers are cut completely through both the sticker and the backing paper. While die-cuts are excellent for larger decorative designs, very small die-cut stickers can be incredibly frustrating to peel, often requiring you to bend the edges and risk creasing the sticker before it even reaches the page.
Finally, review the product descriptions and user feedback regarding paper weight and bleed-through risks. While the sticker itself will not bleed, the paper it is printed on can affect how ink behaves when you write directly over it. If you plan to use wet inks, such as fountain pens or heavy brush markers, on your stickers, ensure the sticker paper is thick and opaque enough to prevent the ink from soaking through to the other side of your journal page. Reading reviews from other stationery enthusiasts can provide valuable insights into how the stickers perform with various pen brands and paper weights.
Application and Precision Placement Techniques
Applying tiny stickers can be challenging, especially when trying to align them perfectly within a 5mm grid. Handling small stickers with your fingers can transfer natural skin oils to the adhesive backing. Over time, these oils degrade the glue, causing the edges of the sticker to curl up, a problem that is often worsened by warm, humid weather. To prevent this, use precision tools such as fine-tipped tweezers or a small silicone spatula. These tools allow you to pick up, position, and press down tiny stickers without ever touching the adhesive, ensuring a clean application and a stronger bond.
To achieve perfect alignment, plan your layout before committing the stickers to the page. You can use a pencil to lightly mark the grid boundaries where each sticker will go. If you are using repositionable stickers, lay them down gently without pressing hard, allowing you to adjust their position if they look crooked. Once you are satisfied with the placement, use the flat end of your tweezers or a clean finger to press firmly from the center of the sticker outward to seal the edges and remove any trapped air bubbles.
For a balanced and professional look, combine small stickers with thin washi tape borders. Using a 3mm or 5mm washi tape to frame your daily columns or habit trackers creates a structured boundary. You can then place your small icon stickers at the corners or as bullet points within these framed areas. This technique helps organize your page visually, preventing the small stickers from looking like they are floating aimlessly on the paper.
Sourcing and Verifying Sticker Supplies
Finding high-quality small stickers requires careful sourcing, whether you are shopping at local stationery boutiques or browsing online craft stores. When exploring online marketplaces, always look past the main promotional images and examine the detailed product specifications. Sellers often use close-up photography that makes tiny stickers appear much larger than they actually are. To verify the true scale, look for product photos that include a common reference object, such as a standard pen tip, a paperclip, or a ₱1 coin. This simple visual comparison will help you avoid purchasing sheets that are too large or too small for your layout.
Pay close attention to sheet dimensions and total sticker counts. A product listing might advertise “hundreds of stickers,” but if the sheet itself is pocket-sized, the individual stickers may be too microscopic to be functional. Conversely, a large sheet with widely spaced designs might contain very few usable icons. Calculating the cost per sticker sheet and checking the physical dimensions of the sheet (such as standard A6 or pocket sizes) will give you a much better idea of the product’s value and how it will fit into your storage setup.
If you are unsure about how a specific sticker brand will perform on your journal’s paper, look for shops that offer sample packs or smaller, budget-friendly sheets. Purchasing a small test pack allows you to evaluate the adhesive strength, paper texture, and ink compatibility on your specific journal brand before investing in bulk orders. Additionally, check the seller’s return and exchange policies, especially when ordering imported stationery, to ensure you can resolve any issues with damaged or miscut sheets.
Frequently Asked Questions (FAQ)
Can I write on small clear PET stickers with standard gel pens?
Standard water-based gel pens, rollerballs, and fountain pens do not perform well on clear PET stickers. Because PET is a plastic-based, non-porous material, it cannot absorb water-based inks, causing the ink to pool, bead up, or smudge easily even after drying for a long time. If you want to write on clear PET stickers, you must use specialized writing tools such as permanent markers, multi-surface ballpoint pens, or quick-drying pigment liners. To avoid ruining a completed layout, always perform a quick test on a spare sticker or the unused margin of the sticker sheet to verify that your chosen pen dries completely and does not smudge.
How do I safely remove a misplaced small sticker without tearing the page?
Removing a sticker from delicate journal paper requires patience and a gentle touch to avoid tearing the paper fibers. To safely lift a misplaced sticker, apply low, gentle heat from a hairdryer held a few inches away for five to ten seconds. The warmth will temporarily soften the adhesive, making it more pliable. Next, use a pair of fine-tipped tweezers, a craft knife, or a clean fingernail to slowly lift one corner of the sticker. Pull the sticker away at a very shallow, flat angle—almost parallel to the page—rather than pulling straight up. This horizontal tension minimizes the upward pull on the paper fibers, significantly reducing the risk of tearing.
What is the ideal size for functional bullet journal icons?
The ideal size for functional bullet journal icons is between 4mm and 6mm. This compact size allows the sticker to fit neatly inside a single 5mm grid square, leaving enough surrounding negative space so your layout does not feel cramped. If you are using stickers for prominent headers, section dividers, or weekly dates, a slightly larger size of 8mm to 10mm works beautifully, as it spans exactly two grid squares and draws the eye naturally to key sections. Regardless of the size you choose, maintaining a consistent scale across your pages ensures a clean, balanced, and professional-looking journal.

Community discussion
Share your experience or ask a question. Comments are reviewed before publication.