
Choosing the right coloring pencil set can completely transform your creative process, whether you are sketching detailed portraits, coloring intricate mandalas, or building rich, painterly landscapes. The core difference between the two main types of colored pencils lies in the binder—the substance that holds the pigment together and allows it to transfer onto your paper. Wax-based pencils are known for their soft, buttery texture, making them incredibly easy to blend and capable of producing thick, vibrant color laydowns. On the other hand, oil-based pencils feature a harder core that excels at fine detail work, allows for endless light layers, and resists the cloudy surface haze known as wax bloom.
Neither option is universally superior; instead, each serves a distinct artistic style and workflow. Your choice will depend on how you prefer to build up color, the texture of the paper you use, and how well you want your finished artwork to withstand environmental factors like humidity. By understanding the physical behavior of these two binders, you can select a coloring pencil set that matches your technique and helps you achieve the exact visual effects you desire.
Core Material Differences: Understanding the Binders
To understand how a coloring pencil set performs, it helps to look at what goes into the pencil core. Every colored pencil core is made of a mixture of finely ground color pigments, filler materials, and a binding agent. The binder is the crucial ingredient that determines how smoothly the pencil glides across the page, how easily the tip crumbles, and how the pigment adheres to the paper fibers.
Products mentioned in this guide
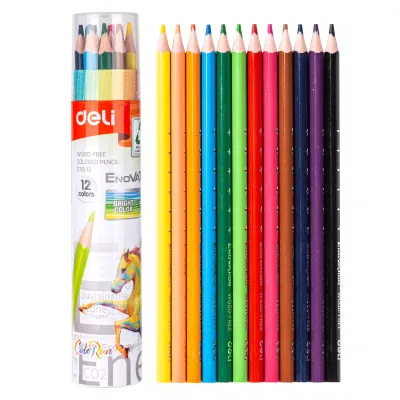
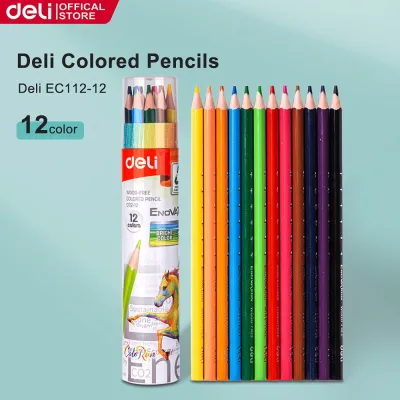
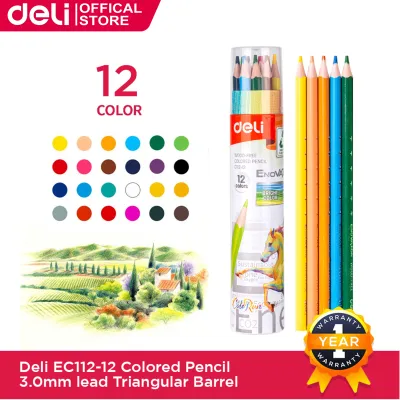
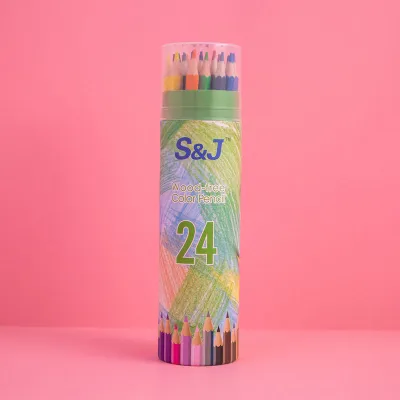
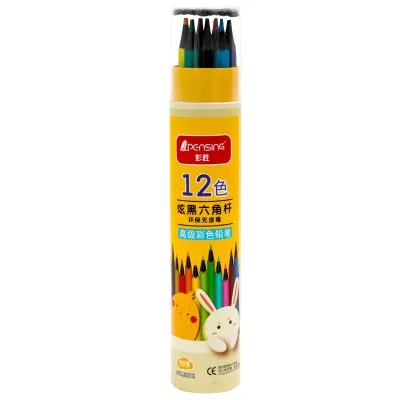
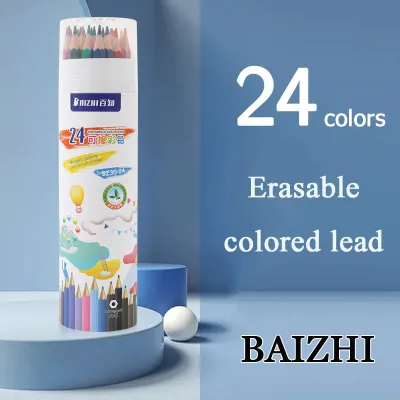
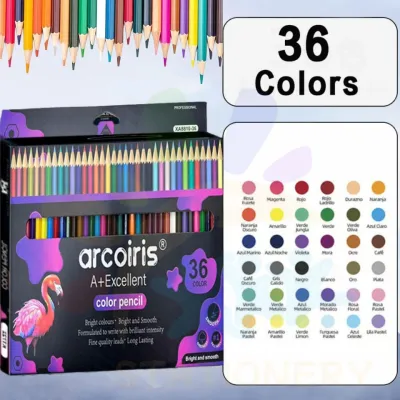
Prices are valid at publication and may change. Please refer to the product page for the latest price.
Wax-based pencils utilize a binder made primarily of paraffin or beeswax. This material gives the core a soft, pliable, and almost creamy texture. Because the wax is soft, it releases a generous amount of pigment with very little pressure. However, this softness also makes the pencil core more brittle. Under heavy pressure, the tip of a wax-based pencil is more likely to chip, snap, or wear down quickly, requiring frequent sharpening if you are trying to maintain a fine point.
Oil-based pencils use a vegetable-based oil, such as linseed or soy oil, as their primary binding agent. This oil binder creates a much harder, more cohesive core. When you draw with an oil-based pencil, the core resists crumbling and holds a sharp point for a remarkably long time, allowing for highly precise lines. The pencil glides smoothly across the paper, but it deposits a thinner, more controlled layer of pigment with each stroke.
It is important to note that the term “oil-based” can sometimes be slightly misleading. In the stationery industry, many oil-based pencils still contain a small percentage of wax to help balance the hardness of the core and improve blendability. If you have strict preferences or sensitivities to certain materials, it is always wise to check the manufacturer’s detailed specifications or material safety data sheets to understand the exact binder composition of a specific coloring pencil set.
Blending and Layering Capabilities
The physical properties of wax and oil binders directly dictate how colors interact when you mix them on the page. Wax-based pencils are the traditional favorites for heavy blending and burnishing. Burnishing is a technique where you apply firm, heavy pressure to blend multiple layers of color together, flattening the paper fibers and creating a smooth, glossy, paint-like finish. Because the wax binder is highly malleable, different colors easily smear and merge into one another, allowing for quick, seamless transitions.

However, this heavy laydown comes with a major limitation: wax quickly fills the “tooth” of the paper. The tooth refers to the microscopic valleys and ridges on the paper’s surface that catch and hold pigment. Once these valleys are completely filled with soft wax, the surface becomes slick and saturated. If you try to add more layers on top, the new pencil strokes will simply slide around on the surface without depositing any color, limiting your ability to make adjustments late in the drawing process.
Oil-based pencils handle layering in a fundamentally different way. Because the oil binder deposits a much thinner, harder layer of pigment, it does not fill the paper’s tooth nearly as fast. This allows you to build up ten, fifteen, or even more translucent layers of color gradually. You can slowly glaze one color over another to create incredibly complex, subtle color shifts and deep, luminous tones. While you cannot burnish oil-based pencils as easily as wax-based ones, the control they offer over gradual color building is unmatched.
To see how these binders behave on your preferred drawing surface, you can perform a simple, observable test. Take a scrap piece of your drawing paper and draw a small grid. In one section, try to layer four different colors of a wax-based pencil using light pressure, then repeat the process with an oil-based pencil in another section. Observe how quickly the paper surface becomes shiny and slick under each type, and note how many layers you can successfully apply before the pencil starts to slip without leaving a mark.
Color Payoff, Vibrancy, and Wax Bloom
Color payoff is often the first thing artists notice when testing a new coloring pencil set. Because wax-based pencils are soft and deposit a thick layer of binder and pigment simultaneously, they offer immediate, highly saturated, and opaque color payoff. With just a few strokes, you can achieve deep, solid coverage that completely hides the paper underneath. This makes them highly satisfying for artists who want quick results and bold, vibrant illustrations.
Oil-based pencils require a bit more patience to achieve the same level of saturation. Because each stroke deposits less material, the initial color payoff can look lighter or more translucent. To achieve deep, rich, and vibrant tones, you must build up the color through multiple, deliberate layers. However, once those layers are established, the final color can look incredibly rich, deep, and luminous, with a natural satin finish rather than a heavy, glossy buildup.
One of the most significant long-term differences between these two binders is a phenomenon known as “wax bloom.” When you apply heavy layers of wax-based pencils, the wax binder can slowly migrate to the surface of the drawing over time, especially when exposed to warm temperatures or high humidity. This migration creates a cloudy, hazy, white film over your artwork, dulling the vibrant colors underneath. This is a common concern for artists living in tropical climates, such as the Philippines, where ambient humidity can accelerate the blooming process.
Oil-based pencils are naturally resistant to this issue. Because they contain little to no wax, they do not develop a hazy white film over time, allowing your artwork to maintain its original clarity and color depth indefinitely. If you use oil-based pencils, you rarely need to worry about applying post-drawing fixative sprays to preserve your work, whereas wax-based drawings often require a protective sealant to keep the wax bloom from returning.
Paper Compatibility and Smudge Resistance
The success of your coloring pencil set also depends heavily on the paper you pair it with. Because wax-based pencils are soft and thick, they perform exceptionally well on medium to heavy-textured papers, such as cold-press watercolor paper or medium-grain drawing paper. The deep tooth of these papers easily shaves off the soft wax core, allowing for rapid color buildup. However, if you try to use soft wax pencils on very smooth paper, like bristol board or hot-press paper, the binder can slide around too much, making it difficult to achieve even coverage.
Conversely, the harder core of oil-based pencils makes them highly compatible with smoother paper surfaces. They can glide effortlessly over hot-press paper, smooth sketchbooks, and bristol board, allowing you to render incredibly fine details, sharp edges, and delicate textures without the pencil slipping or smearing. While they can still be used on textured paper, you may need to apply more layers to fill in the white spots left by the paper’s deep valleys.
Smudge resistance is another practical factor to consider during your drawing sessions. Because wax is soft and sits heavily on top of the paper fibers, it is relatively easy to smudge if your hand accidentally drags across your drawing. This requires you to be mindful of your hand placement, perhaps using a clean sheet of paper under your wrist as a shield. Oil-based pencils, being harder and depositing thinner layers that bond closely with the paper fibers, are much more resistant to accidental smudging and hand transfer.
Before committing to a large, premium coloring pencil set, it is highly recommended to check your paper’s specifications. Look for acid-free paper with a weight of at least 120 GSM to ensure it can handle the pressure of burnishing or the weight of multiple layers. Checking the paper’s sizing and texture specifications will help ensure your chosen pencil binder can grip the surface effectively.
How to Choose the Right Coloring Pencil Set
When deciding which coloring pencil set to add to your collection, you should evaluate your personal drawing style, your patience for layering, and the specific demands of your artwork. Whether you are budgeting ₱800 for a beginner-friendly set or investing upwards of ₱5,000 in a professional-grade collection, matching the binder to your workflow will ensure you get the most value out of your purchase.
Choose a wax-based coloring pencil set if:
- You love a soft, buttery drawing experience that glides effortlessly across the page.
- Your style relies heavily on burnishing, smooth color blending, and painterly effects.
- You want immediate, highly vibrant, and opaque color payoff with minimal effort.
- You primarily work on medium-textured or heavy drawing papers.
Choose an oil-based coloring pencil set if:
- You specialize in highly detailed work, such as botanical illustrations, fine portraits, or technical drawings.
- You prefer to build up colors gradually through many thin, translucent layers.
- You want to avoid the hassle of wax bloom and preserve the clarity of your colors without using fixative sprays.
- You prefer working on smooth paper surfaces and need a pencil core that holds a sharp point for a long time.
Before making your final decision, always verify the specific product details on the manufacturer’s labels. If you plan to use your pencils for mixed-media techniques—such as layering colored pencils over watercolor or alcohol markers—verify how the binders react with other mediums. Additionally, if you plan to sell or display your finished artwork, check the manufacturer’s lightfastness ratings (often rated under the ASTM D6901 standard) to ensure the colors will not fade over time. Finally, if you are purchasing pencils for children or for use in shared household spaces, look for non-toxic certifications, such as the AP seal, to ensure the materials are safe for prolonged body contact.
Frequently Asked Questions (FAQ)
Can I mix wax-based and oil-based colored pencils in the same drawing?
Yes, you can absolutely mix both binder types in a single piece of artwork to get the benefits of both worlds. The general recommendation is to apply your oil-based pencils first to establish your fine details and initial light layers, and then use your softer wax-based pencils on top for final blending, highlights, and heavy burnishing. Applying a hard oil-based pencil over a thick, slick layer of wax can sometimes scrape the wax off the page or fail to adhere properly. Because different brands use unique binder formulas, always test your specific pencil combination on a scrap piece of your drawing paper first to check for adhesion issues or unexpected texture changes.
How do I safely remove wax bloom from a finished drawing?
If a hazy white film of wax bloom appears on your finished drawing, you can safely and gently remove it without damaging your artwork. Take a clean, dry, soft, lint-free microfiber cloth and very gently wipe the surface of the drawing using light, circular motions. The friction and warmth from the gentle rubbing will disperse the migrated wax and restore the original vibrancy of your colors. To prevent the wax bloom from returning, you can seal the finished drawing with a high-quality, workable fixative spray. Always test the fixative spray on a separate scrap drawing first to ensure the aerosol propellant or solvent does not dissolve your pencil layers, alter the colors, or warp your paper.

Community discussion
Share your experience or ask a question. Comments are reviewed before publication.