
Choosing the right paper width is one of the most important decisions in paper quilling, especially when integrating these delicate designs into a scrapbook. The 5mm quilling paper width represents a highly versatile, medium-sized option that strikes a balance between structural durability and visual detail. For scrapbooking enthusiasts, this specific width provides enough physical height to create eye-catching three-dimensional elements that stand out on a page, without being so bulky that they prevent your album from closing properly.
In tropical environments like the Philippines, where high humidity can soften paper fibers, the 5mm width offers a practical advantage. It is structurally sturdier than ultra-thin alternatives, helping your rolled shapes maintain their form even when the air is damp. Understanding how to work with this dimension allows you to plan layouts that remain crisp, colorful, and intact for years to come.
Understanding the 5mm Width Specification
To appreciate what 5mm quilling paper brings to your crafts, it helps to look at where it sits on the spectrum of paper filigree. Standard quilling strips generally range from a very narrow 1.5mm to a wide 10mm. At 5mm, these strips are roughly equivalent to the thickness of a standard cardboard slice or a stack of three typical coins. This width is wide enough to cast a distinct shadow when glued flat on a page, which instantly adds a sense of depth and professional polish to your scrapbook layouts.
Products mentioned in this guide
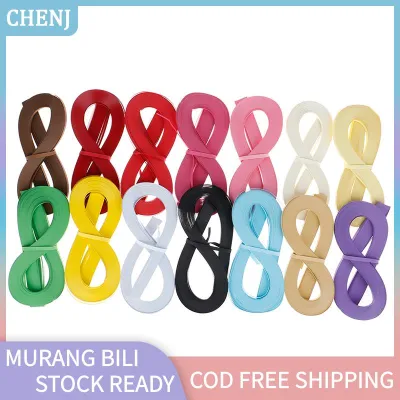
![[COD] SHPYHT Local delivery Ship within 24 hours 120Pcs/set Paper Quilling Strips Set 5mm 53cm Paper For Craft DIY Quilling Tool](https://img.lazcdn.com/g/p/f4e68e6d0e34b00ec4fba27f302e396b.jpg_400x400q80.jpg_.webp)
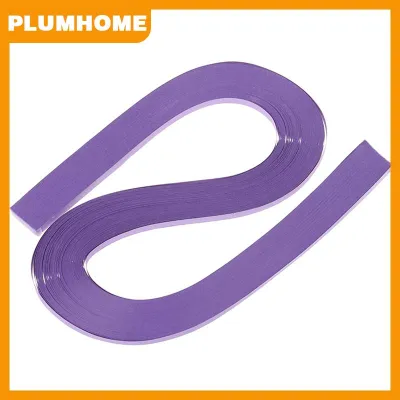
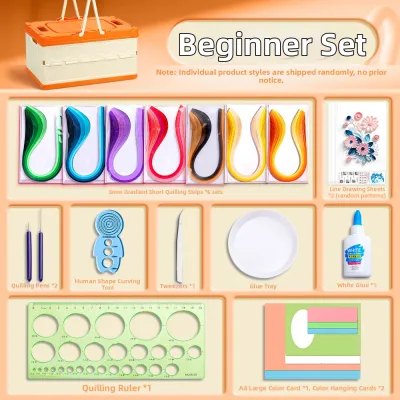
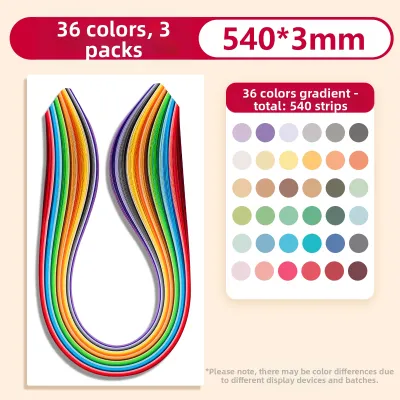
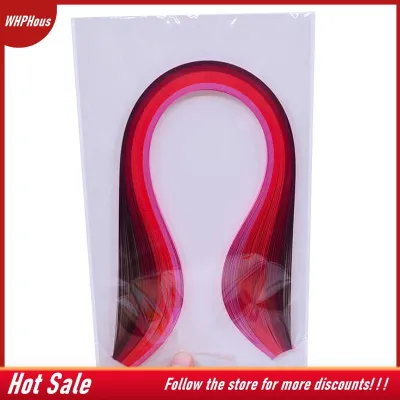
Prices are valid at publication and may change. Please refer to the product page for the latest price.
Before starting a project, it is wise to verify the actual width of your paper strips. Manufacturing tolerances can vary, especially with budget-friendly packs sourced from online marketplaces. Use a standard ruler to check a few sample strips from your pack. A variance of even half a millimeter can affect how flat your finished coils sit on the page.
The length of pre-cut 5mm strips—usually ranging from 30cm to 50cm—also plays a key role in your designs. Because the strip is 5mm wide, rolling a full-length piece creates a substantial, dense coil. If you want smaller, more delicate shapes, you will need to cut the strips into shorter segments. Managing this relationship between length and width is essential for controlling the final size of your quilled motifs.
How 5mm Strips Affect Quilling Shapes and Details
The physical dimensions of 5mm paper directly influence how it behaves when rolled, pinched, and shaped. This width offers an excellent balance between structural rigidity and flexibility. When you roll a 5mm strip, the paper has enough vertical surface area to support itself, making it highly resistant to collapsing or twisting out of alignment. This makes it much easier to achieve uniform tension throughout your coils.

Basic quilling shapes—such as teardrops, marquises, squares, and open scrolls—benefit immensely from the 5mm width. The height of the paper ensures that the outlines of these shapes are highly visible, even from a distance. If you are creating floral patterns, the 5mm height gives the petals a realistic, semi-sculptural quality that flat paper cutouts simply cannot replicate.
However, 5mm paper does have practical limitations when it comes to highly intricate, miniature filigree work. If you attempt to create incredibly small, tightly packed patterns, the 5mm height can make the design look blocky or muddy when viewed from an angle. For microscopic details, narrower strips like 3mm are generally preferred. The 5mm width is best reserved for bold, clean designs where the physical dimension of the paper is meant to be celebrated.
Adjusting Your Scrapbooking Layouts for 5mm Quilling
Integrating 3D quilling into a flat scrapbook layout requires careful planning to ensure your pages remain balanced. Because 5mm quilled elements have a distinct physical height, they naturally act as visual focal points. A large cluster of 5mm quilled flowers or a bold geometric border will immediately draw the reader’s eye. To prevent your pages from looking cluttered, use these dimensional pieces strategically—such as framing a cherished photograph or highlighting a main title block.
Visual weight is another critical factor. Against busy, highly patterned background papers, the shadows cast by 5mm quilling can create visual noise. To make your quilling pop, place your designs against solid-colored cardstock or clean, minimalist journaling blocks. This contrast allows the clean lines and shadows of the 5mm paper to stand out clearly.
When grouping multiple 5mm elements, consider the overall weight of the page. In humid climates, standard scrapbook paper can warp if it is forced to support too much heavy embellishment. It is best to use sturdy background cardstock (at least 200gsm to 250gsm) as your base. Group your quilled shapes into cohesive clusters or elegant borders, securing them firmly to ensure they do not sag or pull the background paper downward over time.
Tools and Adhesives That Work Best with 5mm Strips
Working with 5mm quilling paper requires the right tools to ensure clean, professional results. First, check the slot of your quilling tool. A standard slotted tool is perfect for 5mm paper, but you must ensure the slot is deep enough to grip the entire width of the strip. If the slot is too shallow, the edges of the paper may bend or buckle as you roll, leaving unsightly creases on your finished coils.
Adhesive application is where many crafters encounter difficulties, particularly in humid tropical regions. High humidity slows down the drying time of standard white craft glues, which can lead to paper warping or excess moisture softening your coils. Use a fast-drying, low-water-content PVA glue. Apply the adhesive sparingly using a fine-tip applicator bottle, a toothpick, or by lightly dipping the bottom of your coiled shape onto a thin puddle of glue. This prevents messy seepage and ensures a clean, residue-free bond.
Finally, consider the storage and display of your finished scrapbook. Standard plastic page protectors can press down on 5mm quilling, flattening your hard work and distorting the shapes. To protect your designs, look for dimensional page protectors designed for thick embellishments, or use shadow box frames for your most prized layouts. If using standard albums, try placing your quilled pages at the very front or back of the book where pressure from adjacent pages is minimized.
Frequently Asked Questions (FAQ)
Can I cut wider paper down to 5mm for quilling?
Yes, you can cut your own 5mm strips from standard cardstock or wider quilling paper, but precision is key. Use a heavy-duty paper trimmer or a rotary cutter paired with a metal grid ruler to ensure perfectly straight, consistent edges. Avoid using scissors, as they often create frayed edges and uneven widths, which will prevent your coils from sitting flat on your scrapbook page.
Is 5mm quilling paper suitable for beginners in scrapbooking?
Yes, 5mm is widely considered the ideal starting width for beginners. It is wide enough to grip easily with your fingers or tweezers, making the rolling process much less frustrating than working with ultra-thin 3mm strips. Additionally, the moderate height makes it easy to monitor your coil tension and maintain shape symmetry as you learn the craft.

Community discussion
Share your experience or ask a question. Comments are reviewed before publication.