
Starting paper quilling does not require an expensive or overly complex kit. A beginner paper quilling tools set should focus on a few high-quality, essential items: a sturdy slotted tool, precise tweezers, a circle sizing board, pre-cut paper strips, and a reliable, fast-drying adhesive. Because high humidity in tropical climates like the Philippines can soften paper and delay glue drying times, selecting a set with moisture-resistant components and clear-drying adhesive is key to preventing warped designs. By focusing on these core tools first, you can master the basic rolling and pinching techniques before investing in specialized accessories.
Core Tools Every Beginner Set Must Include
A beginner quilling set should prioritize functional simplicity over sheer quantity. The most critical component is the slotted quilling tool. This tool features a small metal tip with a fine slit down the center, designed to hold the end of a paper strip securely as you roll it into a coil. When inspecting a set, ensure the slot is wide enough to accommodate standard paper weights but narrow enough to grip the paper without slipping.
Fine-tip tweezers are equally indispensable. Once you release a rolled coil from the slotted tool, it must be transferred to a template or directly onto your work surface. Because paper coils are delicate and highly springy, standard household tweezers are often too bulky. Look for tweezers with ultra-fine, angled tips that allow you to grip the center of a tight coil without crushing the outer layers.
Products mentioned in this guide
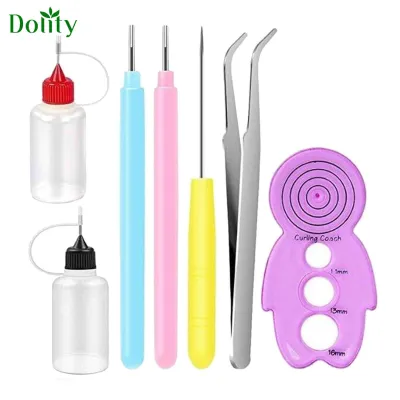
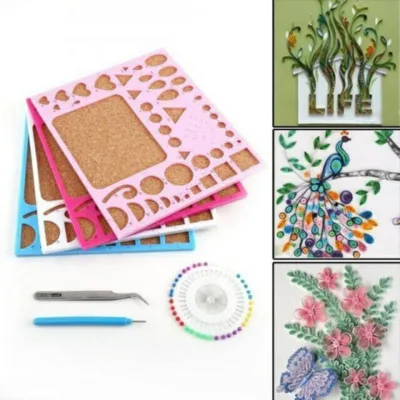
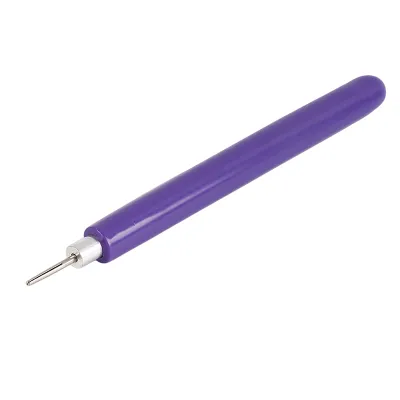
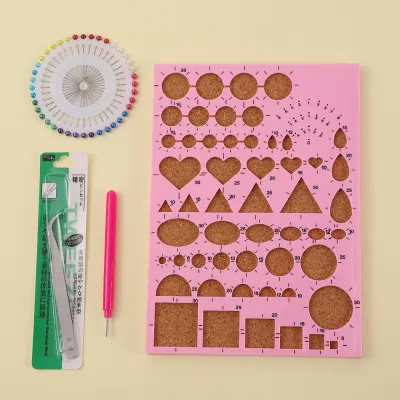
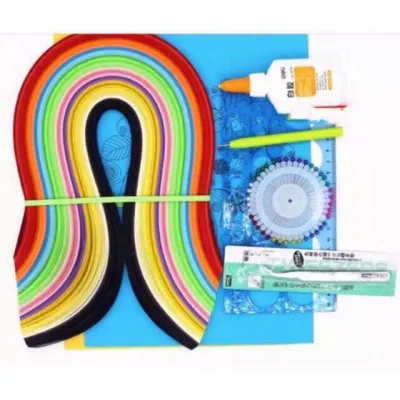
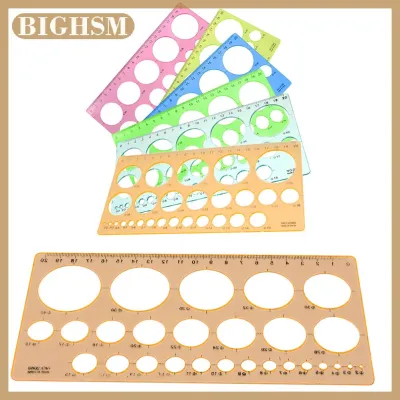
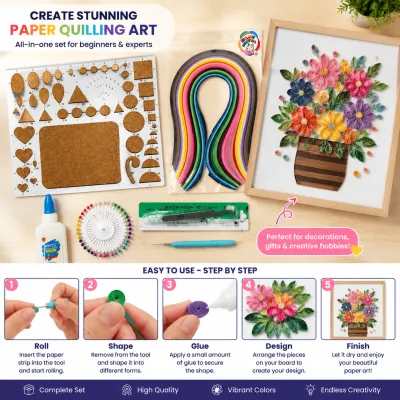

Prices are valid at publication and may change. Please refer to the product page for the latest price.
A circle sizing board or template guide is the secret to achieving uniform shapes. This board features multiple circular recesses of varying diameters. By placing your freshly rolled coil into one of these circles, you allow the paper to expand naturally to an exact size. This ensures that if you are making multiple identical flower petals, every single petal will have the exact same density and diameter.
Finally, a starter set must include pre-cut paper strips and a clear-drying craft adhesive. Cutting your own strips by hand with a ruler and utility knife is tedious and often results in uneven edges, which can ruin the alignment of your coils. Pre-cut strips provide clean, uniform edges that make rolling much easier. The adhesive should come with a fine-tip applicator to allow for precise placement of tiny glue dots without leaving messy residue.
Evaluating the Quality of Included Tools
Before committing to a specific paper quilling tools set, or immediately after unboxing one, you should evaluate the physical build of each component. Start by examining the handle of the slotted tool. A handle that is too thin or made of slick, cheap plastic can cause hand fatigue during long crafting sessions. Look for a textured, rubberized, or slightly thicker wooden handle that offers a comfortable grip. The metal tip should be firmly seated in the handle without any wobbling, and the slot itself must have smooth, deburred edges to prevent tearing or snagging the paper as you pull the finished coil away.

Next, inspect the quality of the included paper strips. High-quality quilling paper should have clean, straight cuts with no fuzzy edges or fiber tear-outs. Check the packaging for standard width specifications, which typically range from 3mm to 5mm for beginners. The paper should feel resilient; if it is too thin, it will collapse under finger tension, while paper that is too thick will resist rolling and create bulky, uneven coils.
The adhesive included in the set requires careful scrutiny, especially when crafting in humid environments. Read the label to verify that the formula is acid-free, clear-drying, and non-warping. Acid-free glues prevent the paper from yellowing or degrading over time, which is crucial if you plan to use your quilling designs in scrapbooks or framed art. The glue should have a relatively low water content to prevent the paper fibers from swelling and puckering.
Lastly, test the alignment of the fine-tip tweezers. Press the tips together and look at them closely under a bright light. The tips must meet precisely at the very end without any gaps or misalignment. If the tips are bent or uneven, they will fail to grip the tiny center folds of your coils, leading to frustration when trying to position delicate shapes.
Nice-to-Have vs. Unnecessary Add-ons for Beginners
Many starter kits are packed with dozens of accessories to make them look more appealing, but many of these items are unnecessary for a beginner and simply inflate the price. Specialized tools like paper crimpers, husking boards, and advanced 3D molding domes are excellent for experienced crafters, but they can distract you from mastering the fundamental rolling and pinching techniques. A crimper, for example, adds a wavy texture to paper strips, which is rarely used in basic designs and can make learning to control paper tension much harder.
Similarly, some kits include pre-made paper shapes or plastic molds designed to press paper into specific forms. While these might seem convenient, they bypass the core skill of quilling: learning to manipulate a simple circle into tears, marquises, squares, and arrows using your own fingers. Relying on pre-made molds early on limits your creative freedom and prevents you from developing the muscle memory needed for advanced projects.
You should also be wary of kits that feature bulky, highly compartmentalized plastic storage cases. While organization is important, these heavy cases often add significant shipping weight and cost to the set without offering better tool quality. A simple, lightweight zippered pouch or a basic plastic box is more than sufficient for keeping your tools together. Your budget is better spent on high-quality metal tips and premium paper strips rather than elaborate packaging.
Testing and Adjusting Your First Quilling Set
Once you have your set, conduct a few simple tests on scrap paper before starting your first official project. Take a single paper strip, insert it into the slotted tool, and roll a tight coil. Pay attention to how the paper behaves: if it slips out of the slot constantly, the slot may be too wide; if it pinches and tears when you try to slide the finished coil off, the slot may be too tight or have sharp internal edges.
Next, test the adhesive on a scrap piece of paper. Apply a tiny dot of glue, press two paper edges together, and observe the drying process. In humid conditions, some glues can take a long time to set, causing the paper to unroll before the bond is secure. Ensure the glue dries completely clear and does not leave a shiny, plastic-like residue or cause the paper to warp and pucker.
As your skills progress, you may notice the limitations of your starter tools. For instance, a slotted tool always leaves a tiny, visible crimp or hole in the very center of the coil. Once your finger tension and rolling control improve, you might want to transition to a needle tool. A needle tool has a smooth, round metal rod without a slot, requiring you to roll the paper around the needle manually. This technique takes practice but results in a tight, seamless center that elevates the professional look of your work.
Frequently Asked Questions (FAQ)
Can I use regular school glue instead of the adhesive in the set?
Standard white school glue is generally not recommended for paper quilling. School glues typically have a high water content, which easily saturates thin quilling paper, causing it to warp, pucker, and lose its shape. Additionally, school glue dries relatively slowly, which can cause your tightly wound coils to spring open before the adhesive has set. For the best results, look for specialized paper crafting glues or PVA (polyvinyl acetate) adhesives that specify a low-moisture, fast-drying, and clear-drying formula on the label.
What paper width is best for a beginner quilling set?
For beginners, a paper width of 3mm or 5mm is highly recommended. Strips that are 3mm wide are excellent for learning basic shapes and creating delicate card designs, while 5mm strips are slightly easier to handle and grip, making them highly suitable for younger crafters or those practicing finger tension. Avoid starting with very narrow strips, such as 1mm or 2mm, as they twist easily and are difficult to align. Always check the packaging of your tool set to ensure the included slotted tool is deep enough to support your chosen paper width evenly.

Community discussion
Share your experience or ask a question. Comments are reviewed before publication.