
When choosing a DIY flower materials set for a school art project, you need to look for a kit that balances complete, high-quality components with age-appropriate safety features and resilience against local environmental factors like high humidity. A great kit prevents last-minute trips to the stationery store by providing all necessary structural wires, petals, and adhesives in one package. It should also feature non-toxic, low-odor materials that are safe for crowded classroom environments. By focusing on complete component checklists, safety certifications, and clear instructions, you can ensure your child completes their school project successfully and without frustration.
Essential Components to Verify in a DIY Flower Materials Set
Focus on the physical properties of the materials. For instance, paper blanks should be made of high-gsm cardstock or crepe paper that can withstand manipulation without tearing. Silk petals should have sealed edges to prevent fraying when handled by enthusiastic young hands. Foam bases must be dense enough to hold structural wires firmly without crumbling under pressure.
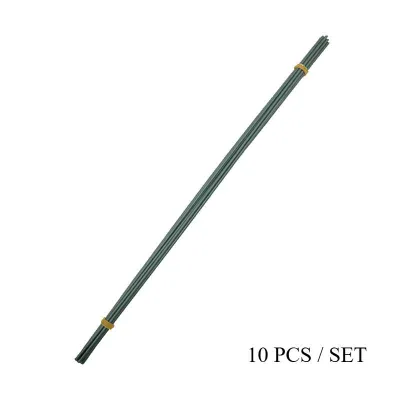
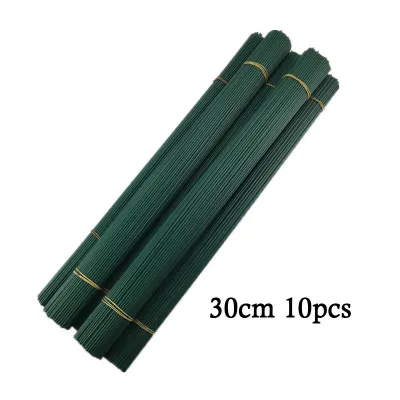
Structural supports are the backbone of any floral arrangement. Floral wire comes in various gauges; thinner wires (such as 24 or 26 gauge) are highly flexible and perfect for delicate petals, while thicker wires (such as 18 or 20 gauge) are necessary to support heavy flower heads. Stem tape, which relies on a wax coating that becomes sticky when stretched, must be fresh. In warm, tropical climates, poorly stored stem tape can dry out or become overly gooey, making it difficult for children to wrap stems smoothly. Pre-cut stems are a fantastic alternative for younger students, as they eliminate the need for cutting wire and reduce the risk of accidental scratches.
Products mentioned in this guide
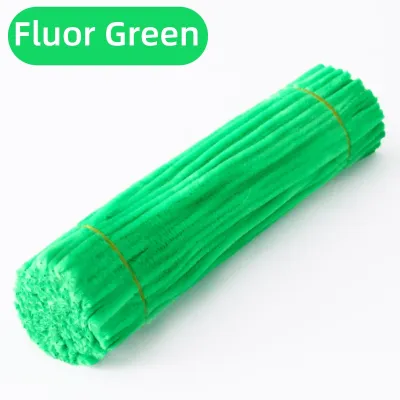
Prices are valid at publication and may change. Please refer to the product page for the latest price.
Assembly tools included in the kit should be scrutinized. While many sets claim to be complete, they often require you to supply your own scissors, rulers, or pliers. If the kit does include tools, verify that they are child-safe. Plastic-handled scissors with rounded tips are ideal for younger kids, while older students might require small craft pliers to bend and trim floral wire safely. Ensuring these tools are present and appropriate for your child’s hand size prevents mid-project interruptions.
Evaluating Material Safety and Quality for Classroom Use
Classroom environments require strict adherence to safety standards, especially when multiple children are working in close proximity. Always look for non-toxic certifications on the packaging of any adhesives, paints, or dyes included in the DIY flower materials set. Certifications like ASTM D-4236 or EN71 indicate that the materials have been tested and are safe for children’s art projects. This is crucial because children often touch their faces, eyes, or food during art class.

Physical hazards must also be carefully managed. Floral wire, while essential for structure, can have sharp, exposed ends that pose a risk of puncture wounds. High-quality kits often include protective rubber caps or plastic sleeves to cover these sharp tips. If the kit contains hard plastic components, inspect them for sharp flashing or rough edges left over from the manufacturing process, which can cause minor cuts.
Chemical odors and drying times are significant factors in a school setting. Many budget-friendly kits include cheap solvent-based glues that emit strong, unpleasant fumes. In a typical classroom, which may rely on open windows and ceiling fans rather than air conditioning, these fumes can quickly become overwhelming. Opt for kits that feature water-based, low-odor white glues or glue sticks. Additionally, consider how local humidity affects drying times. High humidity can significantly slow down the drying process of liquid glues, meaning a flower assembly might fall apart before the class ends. Choosing fast-drying, non-toxic adhesives or kits that utilize double-sided tape can save students from a lot of frustration.
Matching the Kit to the Student's Age and Skill Level
A DIY flower materials set should match the developmental stage of the student to ensure a positive learning experience. For younger students in kindergarten or early elementary grades, look for kits that feature pre-cut, peel-and-stick, or snap-together components. These designs minimize the need for fine motor precision and sharp tools, allowing young children to focus on color recognition, pattern creation, and basic spatial awareness. This builds confidence and ensures they can complete their art project independently.
Older students in middle or high school require projects that challenge their creativity and technical skills. For these students, look for kits that provide raw materials like uncut crepe paper, unshaped wire, and coloring mediums like pastels or watercolor paints. These sets encourage students to learn advanced techniques such as petal curling, wire wrapping, and realistic color shading. The resulting projects are unique, expressive, and better suited for higher-grade art rubrics that grade on original effort and technical execution.
The quality of the instruction manual is a critical factor in matching skill levels. A good kit should include a clearly illustrated, step-by-step guide written in accessible language. Visual aids, such as high-resolution photos or diagrams, are incredibly helpful for visual learners. Many modern kits also include QR codes that link to short video tutorials, which can be a lifesaver for students who struggle to follow written instructions.
Assessing Project Versatility and Overall Value
When evaluating the value of a DIY flower materials set, look beyond the initial price tag and analyze the actual yield of the kit. Many manufacturers advertise high piece counts, such as “over 300 pieces,” but a closer inspection reveals that the majority of these pieces are tiny sequins, beads, or buttons. Calculate how many complete, individual flowers can actually be constructed from the core materials provided. A kit that produces ten high-quality, realistic flowers is often a better value than a kit with hundreds of tiny decorative elements but only enough wire for two stems.
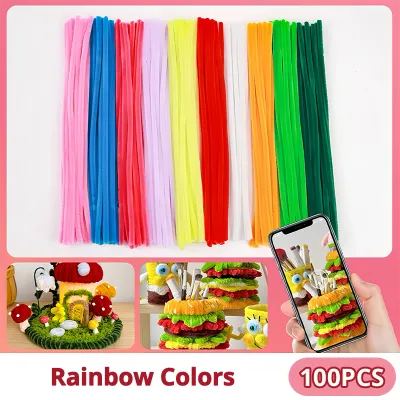
The color palette and style of the flowers should align with the specific requirements of the school assignment. School art projects in the Philippines often center around specific themes, such as local cultural festivals, environmental awareness campaigns, or Nutrition Month. Ensure the kit offers appropriate colors—such as vibrant tropical yellows, oranges, and reds for festive themes, or realistic greens and pinks for botanical studies. Having the right aesthetic options ensures the student’s work aligns perfectly with the teacher’s grading rubric.
Storage and organization are essential for multi-day school projects. Art classes rarely finish a project in a single session, meaning students must transport half-finished flowers and loose materials back and forth between home and school. Look for kits that come in sturdy, resealable plastic containers or heavy-duty zip-lock bags. This packaging protects delicate paper petals from getting crushed in a crowded backpack and keeps sticky tape and small beads from getting lost or damaged by humidity.
Pre-Purchase Checklist for School Art Supplies
Before finalizing your purchase on an e-commerce platform or at a local stationery store, run through a quick checklist to ensure the kit meets all requirements. First, cross-reference the kit’s contents with the teacher’s official supply list or project rubric. Some schools strictly prohibit certain items, such as hot glue guns or sharp metal wire cutters, so you must ensure the kit does not rely on these tools for assembly.
Next, verify the seller’s reputation and read customer reviews carefully. Pay close attention to user-uploaded photos rather than relying solely on the manufacturer’s polished promotional images. These real-world photos will give you a clear idea of the actual scale of the flowers, the true vibrancy of the colors, and whether the materials tend to arrive bent or damaged.
Finally, check the return and replacement policy of the seller or platform. Delicate materials like thin paper petals, dried elements, or fragile foam shapes can easily be crushed during transit, especially during stormy weather or peak shipping seasons. A seller with a reliable return policy ensures you can quickly secure a replacement or refund if the kit arrives damaged, saving you from last-minute panic before the project deadline.
Frequently Asked Questions (FAQ)
Can I use regular craft glue instead of the one included in the set?
Yes, but you must verify that the substitute glue is compatible with the materials in your kit. Standard white school glue is excellent for paper and cardboard, but it has a high water content, which can cause thin crepe paper to bleed its dye or warp. Furthermore, regular school glue has a slow drying speed and weak hold on non-porous materials like plastic stems or metal wires. For these components, a dedicated craft glue, double-sided tape, or a low-temperature hot glue gun is much more effective. Always ensure any substitute adhesive you send to school is non-toxic and approved by the teacher.
How do I store leftover DIY flower materials for future school projects?
To preserve leftover materials for future use, especially in warm and humid climates, store them in an airtight plastic container. Adding a small packet of silica gel will help absorb excess moisture, preventing paper petals from warping and metal wires from rusting. Keep floral wires stored flat to prevent them from bending out of shape. Store stem tape in a cool, dark drawer, as exposure to heat can melt its wax adhesive, making it unusable. Finally, keep all colored paper and silk elements away from direct sunlight to prevent their vibrant colors from fading over time.

Community discussion
Share your experience or ask a question. Comments are reviewed before publication.