
Selecting a friendship bracelet making kit requires looking beyond the colorful packaging. A truly functional kit provides a reliable foundation of strong threads, smooth beads with matching hole sizes, and practical tools that keep your work secure. Whether you are crafting a simple braid or an intricate pattern, the quality of these components determines how easily your bracelets come together and how well they withstand daily wear.
Evaluating a kit before purchase ensures you do not end up with tangled threads, broken beads, or frustrating tools. By focusing on the material composition and the utility of the included accessories, you can select a kit that offers both a satisfying crafting experience and durable finished jewelry.
Evaluating Threads and Cords for Bracelet Bases
The thread is the most critical component of any friendship bracelet, serving as both the structural base and the design medium. Most kits feature cotton embroidery floss, which is the traditional choice for knotted patterns. High-quality cotton floss should be soft, slightly matte, and composed of six easily separable strands, allowing you to adjust the thickness of your bracelets.
Products mentioned in this guide
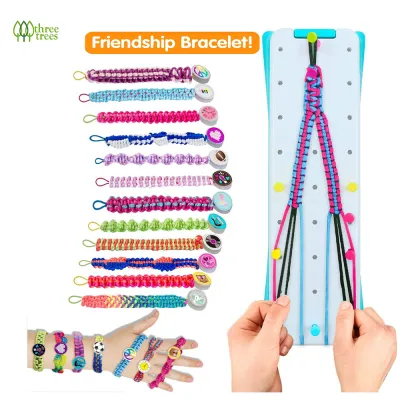
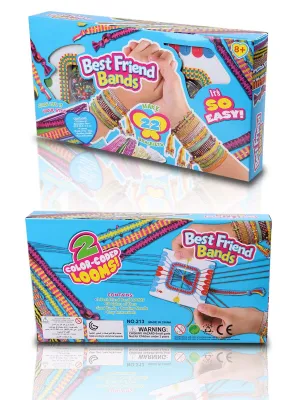
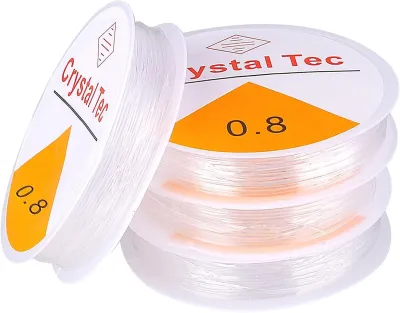
Prices are valid at publication and may change. Please refer to the product page for the latest price.
Synthetic blends, such as polyester or nylon cords, are also common and offer distinct advantages. These materials are exceptionally strong and have a slight sheen that makes colors pop. Additionally, synthetic threads allow you to melt the ends with a heat source to secure knots permanently, a technique that does not work with natural cotton.
For water-resistant designs, waxed polyester cords are highly recommended, especially in warm, humid climates where cotton threads might absorb sweat and stay damp. The wax coating protects the fibers from moisture, helps knots hold their shape without slipping, and makes threading beads much easier.
When inspecting a kit, check the strand count, twist tightness, and the total length of thread provided per skein. Loose, poorly twisted threads will fray easily during the knotting process, making your work look messy. Ensure the kit specifies the length of each color so you know you have enough material to complete full-sized bracelets.
Colorfastness is another vital factor to verify, particularly for jewelry worn daily. Low-quality dyes can bleed onto your skin or stain your clothes when exposed to sweat, rain, or handwashing. Look for kits that explicitly state their threads are colorfast, or plan to perform a quick home test by dampening a small strand and pressing it against a white paper towel to check for color transfer.
Assessing Beads, Charms, and Decorative Findings
Beads, charms, and findings add personal flair to your bracelets, but they must be physically compatible with your stringing materials. The most common issue in low-quality kits is a mismatch between the thread thickness and the bead hole size. If a kit includes thick waxed cord but only provides beads with tiny 0.5-millimeter holes, threading them will be nearly impossible without fraying the cord.

Inspect the material of the beads included in the kit. Molded plastic, polished glass, and smooth wooden beads are excellent choices. Avoid kits that contain cheap plastic beads with rough, sharp flashing around the entry and exit holes. These sharp edges act like tiny blades, slowly sawing through your thread under the tension of daily wear until the bracelet snaps.
The closure style of the bracelets is also worth considering. While many traditional designs rely on simple tied ends, some kits include metal findings like lobster claws, jump rings, or ribbon crimps. If metal components are included, verify that they are made of rust-resistant materials like stainless steel or brass, as high humidity can quickly tarnish cheap alloys.
If you prefer a metal-free approach, look for kits that teach you how to create adjustable sliding knots. This method requires no extra hardware and ensures the bracelet can fit various wrist sizes comfortably. A good kit will provide enough extra cord to practice these adjustable closures.
Checking Tools and Assembly Hardware
A complete friendship bracelet making kit should minimize the need to search your home for extra tools. Look for kits that include dedicated cutting tools, such as small thread snips or safety scissors. Check that the blades align properly and are sharp enough to slice through multiple strands of thread cleanly without crushing the fibers.
Maintaining proper tension is the secret to creating neat, uniform knots. A quality kit often includes a tension-holding accessory to secure your threads while you work. This might be a sturdy plastic clipboard, a foam braiding disc (often used for kumihimo patterns), a suction-cup hook, or heavy-duty safety pins.
Without a reliable way to anchor your threads, you will have to resort to taping your project to a table, which can leave sticky residue or slip under pressure. A dedicated braiding board with built-in slots to hold individual threads is highly beneficial for keeping complex patterns organized.
Finally, look for practical organization and measurement tools. A built-in ruler on the braiding board or an included tape measure helps you cut accurate thread lengths, preventing wasted material. A plastic storage box with individual compartments is also essential for keeping beads sorted by color and size, preventing messy spills during your crafting sessions.
Verifying Kit Completeness and Overall Value
To ensure you are getting good value, compare the ratio of components within the kit. Some kits boast thousands of pieces, but a closer look reveals that ninety percent of those pieces are tiny beads, with only a few short skeins of thread. A balanced kit provides a generous amount of thread relative to the decorative elements, allowing you to use all the included beads.
Clear, step-by-step instructions are crucial for crafters of all skill levels. The kit should include illustrated guides or pattern booklets that explain basic knots, such as forward and backward knots, before moving on to complex designs like chevrons or diamonds. If the printed instructions seem confusing, check if the manufacturer offers online video tutorials to guide you through the process.
Keep in mind that even the most comprehensive kits might omit a few minor essentials. You may want to budget an extra ₱50 to ₱100 for a small tube of clear jewelry glue or clear nail polish to secure your final knots. Knowing exactly what is in the box helps you prepare your workspace and avoids disappointing interruptions once you start crafting.
Frequently Asked Questions (FAQ)
Can I use regular sewing thread instead of embroidery floss?
Regular sewing thread is generally too thin and lacks the structural body needed for traditional knotted friendship bracelets. While you can technically use it by doubling or tripling the strands, the resulting knots will be incredibly small, making patterns difficult to see and highly time-consuming to complete. Sewing thread also lacks the tensile strength of embroidery floss, meaning it is much more likely to snap under the tension required to tie tight, even knots. It is best reserved for delicate bead weaving rather than knotted patterns.
How do I prevent the threads from fraying while adding beads?
Fraying usually happens when thread ends split or rub against rough bead holes. To prevent this, you can apply a tiny amount of clear craft glue or beeswax to the very tip of the thread, letting it dry to form a stiff, needle-like point. If the kit includes a collapsible eye needle or a wire threader, use it to guide the thread smoothly through the bead. Additionally, avoid pulling the thread through the bead at a sharp angle, as this increases friction and wear on the fibers.

Community discussion
Share your experience or ask a question. Comments are reviewed before publication.