
Starting your journey into making kandi—vibrant, hand-threaded bracelets and accessories traded at music festivals and community gatherings—begins with choosing the right starter set. A great beginner kit should balance a high volume of standard beads with durable elastic cord, essential tools, and an organized storage system. Instead of buying individual components in bulk, a well-curated kit provides a low-barrier entry point to practice basic stitches and lettering without overwhelming your workspace.
When evaluating options on local ecommerce platforms or in craft stores, focusing on the compatibility of the materials is key. In warm, humid tropical climates like the Philippines, factors such as elastic cord resilience and bead material durability become highly relevant for wearable crafts. By checking a few specific quality indicators before purchasing, you can avoid common frustrations like snapping cords, mismatched bead holes, or running out of essential letters mid-project.
Evaluating Bead Variety and Quantity
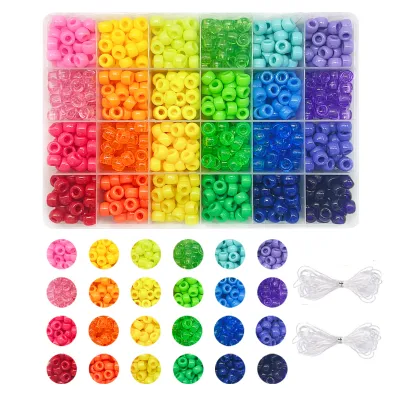
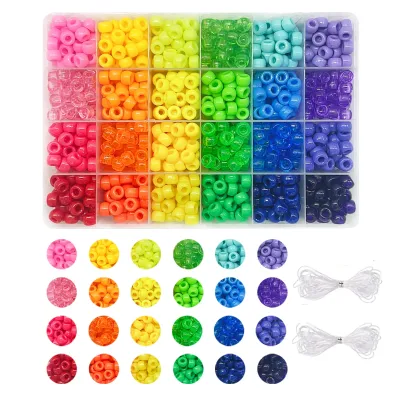
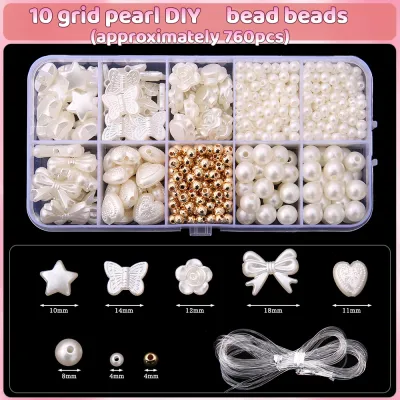
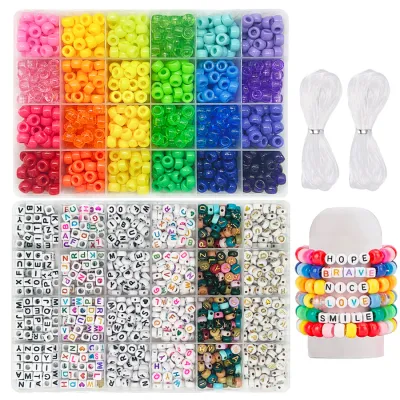
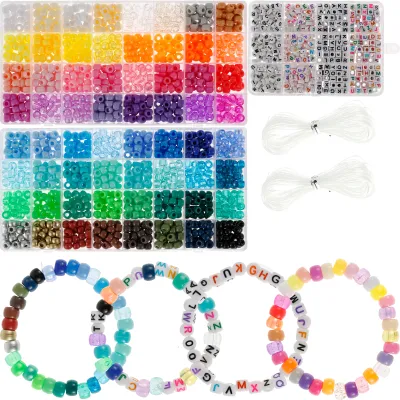
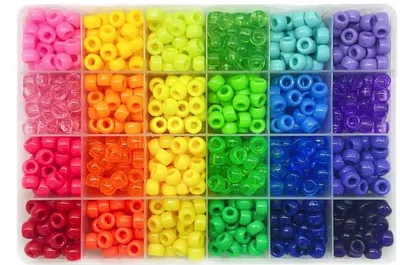
The foundation of any kandi project is the classic pony bead, known for its barrel shape and wide inner hole. When inspecting a starter kit, look closely at the ratio of standard pony beads to specialty shapes like stars, hearts, or glitter accents. A reliable beginner kit should consist primarily of standard 9mm pony beads, as these are the easiest to thread and form the structural base for complex multi-stitch cuffs. Specialty beads are excellent for focal points, but a kit dominated by irregular shapes will make it difficult to learn basic even-count peyote or ladder stitches.
Products mentioned in this guide
Prices are valid at publication and may change. Please refer to the product page for the latest price.
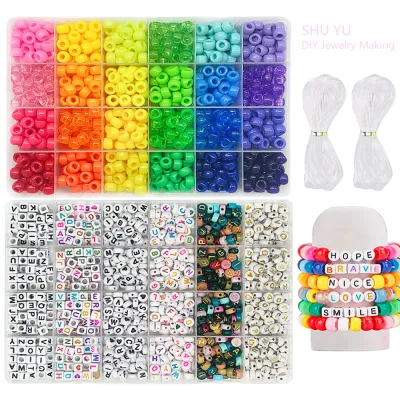
Letter beads are another crucial component, as spelling out positive words, phrases, or names is central to the culture of trading kandi. Check the product specifications or packaging details to verify how many alphabet beads are included and whether they are sorted or mixed. A common pitfall of budget kits is an uneven distribution of letters, leaving you with an abundance of low-use consonants and a shortage of vowels like A, E, and O. Opt for kits that explicitly state a high letter count or provide pre-sorted compartments for the alphabet to save you from tedious sorting.
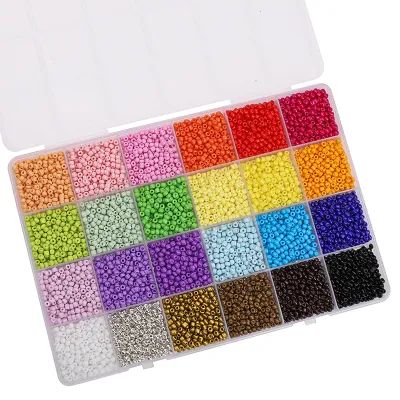
Color variety and contrast are equally important for creating visually striking patterns. Ensure the kit offers a balanced selection of primary, secondary, and pastel colors rather than a monochromatic range. High-contrast color pairings make it much easier to follow pattern grids when you are first learning how to read kandi designs. In tropical environments, vibrant neon and glow-in-the-dark beads are particularly popular for outdoor events, so checking for these finishes can add extra value to your initial purchase.
Checking Elastic Cord and Material Quality
The longevity of your handmade bracelets depends almost entirely on the quality of the elastic cord included in the kit. For standard 9mm pony beads, a cord thickness of 0.8mm to 1.0mm is generally ideal, providing enough structural strength while still allowing multiple passes through a single bead hole. If the cord is too thin, your bracelets will sag and stretch out of shape quickly; if it is too thick, you will struggle to tie secure knots or thread the cord through beads more than once.

Material composition is another critical factor to verify on the packaging. Look for fabric-covered elastic cord or high-quality polyester-based stretch string, which offer superior resistance to fraying and snapping compared to cheap, single-strand plastic cords. In warm, humid climates, low-grade elastic can degrade rapidly when exposed to sweat and ambient moisture, leading to sudden breaks. A durable cord should stretch smoothly and return to its original length without leaving visible kinks or thinning out.
Securing your finished pieces requires reliable knotting, which is why checking for finishing supplies is highly recommended. While some crafters rely solely on tight square knots, securing the ends with a small drop of clear jewelry glue or clear nail polish prevents the elastic from slipping over time. If the kit does not include a small tube of adhesive, make a note to check your local stationery store for a compatible, fast-drying clear craft glue that is safe for prolonged skin contact once fully cured.
Assessing Tools and Pattern Guides
A well-designed kandi kit should lower the learning curve by providing the necessary tools to start crafting immediately. Look for kits that include a pair of small, sharp crafting scissors or thread snips, which are essential for making clean cuts close to your knots. A pair of fine-tip tweezers or a simple plastic threading needle can also be incredibly helpful for pulling elastic through tight spaces, especially when working on complex multi-row cuffs.
For absolute beginners, clear visual instructions can make the difference between a fun afternoon and a frustrating trial-and-error process. Review the product description to see if the kit includes a printed pattern guide or a link to digital tutorials. A helpful guide should illustrate basic techniques, such as the single-strand bracelet, the ladder stitch, and the flat peyote stitch, using step-by-step diagrams rather than dense text.
Finally, do not overlook the quality of the storage container itself. Kandi making involves hundreds of tiny components, and a flimsy box can easily lead to a chaotic spill. Look for a sturdy plastic organizer with secure latches and adjustable dividers that keep different bead colors and letters completely separated. A container with a tight-fitting lid prevents beads from migrating into adjacent compartments when the kit is stored vertically or carried in a bag to a gathering.
Building Your Beginner Purchasing Shortlist
To make a confident purchase, start by comparing the contents of potential kits against your specific project goals. If your primary aim is to make dozens of simple single-strand bracelets to trade with friends, prioritize kits that offer a massive quantity of standard pony beads and alphabet letters. Conversely, if you want to challenge yourself with 3D cuffs or small figurines, look for a kit that prioritizes a wider variety of bead shapes, specialized cord, and detailed pattern guides, even if the total bead count is slightly lower.
Keep in mind that you do not need to find a single kit that contains absolutely everything. If you find a set with excellent bead quality and a great color selection but a subpar cord, you can easily source high-quality elastic cord and jewelry glue separately from a local stationery or craft shop. This hybrid approach often yields the best results, allowing you to enjoy the convenience of a curated bead selection without spending more than a few hundred ₱ on separate components.
Avoid the temptation of buying the cheapest available option on online marketplaces without checking user feedback regarding bead uniformity. Low-quality kits often contain beads with blocked holes, irregular shapes, or sharp plastic flashing that can cut through your elastic cord. By filtering for kits that feature uniform plastic beads and robust storage cases, you ensure a smooth, enjoyable crafting experience that yields durable, wearable art.
Frequently Asked Questions (FAQ)
Do I need a specialized kit to start making kandi?
No, you do not strictly need a specialized kit to begin, though they offer unmatched convenience for beginners. An all-in-one kit saves you the hassle of sourcing beads, elastic, tools, and storage separately, allowing you to start crafting the moment your package arrives. However, if you plan to make kandi a long-term hobby, purchasing bulk bags of pony beads and high-grade elastic cord individually from craft suppliers can be more cost-effective and allows you to customize your color palette precisely.
How do I know if the elastic cord will fit the beads?
You can verify compatibility by checking the millimeter measurements listed on the packaging of both the cord and the beads. Standard pony beads typically have an inner hole diameter of about 2mm to 4mm, which easily accommodates standard 0.8mm or 1.0mm elastic cord, even when threading through the same bead multiple times. Before committing to a complex pattern, always slide a few test beads onto a short piece of your cord to ensure they glide smoothly and that your knots can be easily hidden inside the bead holes.

Community discussion
Share your experience or ask a question. Comments are reviewed before publication.