
Selecting the right acrylic markers set depends on matching specific ink formulations and nib designs to your intended surfaces and artistic techniques. Rather than just looking at the number of colors in a box, evaluating the underlying specifications ensures the markers will perform reliably on your chosen medium. Whether you are detailing on heavy paper or painting on non-porous crafts, understanding how these tools behave under different conditions is key to achieving clean, lasting results.
In tropical environments where humidity levels fluctuate, the way acrylic ink flows, dries, and adheres can vary significantly. By focusing on technical details like nib construction, ink opacity, and surface compatibility, you can select a set that minimizes frustration and maximizes your creative output.
Nib Shapes and Line Control
The shape and size of the nib determine how much control you have over your lines and how quickly you can cover a surface. Fine tips, usually ranging from 0.7mm to 1mm, are indispensable for outlining, intricate detail work, and precise lettering. Chisel tips, which often measure between 4mm and 8mm, feature a slanted edge that allows you to lay down broad strokes or create sharp, structured calligraphy lines depending on how you angle the marker. Brush tips offer the greatest flexibility, responding to hand pressure to create organic line variations, smooth gradients, and expressive brush strokes.
Products mentioned in this guide
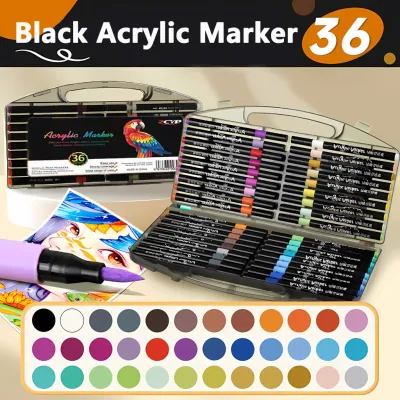
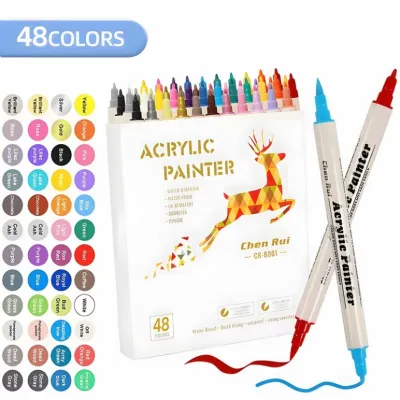
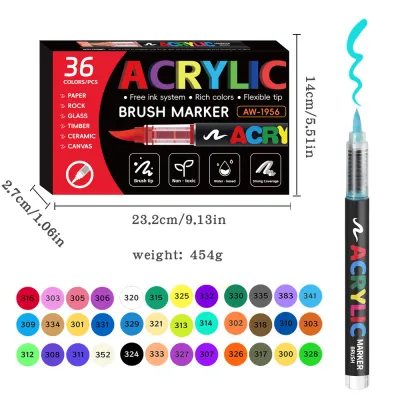

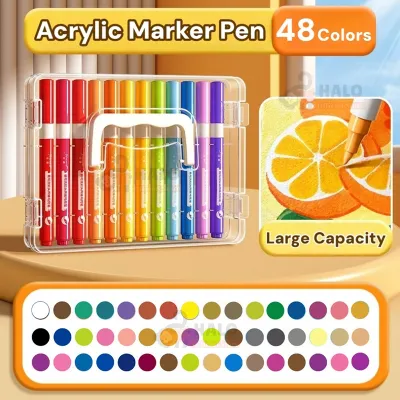
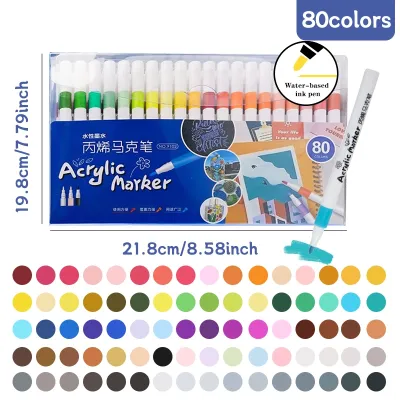
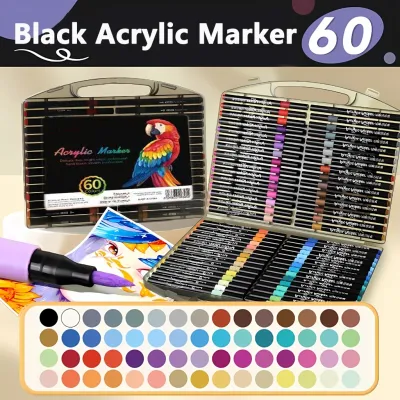
Prices are valid at publication and may change. Please refer to the product page for the latest price.
When evaluating a set, look for markers that feature reversible or replaceable nibs. Over time, rough surfaces like unpolished wood or terracotta can fray felt nibs, reducing line clarity. Reversible nibs allow you to pull the tip out, flip it around, and insert the fresh end back into the marker, effectively doubling its lifespan. Replaceable nibs offer a similar advantage, allowing you to swap out worn tips without discarding a marker that still contains plenty of ink.
The physical size and flexibility of the nib also directly impact the ink flow rate. Stiffer plastic or hard felt nibs provide a highly consistent, metered flow of ink, which is ideal for technical drawings or clean outlines. Conversely, soft, flexible brush nibs tend to deposit a larger volume of ink onto the surface, requiring a lighter touch to prevent pooling and uneven drying.
Ink Opacity, Finish, and Surface Adhesion
The quality of an acrylic markers set lies in its ink formulation, particularly its opacity and pigment load. High-opacity inks are essential if you plan to work on dark backgrounds, such as black cardstock, dark wood, or deep-toned plastics. A premium formulation should cover dark surfaces in a single pass without appearing watery, streaking, or requiring multiple coats that can warp paper or create thick, uneven layers.

You will also need to choose between matte and gloss finishes, as this affects both the look and durability of your work. Matte finishes dry to a flat, velvety texture that mimics traditional acrylic paint, which is highly preferred for illustrations because it does not reflect light or create glare when photographed. Gloss finishes dry with a shiny, reflective surface that makes colors appear exceptionally vibrant, though they can highlight minor surface imperfections underneath.
Adhesion and drying times are heavily influenced by the porosity of your working material. On porous surfaces like paper, canvas, and raw wood, the water-based binder is absorbed quickly, allowing the ink to dry to the touch within minutes. On non-porous surfaces like glass, glazed ceramics, plastic, or metal, the ink must dry entirely through evaporation. In warm, humid climates, this evaporation process can take longer, meaning you must handle your projects carefully to avoid accidental smudging before the ink has fully cured.
Color Selection and Set Sizing
Balancing your project requirements with your budget is a crucial step when choosing a set size. For general crafting and learning, a basic palette of 12 to 24 colors—including primary colors, black, and white—is highly versatile because you can layer and blend them to create custom shades. Specialized sets featuring metallic, pastel, or neon shades are excellent for specific holiday crafts or decorative accents, but they should generally serve as additions to a standard set rather than your primary tools.
Consider your workspace and portability needs when deciding between compact travel sets and comprehensive studio sets. Compact sets of 8 to 12 markers are easy to pack into a bag and store in small drawers, making them ideal for quick, on-the-go projects. Larger studio sets containing 40 or more colors offer a wide range of pre-mixed gradients, which saves time during complex shading, but they require a dedicated, flat storage area to keep organized.
Before finalizing your purchase, check if the manufacturer offers individual replacement markers. Because white and black are frequently used for highlighting and outlining, these colors will inevitably run out long before the rest of the set. Being able to buy single replacements locally ensures you do not have to purchase an entirely new set just to replace one or two exhausted colors. A quality starter set in the Philippines typically ranges from ₱500 to ₱1,500, and verifying replacement availability protects this initial investment over the long term.
Paper Weight and Bleed-Through Prevention
Because acrylic markers deposit a wet, water-based medium, standard copy paper (typically 70 to 80 GSM) is highly susceptible to warping, feathering, and severe bleed-through. To prevent the ink from ruining underlying pages or buckling your work, always pair your markers with heavy paper or cardstock of at least 200 GSM. Mixed-media paper or heavy watercolor paper is specifically designed to handle wet mediums without losing structural integrity.
Even when using recommended paper weights, performing a quick patch test on a scrap piece of your intended medium is a highly recommended practice. This simple check allows you to observe how the paper fibers react to the moisture, verify the drying speed, and ensure the ink does not feather along the edges.
Finally, always read the manufacturer’s label for specific surface preparation and priming requirements. Some highly porous materials, like raw terracotta or soft woods, may absorb too much ink and dull the colors unless you apply a base coat of gesso or primer first. Conversely, smooth, non-porous surfaces may require a light sanding or a clear acrylic sealant spray after painting to ensure the design remains permanent and resistant to chipping.
Frequently Asked Questions (FAQ)
Can acrylic markers be used on fabric or glass permanently?
Acrylic markers can adhere to both fabric and glass, but achieving long-term durability requires specific post-application steps. On fabric, the ink will dry but can wash out over time; heat-setting the design with a dry iron using a protective pressing cloth helps bond the pigment to the fibers. On glass, the ink sits on the surface and can easily scratch off. To make it permanent, you must either bake the glass in a home oven if the item is heat-safe, or apply a clear, water-resistant acrylic sealant spray. Always check the marker label to verify if the ink is formulated to withstand washing or outdoor exposure.
How should I store acrylic markers to prevent the nibs from drying out?
To maximize the lifespan of your acrylic markers, store them horizontally on a flat surface. Horizontal storage keeps the pigment and water-based binder evenly distributed throughout the marker barrel, preventing the ink from pooling at the back or completely drying out the nib. Always press the caps down firmly until you hear a distinct click to ensure an airtight seal. Additionally, store your marker set in a cool, dry place away from direct sunlight and high heat, as extreme temperatures can cause the air inside the marker to expand, leading to leaks or premature drying.

Community discussion
Share your experience or ask a question. Comments are reviewed before publication.