
A beginner looking for their first acrylic pen set should prioritize a versatile medium bullet nib, a reliable valve-action mechanism, and a compact starter set containing essential primary colors plus black and white. Unlike standard coloring markers, these tools use actual liquefied acrylic paint, offering opaque coverage on surfaces ranging from sketchbooks to painted rocks. In tropical climates where ambient humidity can influence drying times and storage conditions, understanding these technical specifications ensures your first purchase is both practical and durable.
Understanding Acrylic Paint Pens vs. Standard Markers
To make an informed purchase, it is essential to understand how acrylic paint pens differ from standard ink-based markers. Standard markers typically utilize dye-based or water-based pigment inks that are designed to soak directly into the fibers of paper. This makes them excellent for sketching and coloring on paper, but they lack the structural body required to sit on top of non-porous surfaces.
Acrylic paint pens, on the other hand, contain suspended pigments within an acrylic polymer emulsion. This formulation behaves exactly like liquid acrylic paint packaged in a convenient pen format. When applied, the paint sits on top of the material rather than soaking completely through it, resulting in a highly opaque, vibrant layer. This unique physical property allows you to layer light colors directly over dark colors once the base layer has dried completely, a technique that is impossible with standard dye-based markers.
Products mentioned in this guide
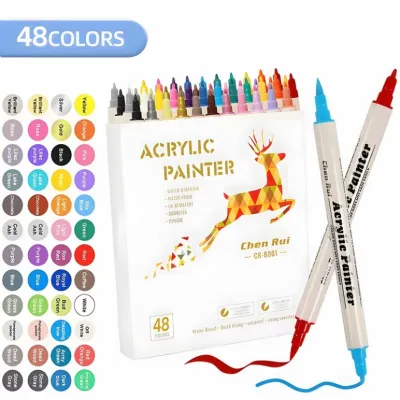
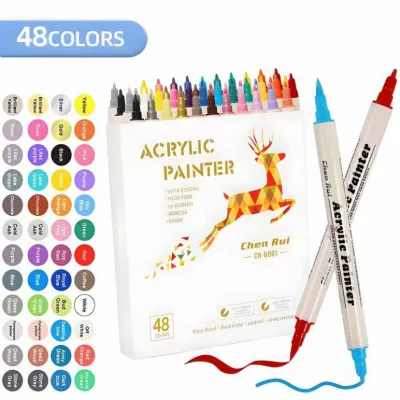
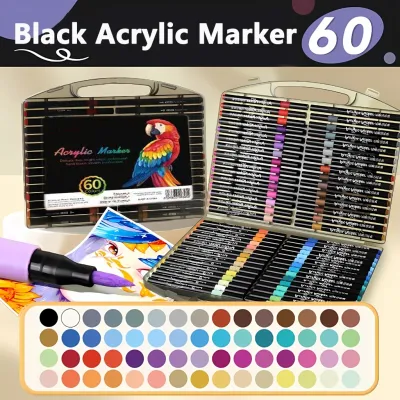
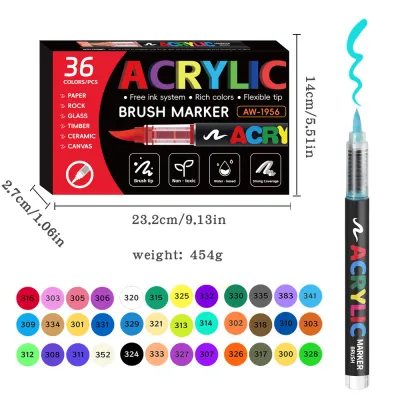
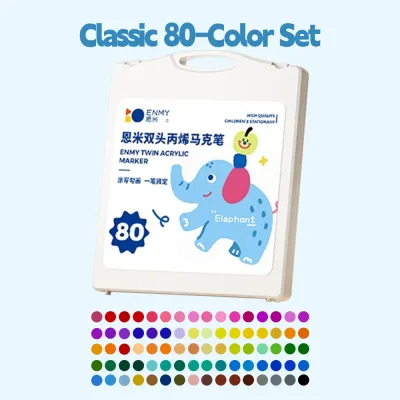

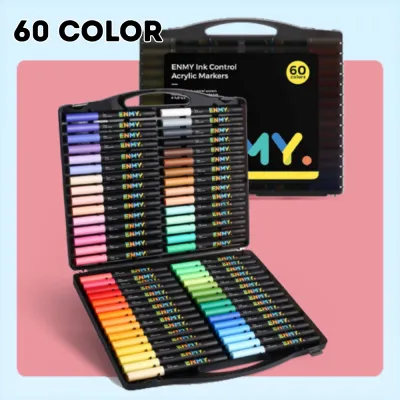
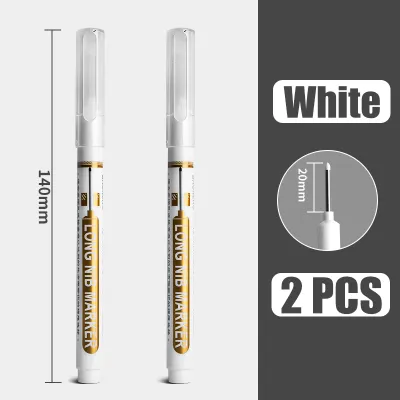
Prices are valid at publication and may change. Please refer to the product page for the latest price.
Another key distinction lies in how the ink is delivered to the tip. Standard markers are ready to use the moment you uncap them because the ink flows continuously through a simple capillary action. Acrylic paint pens require a mechanical process to prepare the paint for application. Because the heavy pigments tend to settle at the bottom of the barrel over time, you must shake the pen vigorously to mix the emulsion and then prime the nib to draw the paint down.
When browsing online marketplaces or local craft stores, always verify the product labels carefully. Look for explicit terms such as “acrylic paint marker,” “pigment-based paint,” or “opaque paint pen.” Avoid products labeled simply as “water-based markers” or “sketch pens” if your goal is to paint on varied surfaces like wood, stone, or plastic, as these standard markers will not provide the necessary opacity or water resistance.
Key Features to Evaluate in Acrylic Pen Sets
Choosing the right physical specifications for your first set will directly impact your control over the paint flow and the overall success of your initial projects. The most critical physical component to evaluate is the nib, which determines both the line width and the texture of your work.

For beginners, a medium bullet tip (typically measuring between 2mm and 3mm) offers the most versatile starting point. This size provides excellent control for outlining while still allowing you to fill in medium-sized areas relatively quickly. Fine tips (0.7mm to 1mm) are indispensable for intricate details, fine lettering, and precise outlines, but they can be frustratingly slow when trying to color larger shapes. Brush tips offer variable line widths based on the pressure you apply, but they require a higher level of hand control and can be difficult for a novice to master.
The material of the nib also plays a significant role in durability. Felt nibs are highly common and offer a smooth, consistent flow on paper and canvas, but they can quickly fray or wear down if used on rough surfaces like raw wood or unpolished stone. Plastic or hard fiber nibs are much more resilient when subjected to abrasive surfaces, making them a safer choice for multi-surface crafting.
Ink capacity and barrel design are equally important for long-term usability. Some acrylic pens feature transparent or semi-transparent barrels, which allow you to monitor the remaining paint level visually. This feature is incredibly helpful for preventing the sudden frustration of running out of paint mid-project. Additionally, look for barrels with a hexagonal shape or caps equipped with roll-stops; these simple design elements prevent your pens from rolling off your desk and falling onto the floor, which can damage the internal valve mechanism.
The internal mechanism of the pen dictates how the paint is dispensed. Most high-quality acrylic pens utilize a valve-action system. Inside the barrel, a small metal ball acts as an agitator to mix the paint when shaken, while a spring-loaded valve controls the flow of paint to the nib. When you press down on the nib, the valve opens, allowing fresh paint to saturate the tip. Understanding this mechanism is crucial, as over-priming can lead to messy paint pools, while under-priming results in dry, scratchy lines that can damage your working surface.
Matching Pen Specifications to Your Crafting Surfaces
The beauty of acrylic paint pens lies in their ability to adhere to a vast array of materials, but the specific surface you choose will dictate how the paint behaves and how you must prepare it. Surfaces are generally categorized into porous and non-porous materials, each requiring a different approach.
Porous surfaces, such as canvas, untreated wood, terracotta, and heavy paper, naturally absorb the liquid binder of the paint. This absorption helps the paint adhere securely, but it also means you may need to apply multiple coats to achieve a perfectly smooth, opaque finish. When working on paper, the weight of the medium is critical. Standard printer paper or thin sketchbook pages will warp or experience bleed-through when exposed to the moisture of acrylic paint. To prevent this, verify that your paper is rated for mixed media or watercolor, ideally with a weight of 200 GSM or higher.
Non-porous surfaces, including glass, glazed ceramics, plastics, and polished metals, do not absorb any paint. Instead, the acrylic emulsion dries entirely on top of the surface, forming a plastic film. Because there is no absorption, drying times will be significantly longer, especially in warm, humid environments. It is important to let each layer dry completely before applying the next to prevent the wet nib from scraping off the underlying paint.
While acrylic paint is naturally water-resistant once fully cured, its adhesion to non-porous surfaces is not permanent. Without protection, the dried paint can easily scratch, peel, or wash off over time. If you plan to decorate items that will be handled frequently or exposed to moisture—such as custom mugs, keychains, or outdoor garden stones—you must apply a compatible clear sealant. A spray-on acrylic sealer or a brush-on varnish will lock the paint in place and protect your design from wear and tear.
Before committing to a large project, always perform an opacity and adhesion check on a small, inconspicuous area of your material. Apply a single stroke of paint, let it dry completely, and observe whether it covers the underlying surface texture and color. Gently scratch the edge of the dried paint with a fingernail to assess its bond strength, which will help you determine if a primer or a protective topcoat is necessary.
Building Your First Set: What to Prioritize on a Budget
When shopping for your first set of acrylic pens, it is easy to be overwhelmed by the sheer variety of options available on ecommerce platforms. A practical budget strategy is essential to ensure you get the best value without sacrificing the quality of your tools.
One of the most common mistakes beginners make is purchasing massive, inexpensive sets containing dozens of colors. While a large color count is visually appealing, these budget-friendly sets often compromise on pigment quality and binder consistency. The result is thin, watery paint that requires four or five coats to achieve opacity, which can be incredibly discouraging. Instead, prioritize a smaller, high-quality set of 8 to 12 pens from a reputable manufacturer. A smaller set forces you to learn basic color mixing and layering while ensuring that each pen delivers smooth, opaque coverage.
A well-rounded starter kit should include the essential primary colors (red, blue, and yellow), key secondary colors (green, orange, and purple), and crucial neutrals (black and white). White is arguably the most important pen in your collection, as it is used constantly for highlights, corrections, and creating pastel shades. Many beginners also find great value in sets that include basic metallic options, such as gold and silver, which add an elegant touch to holiday cards, gift tags, and personalized crafts.
To compare the true value of different sets in the local market, calculate the price-per-pen in Philippine Pesos (₱). Divide the total cost of the set by the number of pens included. For example, a starter set priced at ₱600 containing 12 pens gives you a unit cost of ₱50 per pen. Compare this to the cost of purchasing individual open-stock pens from the same brand. Choosing a brand that offers individual replacement pens is highly economical in the long run, as you can easily replace your heavily used black and white pens without buying an entirely new set.
Finally, always check the product packaging and labels for quality and safety certifications rather than relying solely on promotional descriptions. Look for non-toxicity labels, such as the AP (Approved Product) seal, which ensures the pens are safe for indoor use and prolonged skin contact during crafting. Additionally, check for lightfastness ratings on the packaging; lightfast pigments resist fading when exposed to sunlight, ensuring that your artwork remains vibrant for years to come.
Frequently Asked Questions (FAQ)
How do I fix an acrylic pen that has dried out?
If your acrylic pen stops flowing, the issue is usually a clogged or dried nib rather than a lack of paint inside the barrel. To revive the pen, start by gently pulling the nib out of the marker body using a pair of tweezers or your fingers. Place the removable nib into a small container of warm water and let it soak for a few minutes to dissolve any hardened acrylic paint that is blocking the channels.
Once the nib is clean, pat it thoroughly dry with a paper towel and reinsert it into the pen. Shake the pen vigorously with the cap securely on to redistribute the pigment. To restore the ink flow, press the nib down gently on a scrap piece of paper several times to pump the internal valve mechanism. This action will draw fresh, liquid paint down into the clean nib.
However, if the pen was left uncapped for an extended period in a warm environment, the paint inside the main reservoir may have fully cured. If you shake the pen and do not hear the internal metal mixing ball rattling, the paint has solidified into a solid mass. In this scenario, the pen cannot be revived and must be safely discarded.
Can I use acrylic paint pens on skin or fabric?
Standard craft acrylic paint pens are formulated specifically for hard surfaces and paper, and they should not be used on skin. These paints contain binders and pigments that are not dermatologically tested, which can lead to skin irritation, dryness, or allergic reactions, especially on sensitive areas like the face. For body art or face painting, always use dedicated, cosmetic-grade face paints that are certified skin-safe.
When applied to fabric, standard acrylic paint will adhere, but it dries into a stiff, plastic-like layer that does not bend easily with the movement of the textile. Over time, this stiff layer is highly prone to cracking and peeling when the fabric is worn or washed. If you want to decorate clothing, tote bags, or canvas shoes, look for pens specifically labeled as fabric markers, or mix standard acrylic paint with a specialized fabric medium to maintain flexibility.
For decorative fabric items that will not be laundered, you can use standard acrylic pens, but you should heat-set the design to improve its durability. Once the paint is completely dry, place a protective pressing cloth or parchment paper over the design and iron it on a medium setting for a few minutes. Always check the manufacturer’s label on your pen set to see if they list specific textile compatibility or heat-setting instructions.

Community discussion
Share your experience or ask a question. Comments are reviewed before publication.